
Quick Navigation (Find What You Need Fast)
Tap a section to jump. If it’s your first deployment, start at Section B and follow each step with photos.
A. Quick Start (5-minute overview)
Use this if you’ve deployed before and just need the correct order.
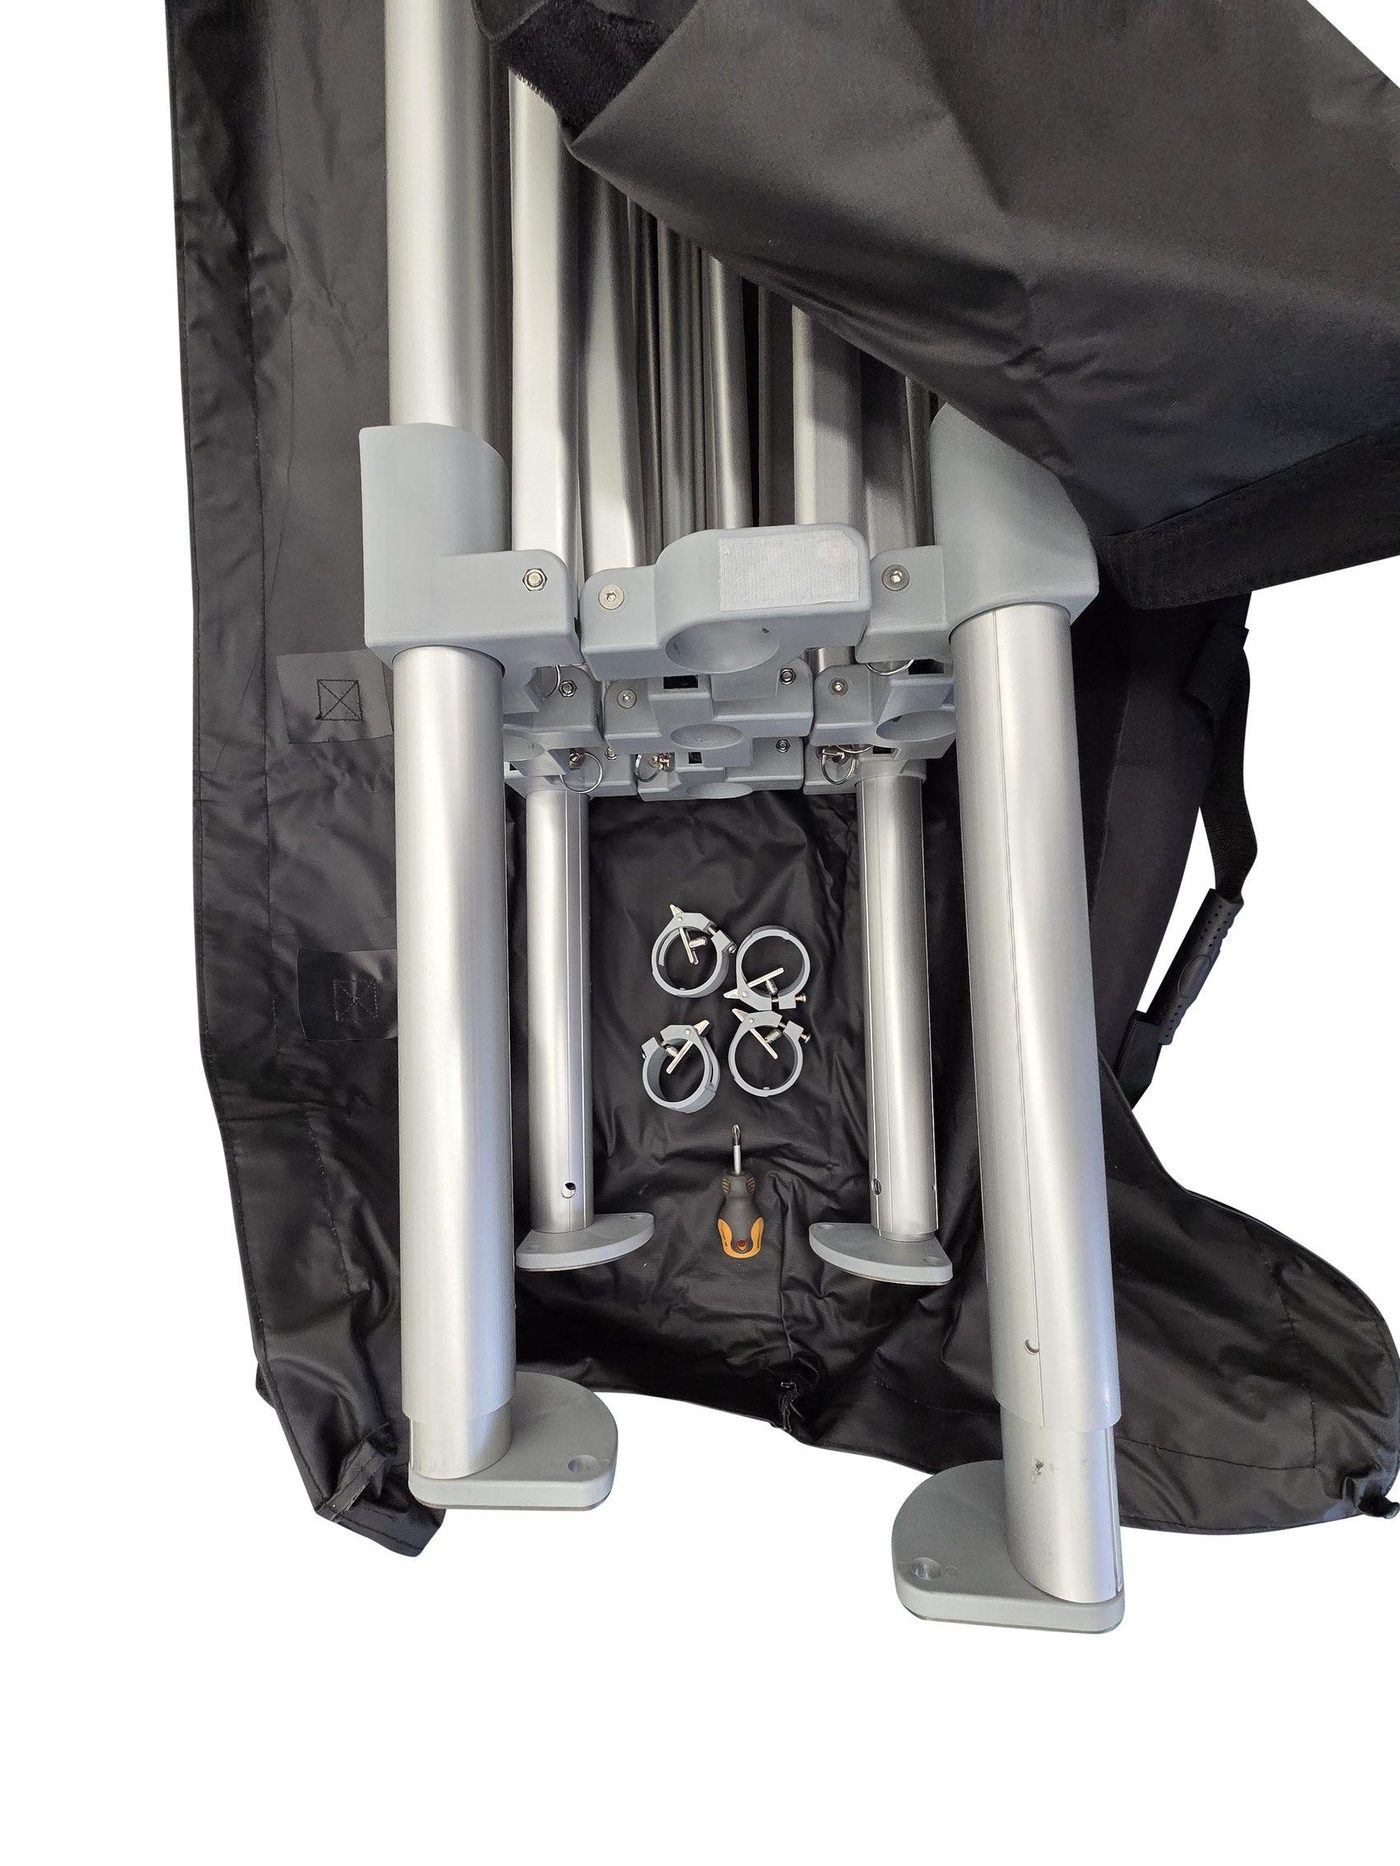
- Unpack and identify clips + tools.
- Expand frame; set leg height; install leg locking clips.
- Lock frame pins; install lower crossbars.
- Install exterior blackout fabric (black) then interior chroma fabric (blue).
- Install lighting (set to 4000K before mounting); route power to rear exit.
- Install webcam/camera; route USB (front) and audio (rear).
- Install base stations diagonally; route power to rear exit.
- Cable-manage along ceiling bars; install floor LAST.
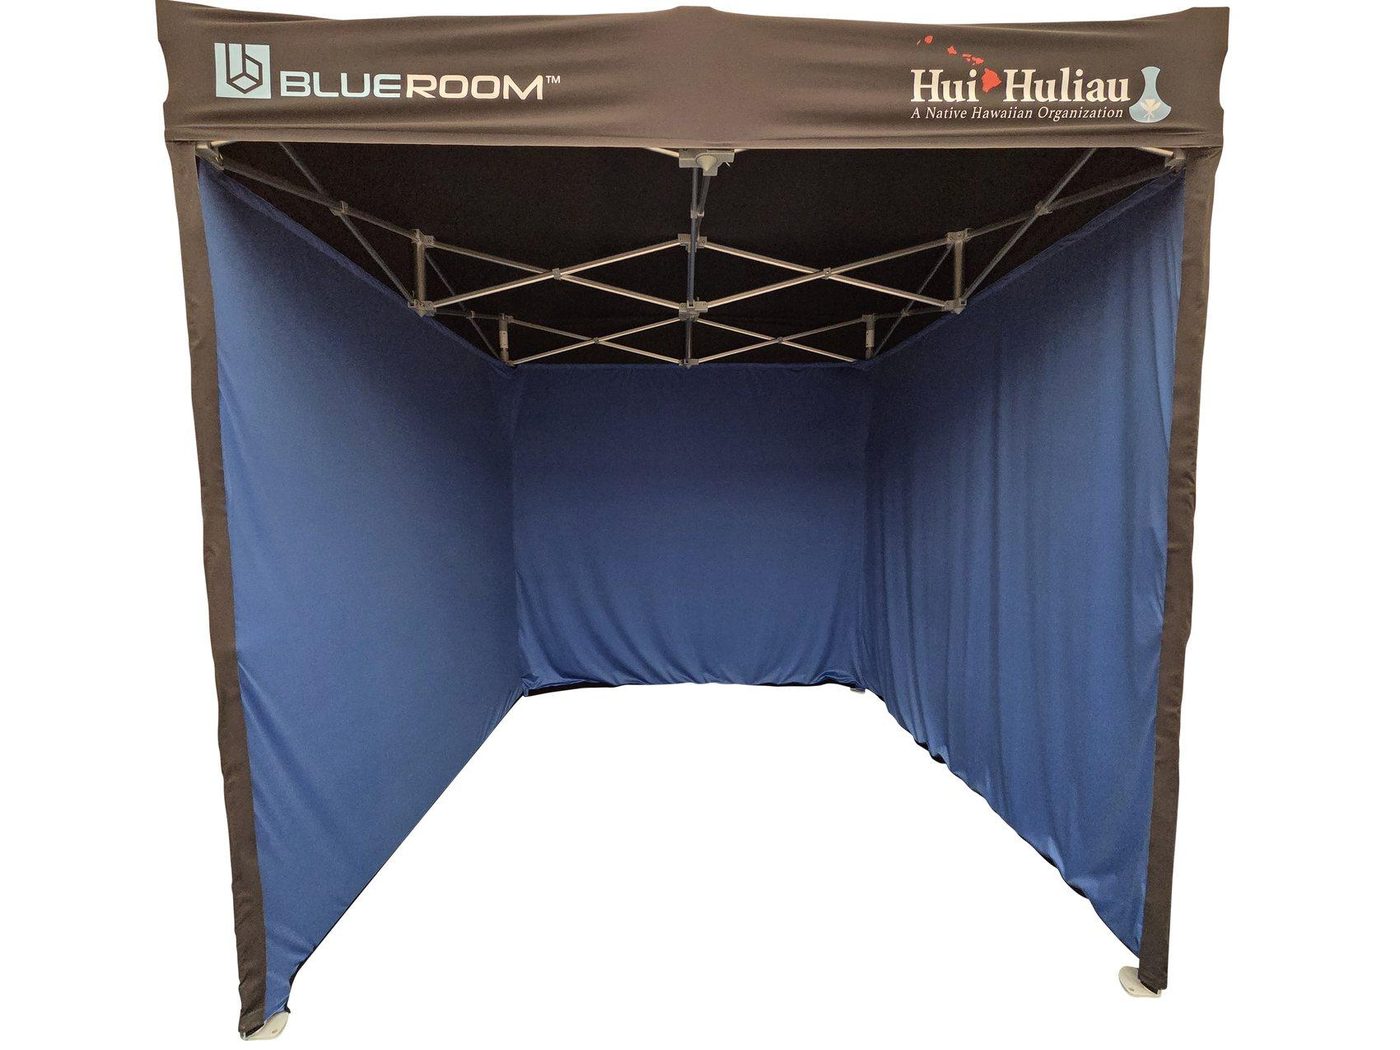
B. Structure Setup
Goal: Stand the frame up safely, square it, set height, and lock all structural pins before adding fabrics or hardware.
- Verify you have the frame, fabrics, crossbars, clips, lights, clamps, and cables.
- Keep clips grouped by type to speed up crossbar install.
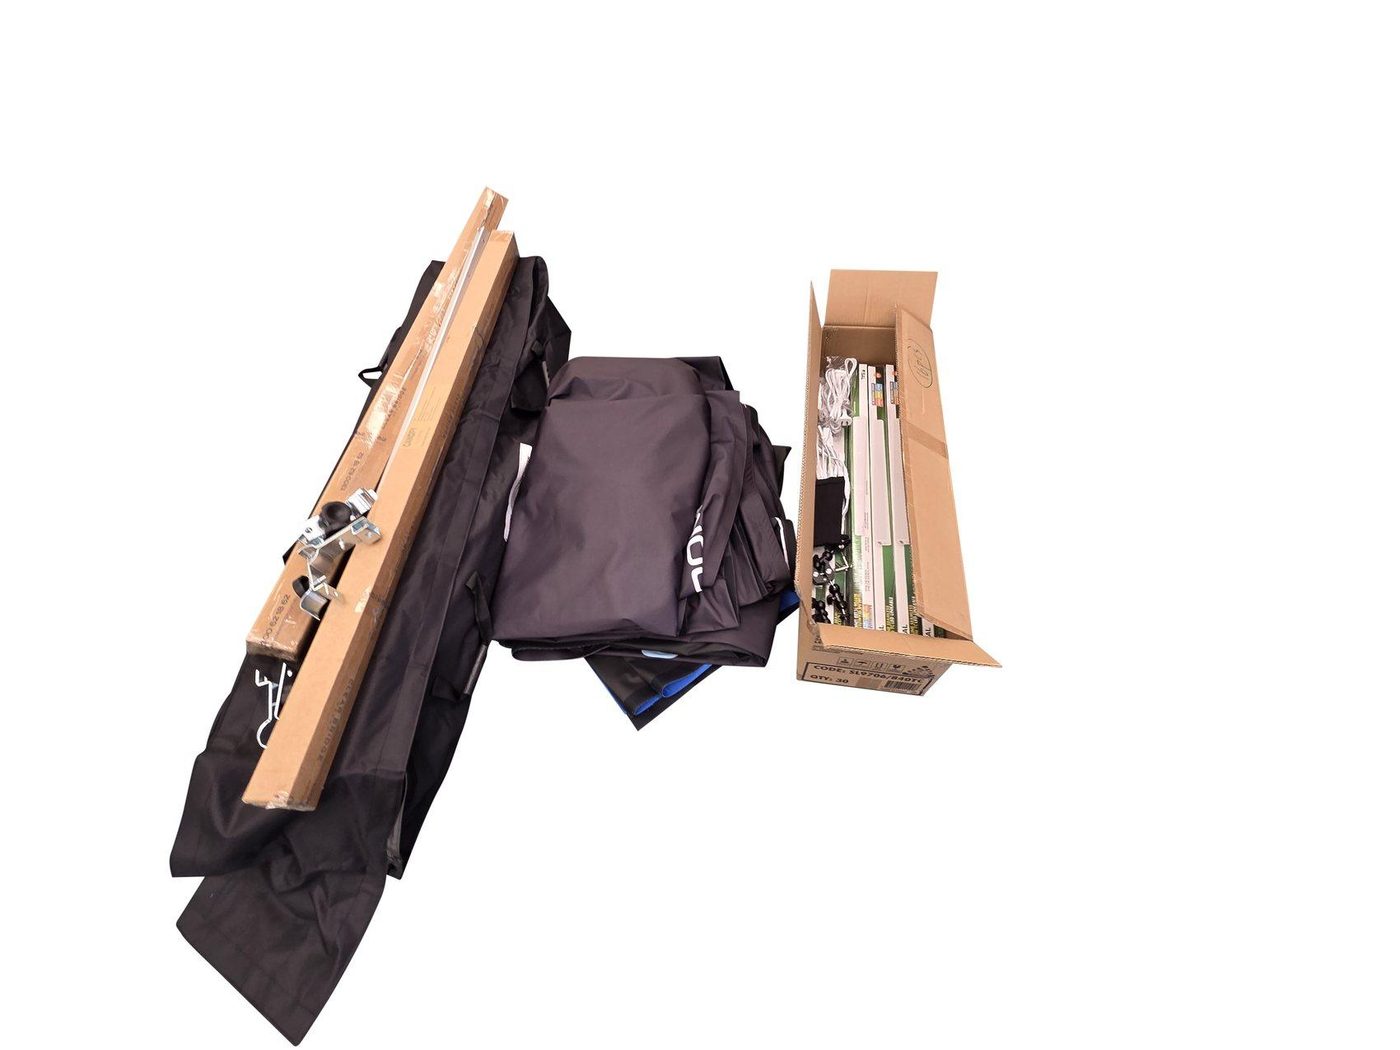
- Remove the structure from the bag and expand evenly from opposite sides.
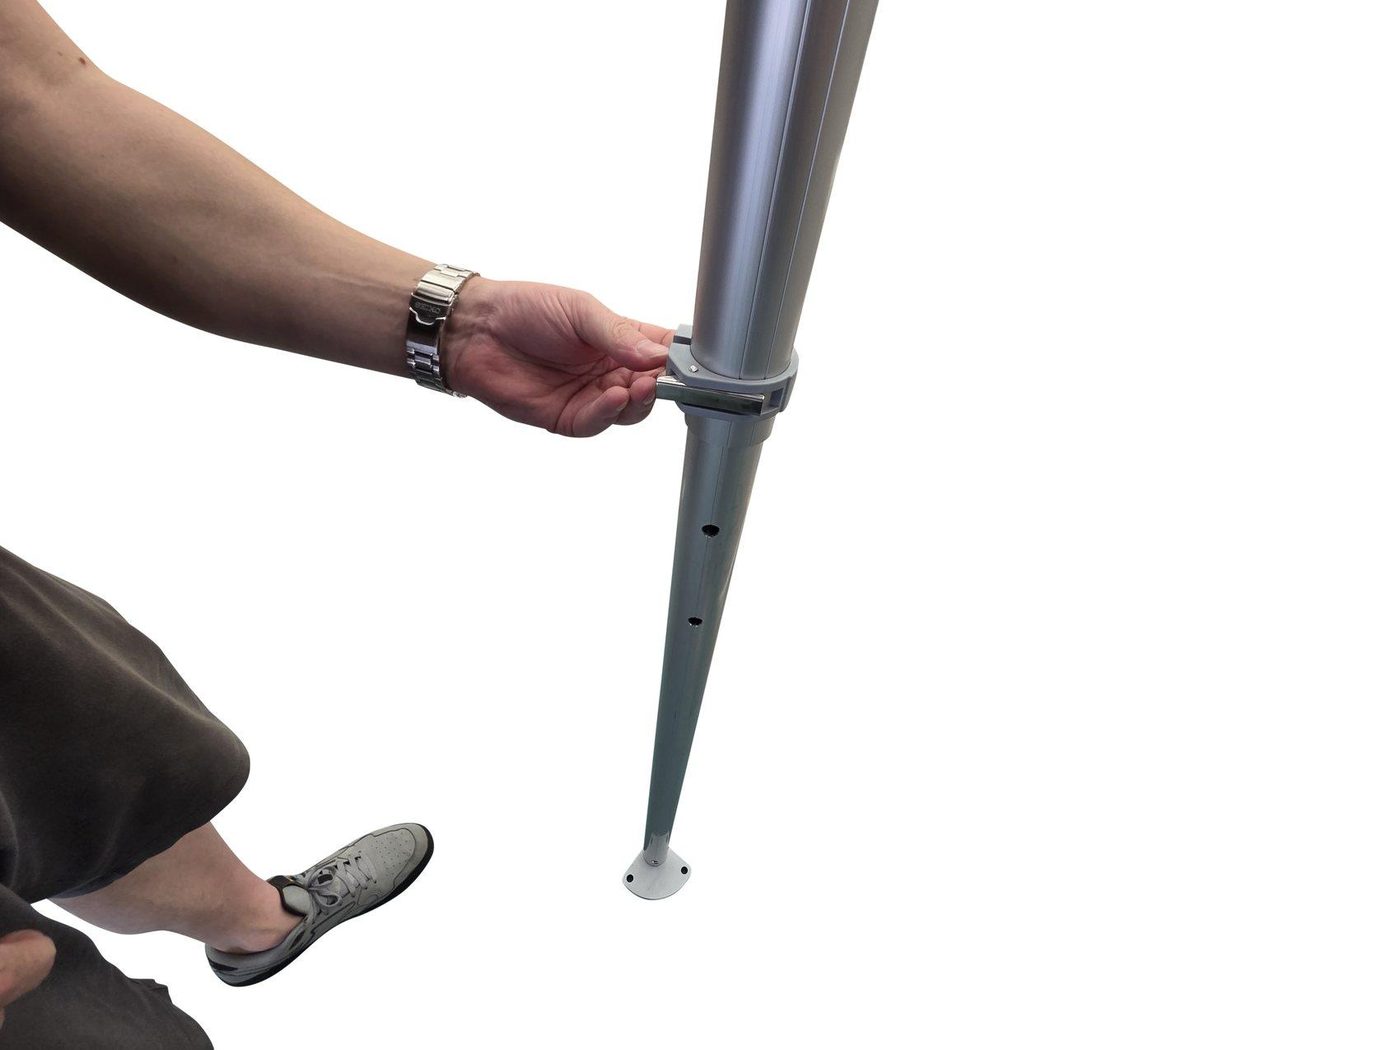
- Extend all four legs so the frame stands stable.
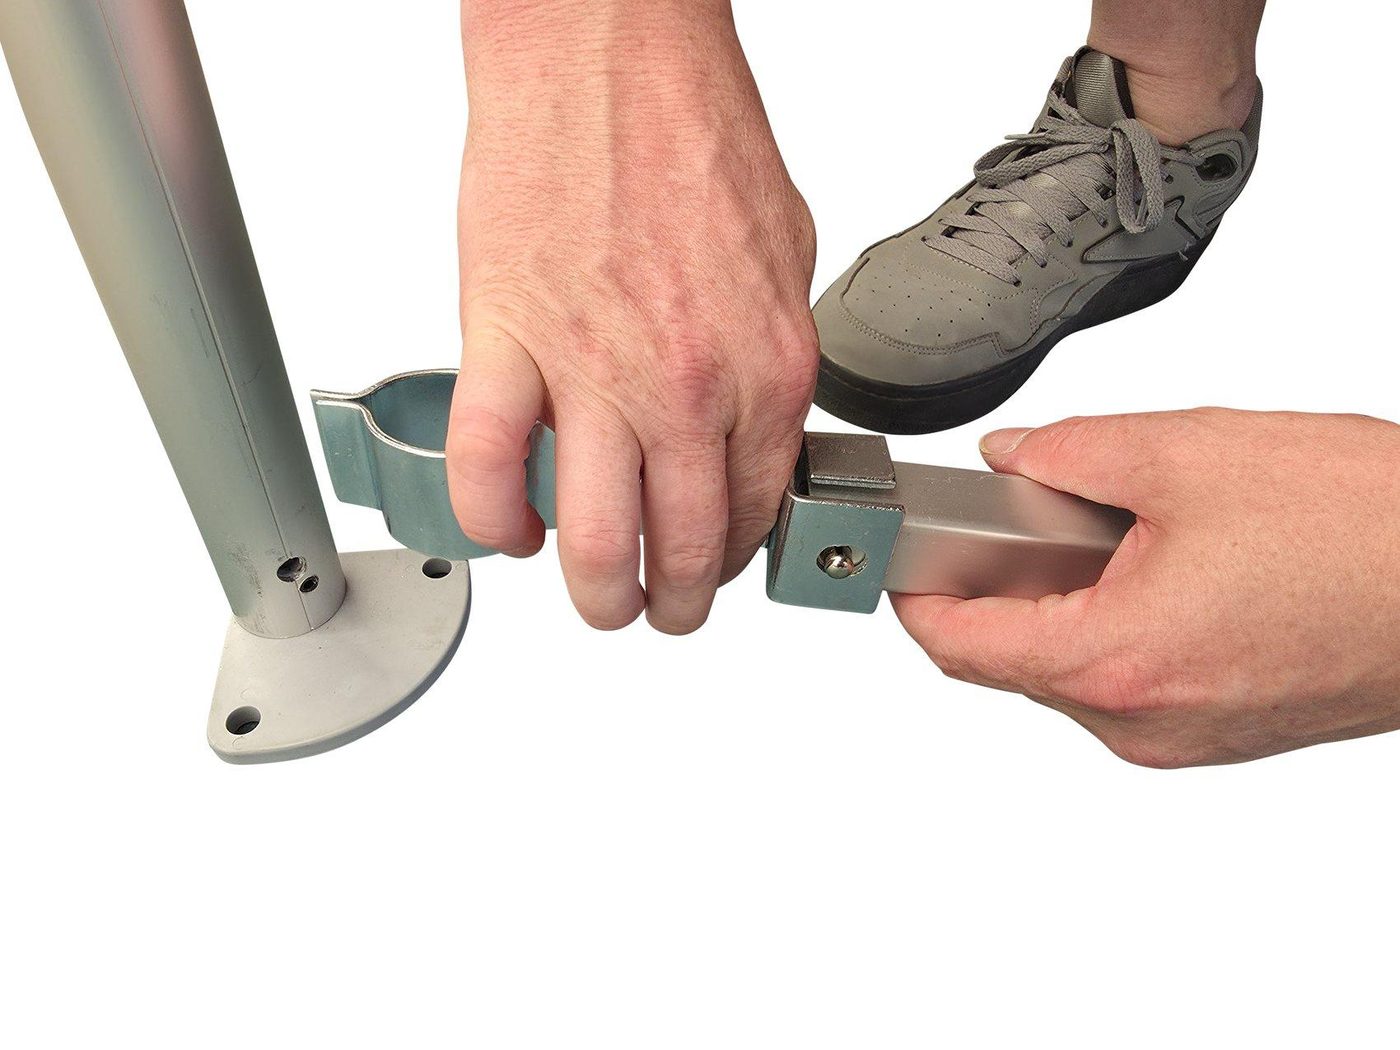
- Loosen screw and open the latch.
- Align the pin to the leg hole.
- Close latch and tighten firmly.

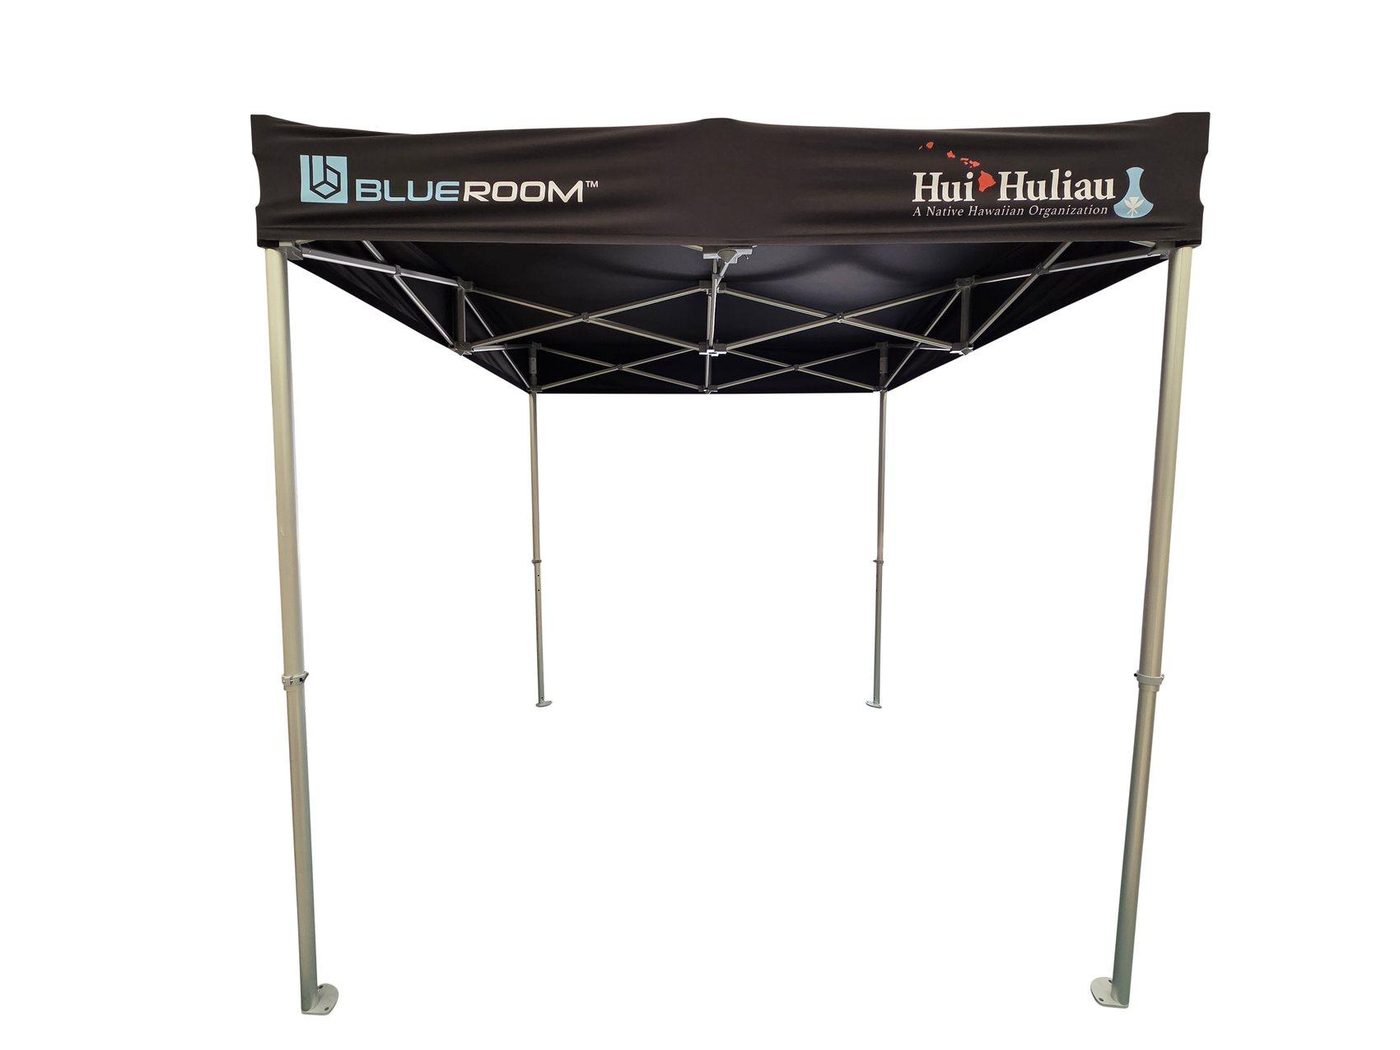
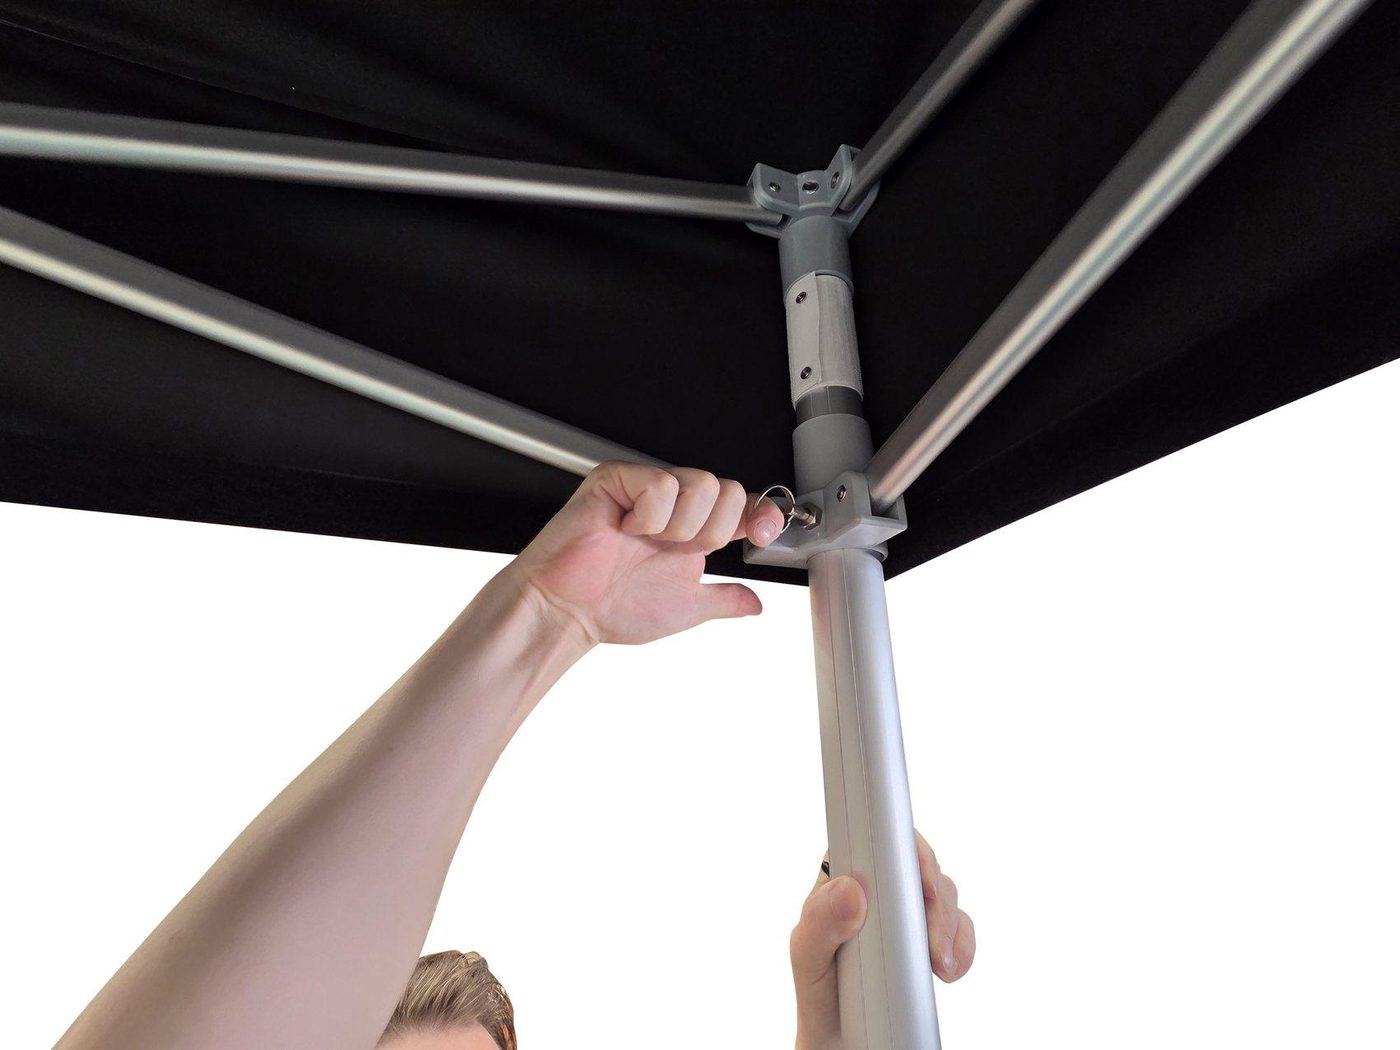
- Expand to full size until square.
- Pull the frame pin and let it re-engage into the hole to lock the frame.
- Confirm all pins are seated before proceeding.
C. Crossbars + Rigidity
Goal: Install lower crossbars to add stiffness and provide tension points for fabrics.
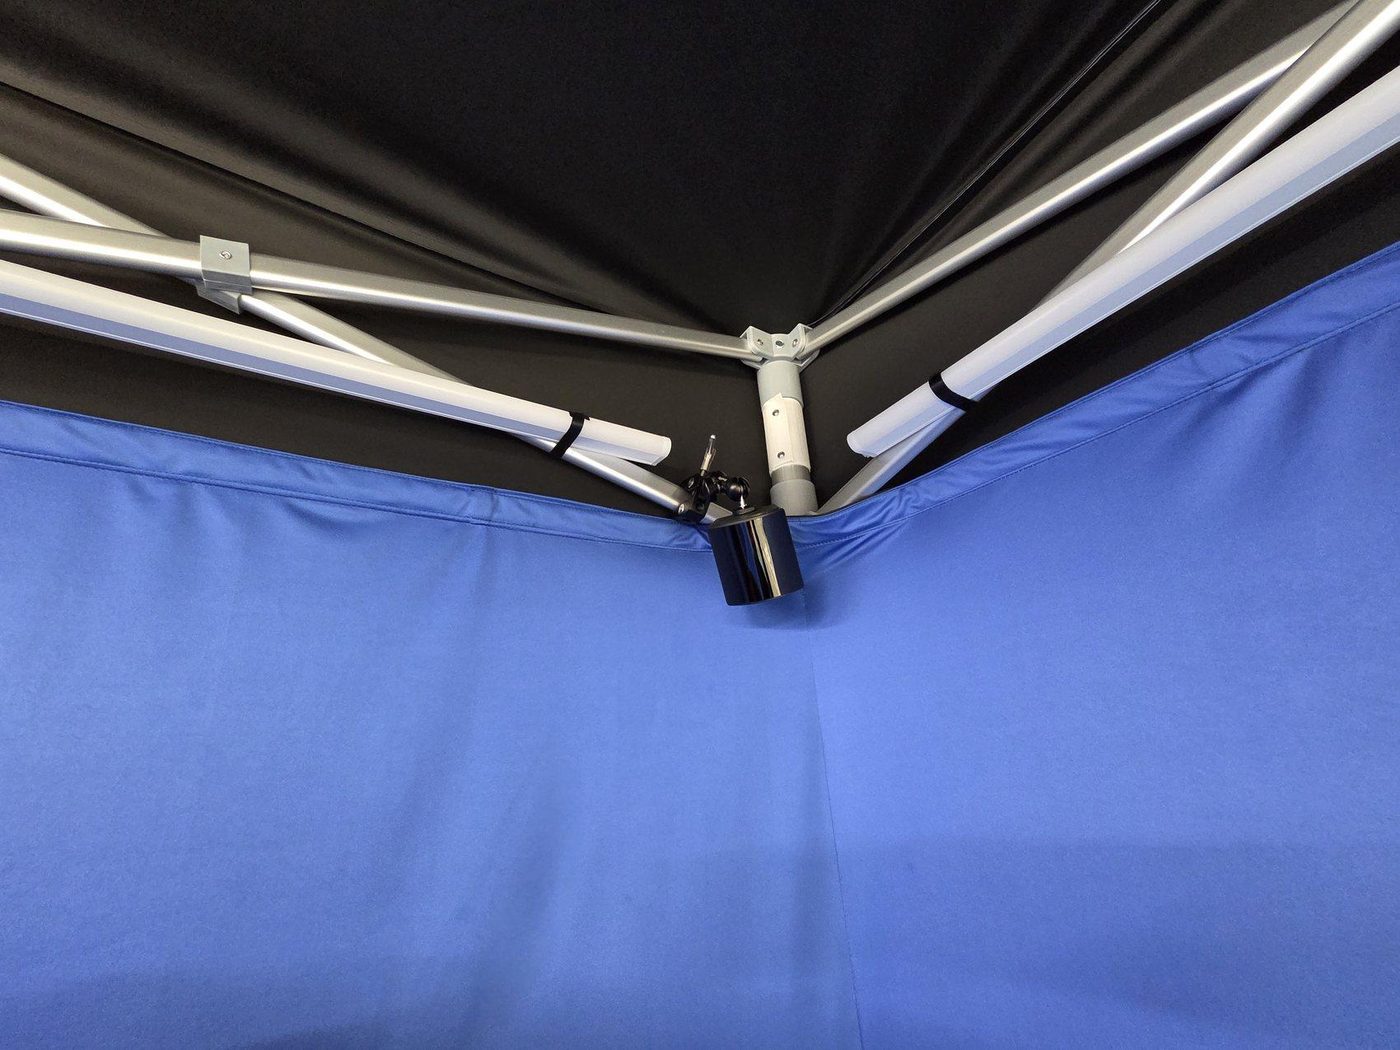
- Each crossbar uses two clips.
- SINGLE clip at the front.
- L-SHAPED clip at the rear.
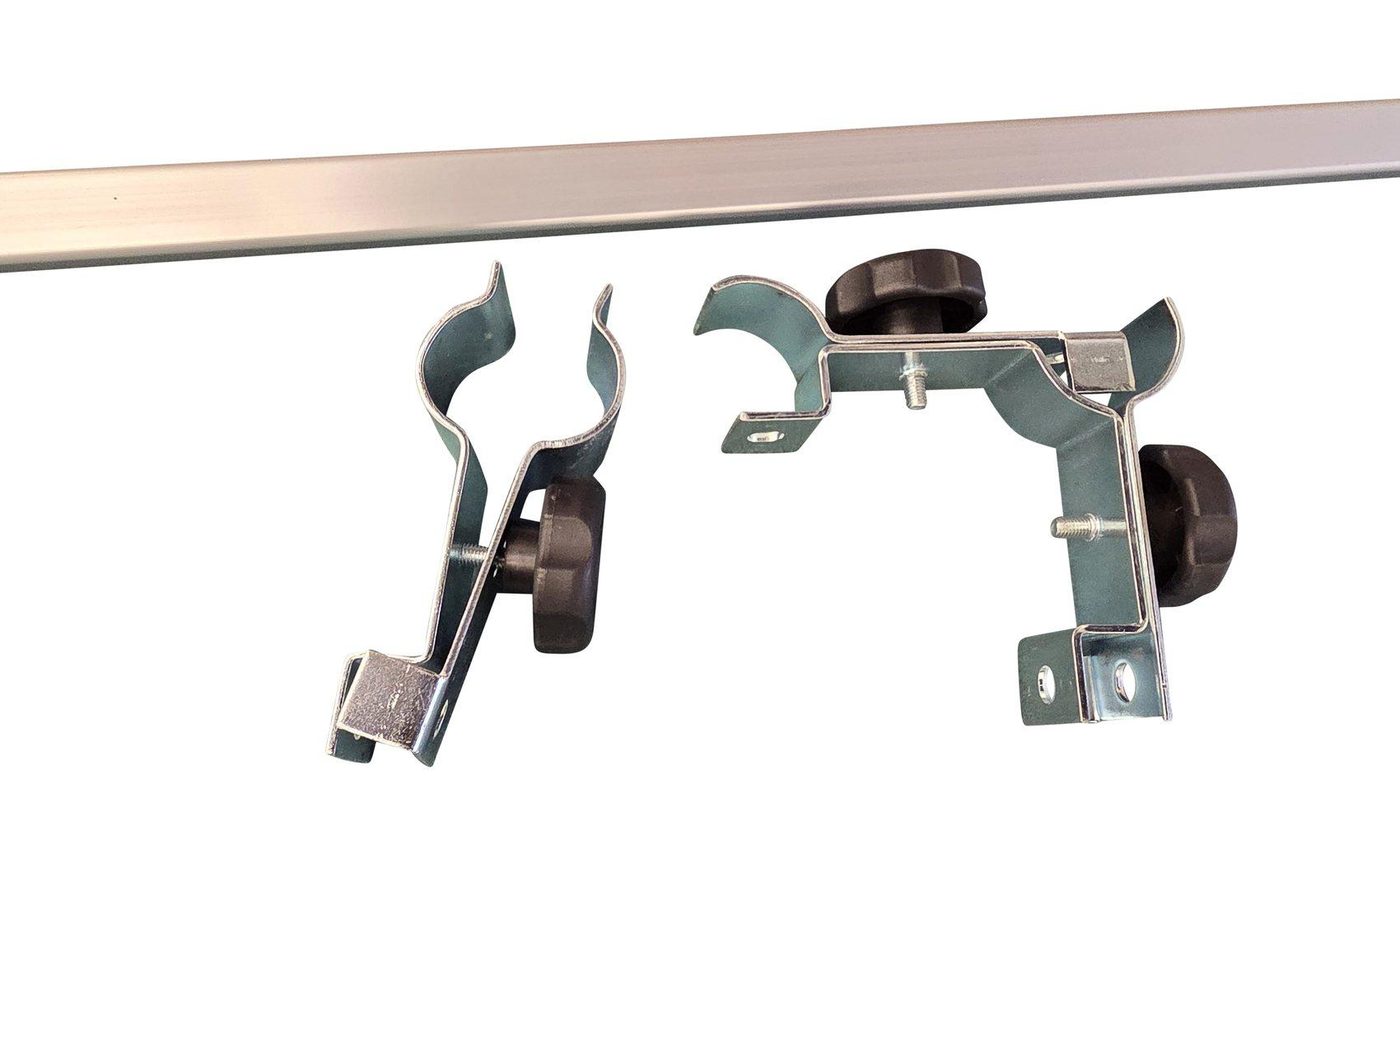
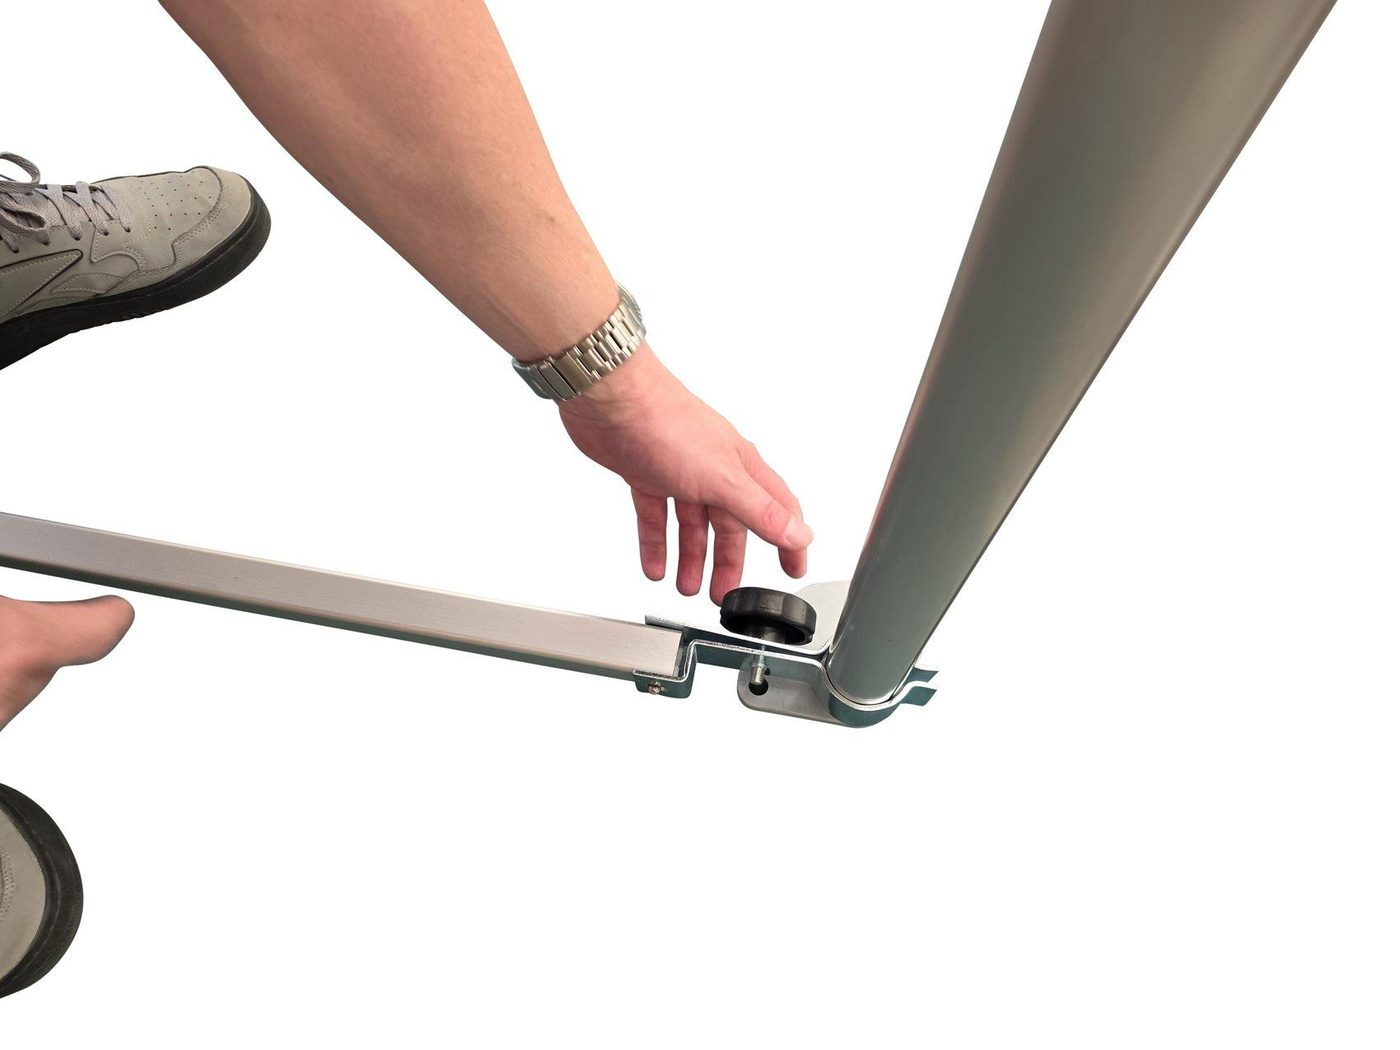
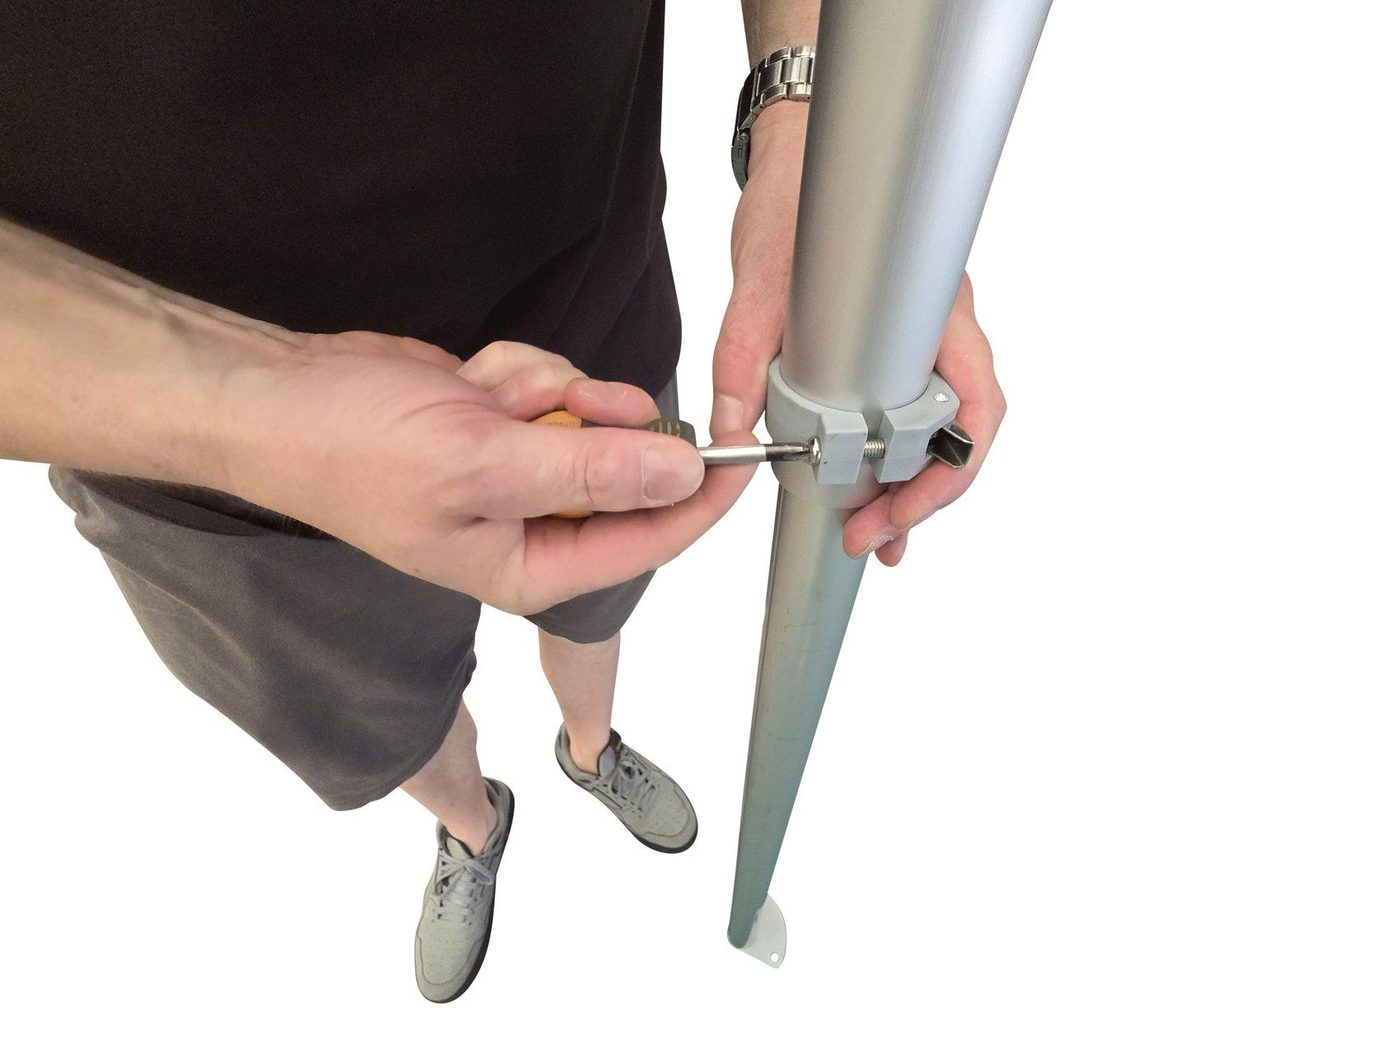
- Loosen the black screw and open the clip.
- Clamp to the leg and align the bar.
- Tighten firmly. Repeat for remaining sides/back.
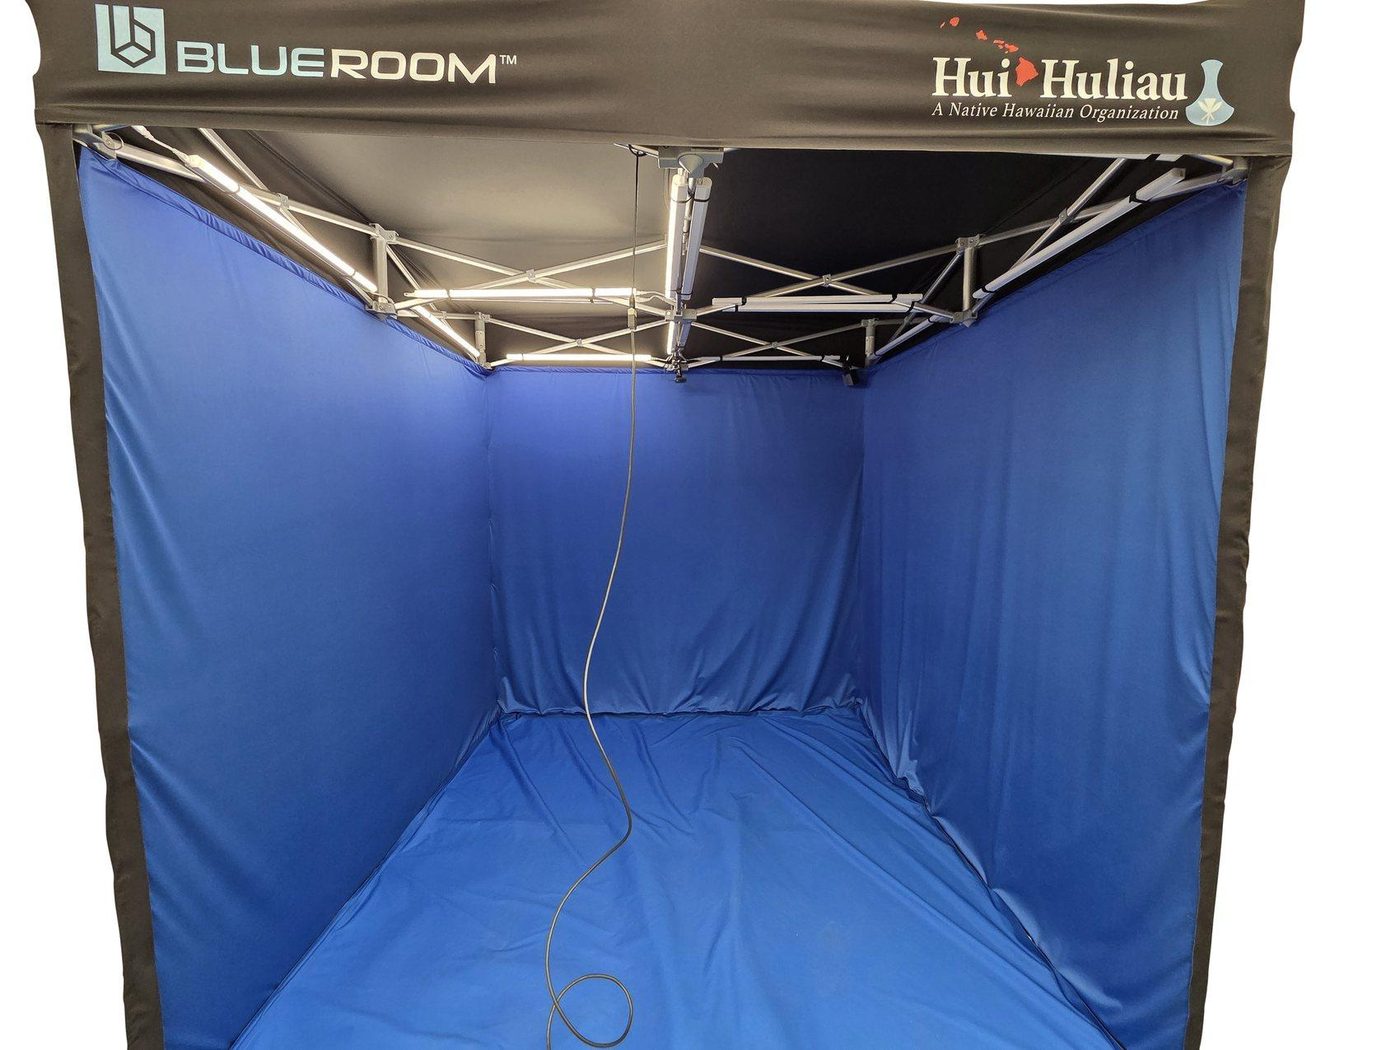
D. Fabrics (Blackout + Chroma)
Critical for chroma quality: smooth, evenly tensioned fabric = clean keying.
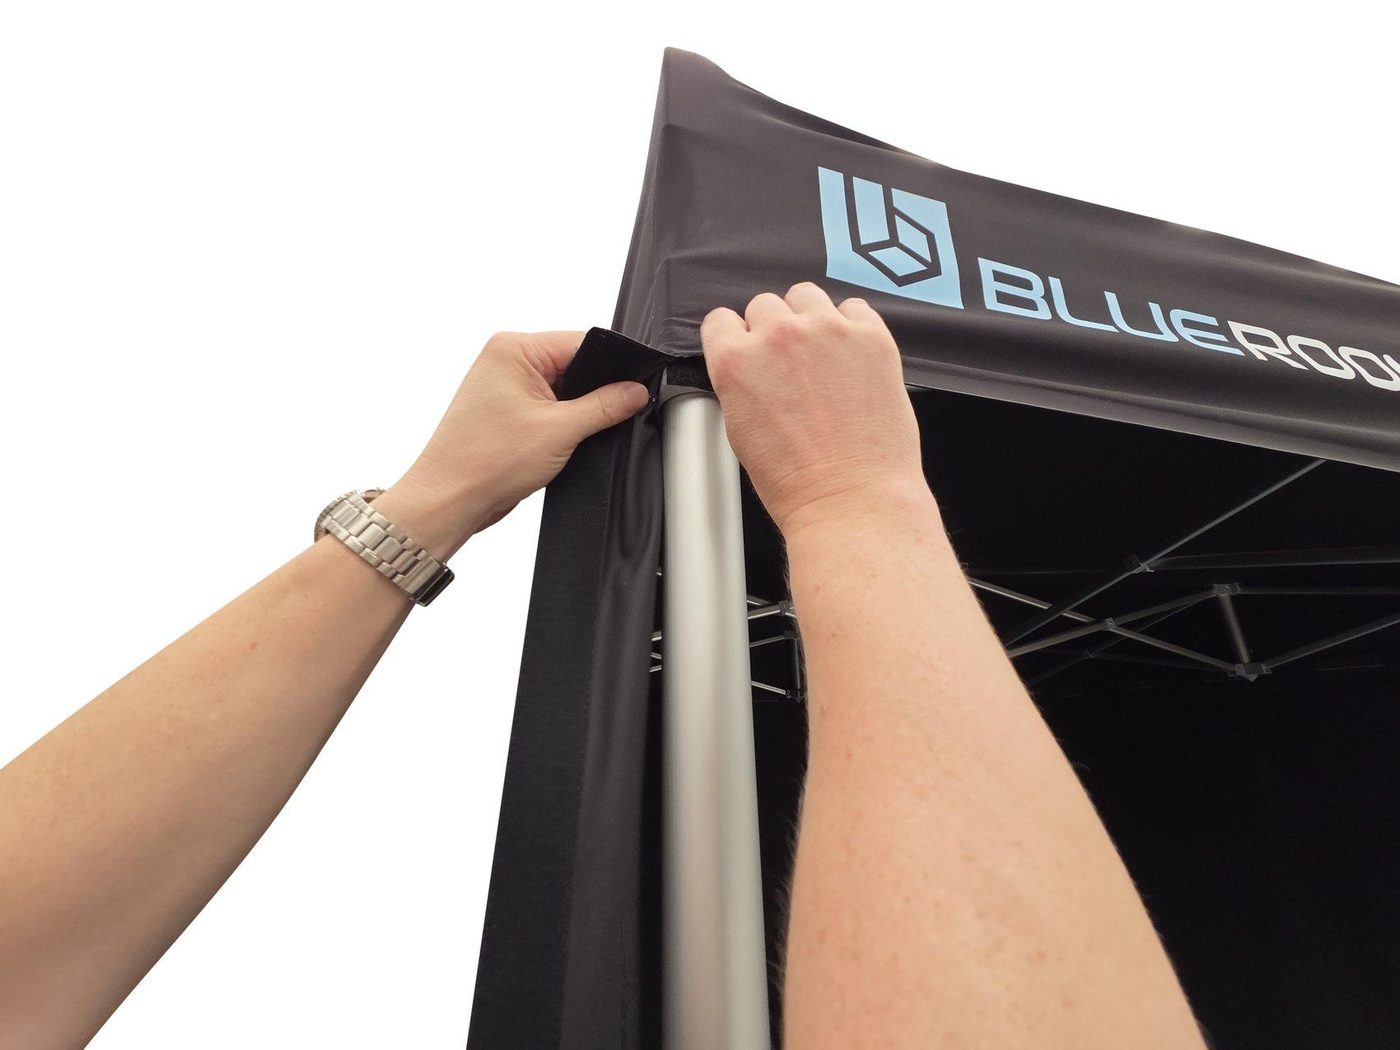
- Starting at the front, Velcro the top of the body fabric to the bottom of the ceiling fabric.
- Work around the entire structure.
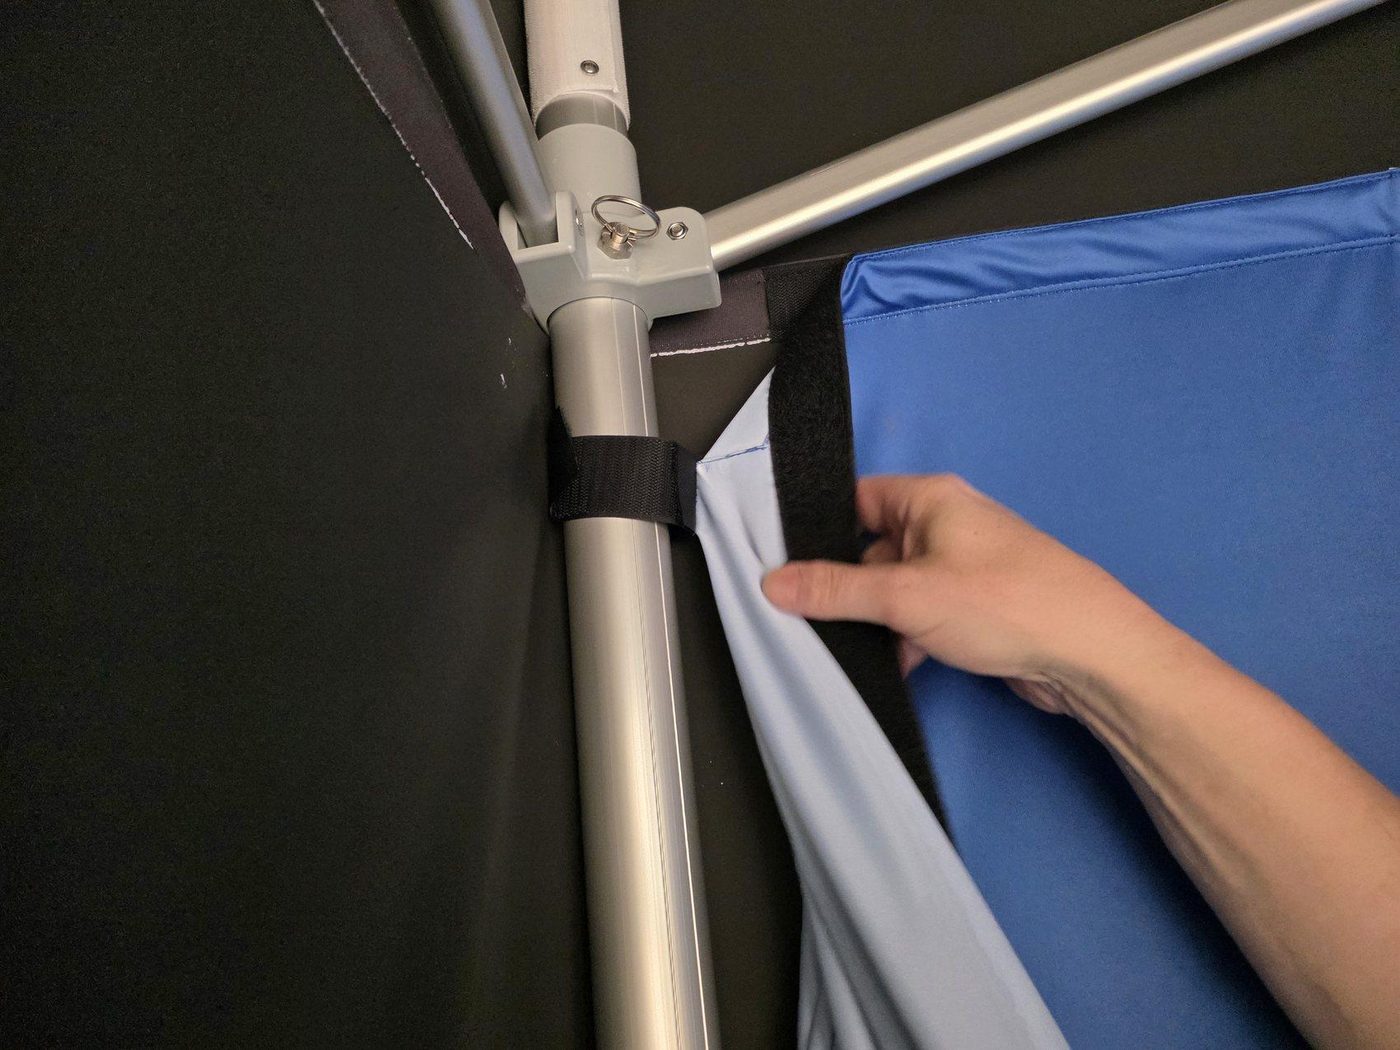
- Secure corner tabs around legs.
- Velcro blue to black along top and bottom runs.
- Wrap fabrics around legs so leg tubes are fully covered.
- Remove folds/sagging for best keying.

E. Lighting (4000K) + Power Routing
Install lighting before the floor to keep the floor fabric clean and allow easy cable routing.
- Power on lights and set colour temperature to 4000K before mounting.
- Troubleshooting is harder once fabrics/floor are installed.
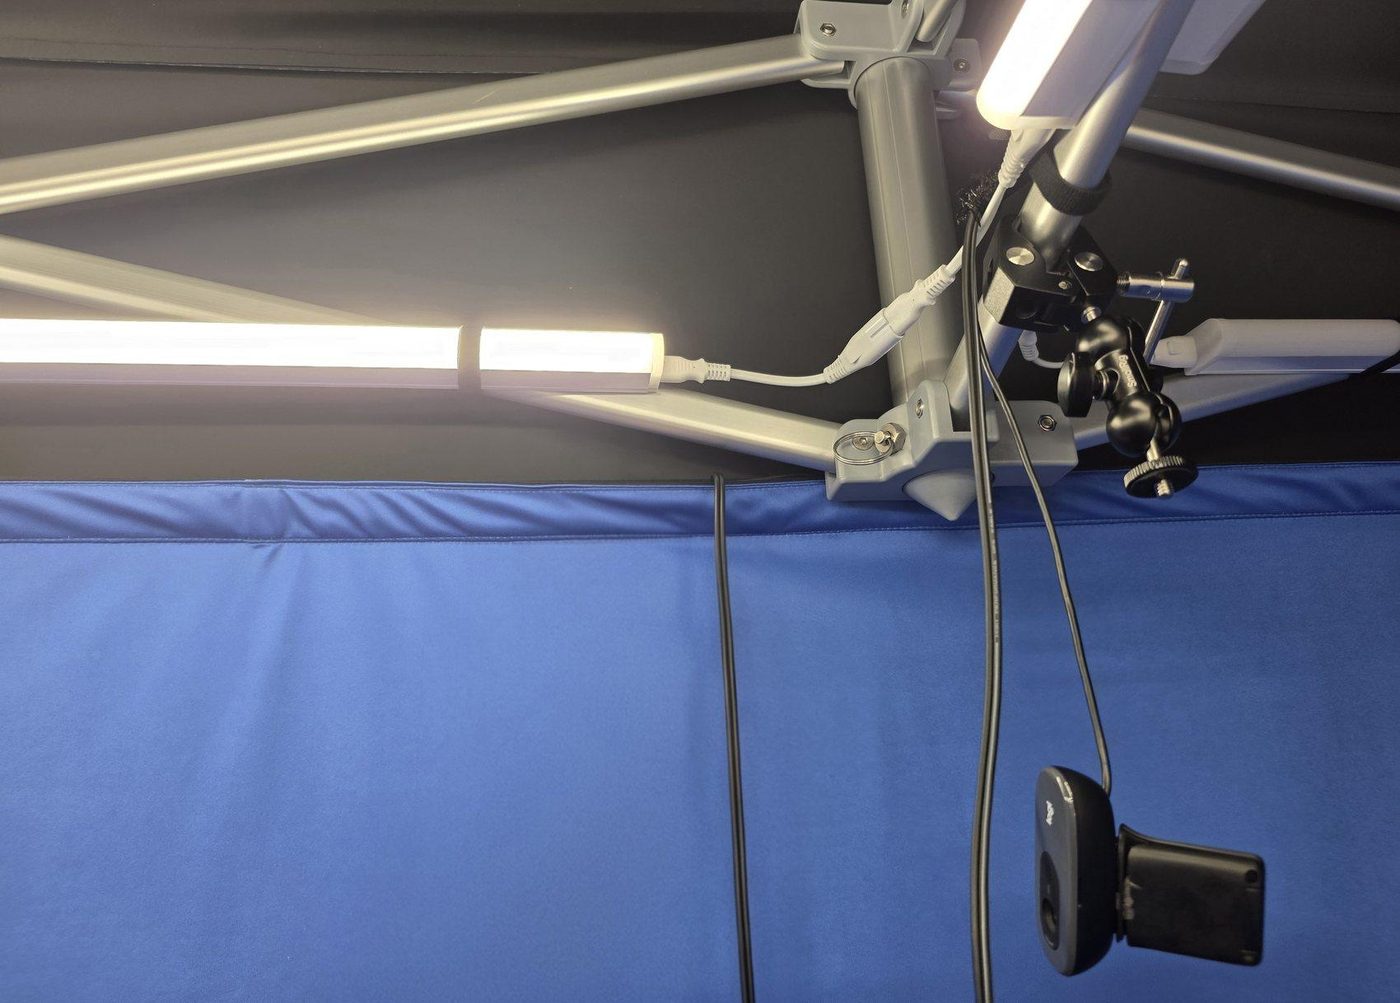
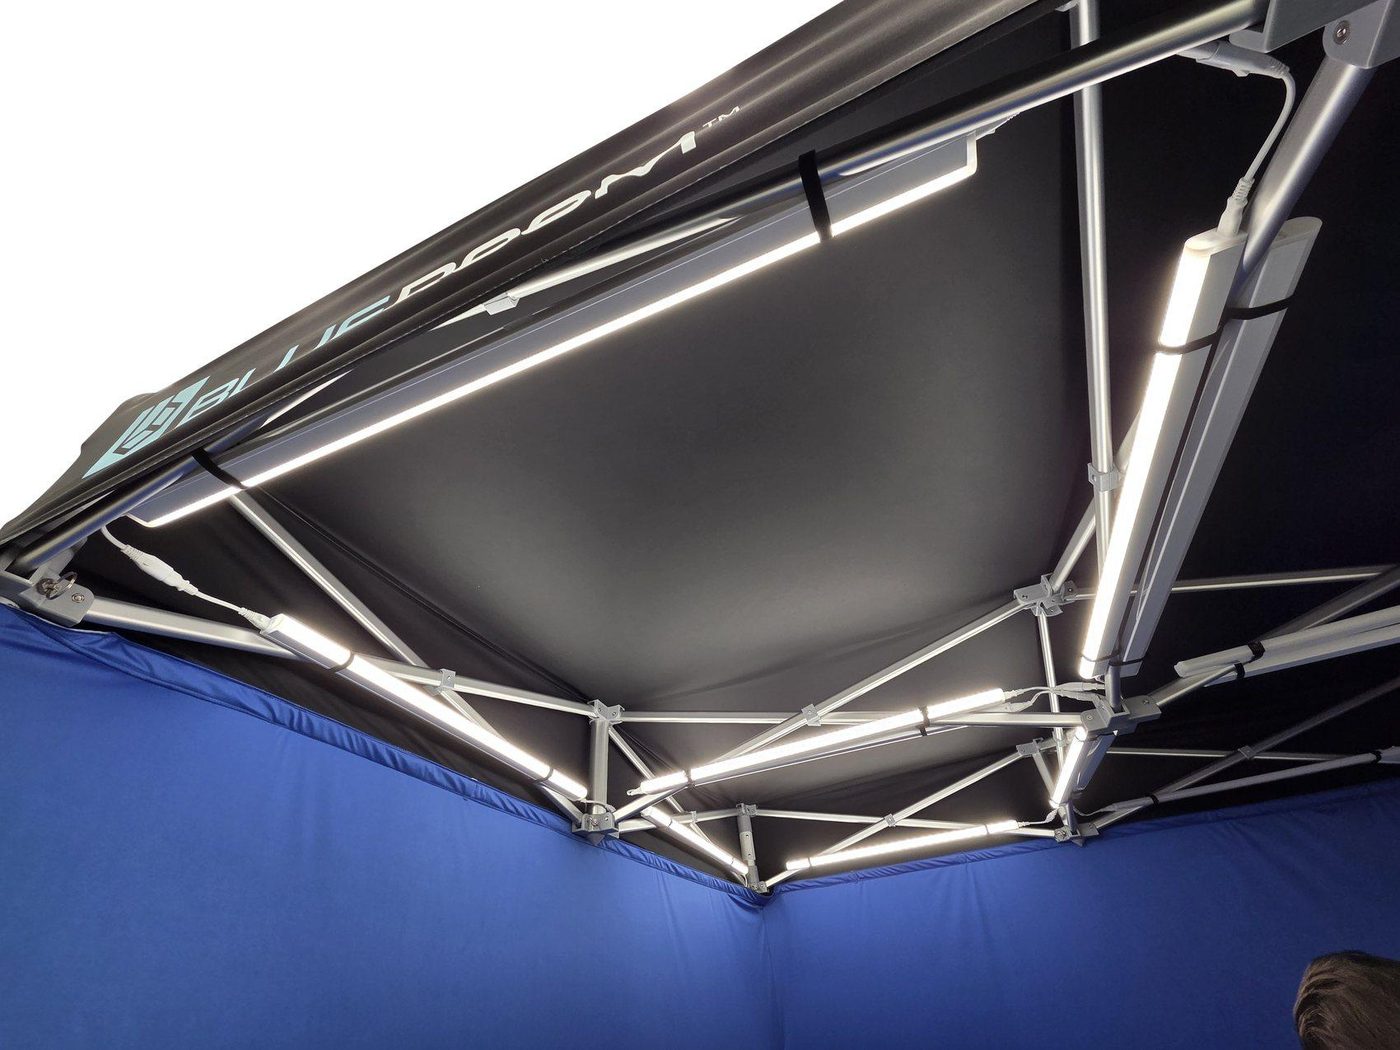
- Velcro both ends of each light to the marked ceiling positions.
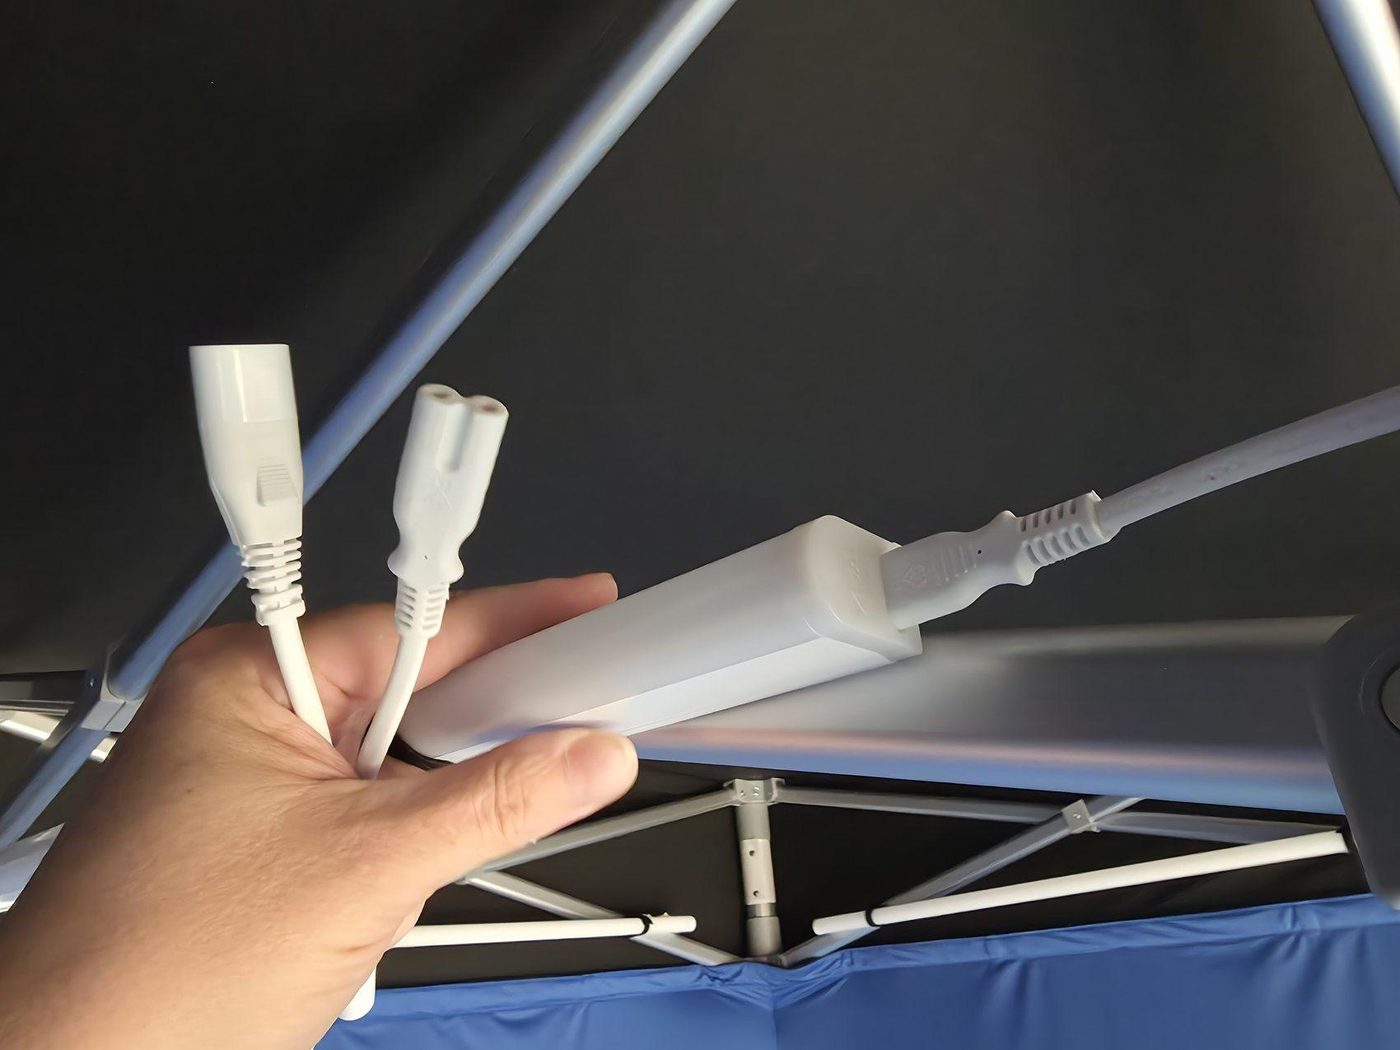
- Connect light connectors and interconnect cables.
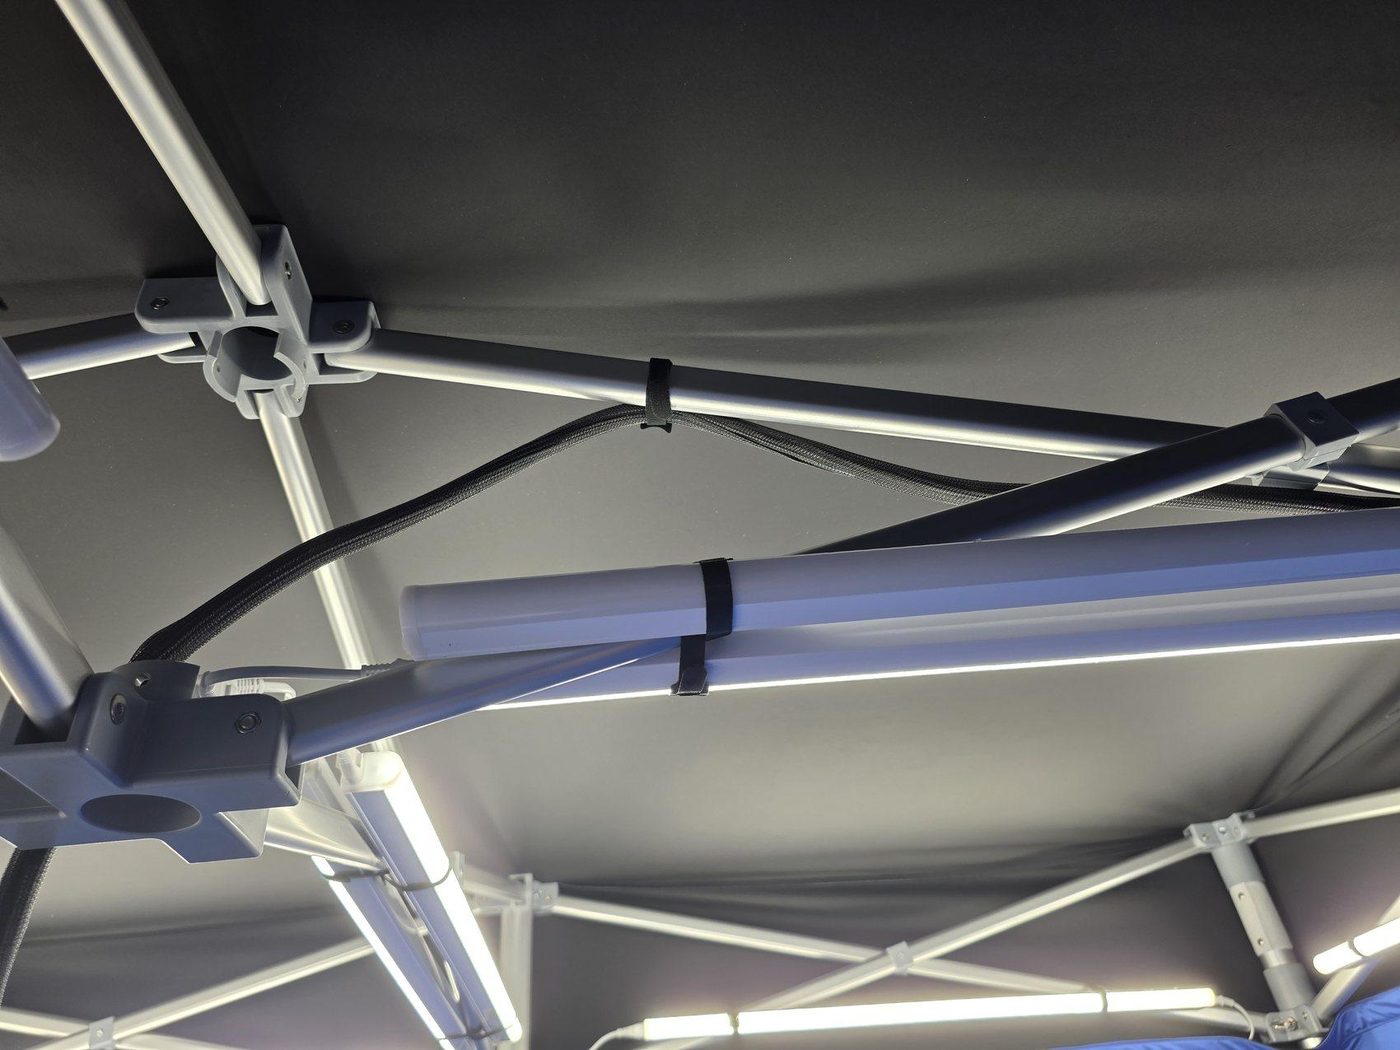
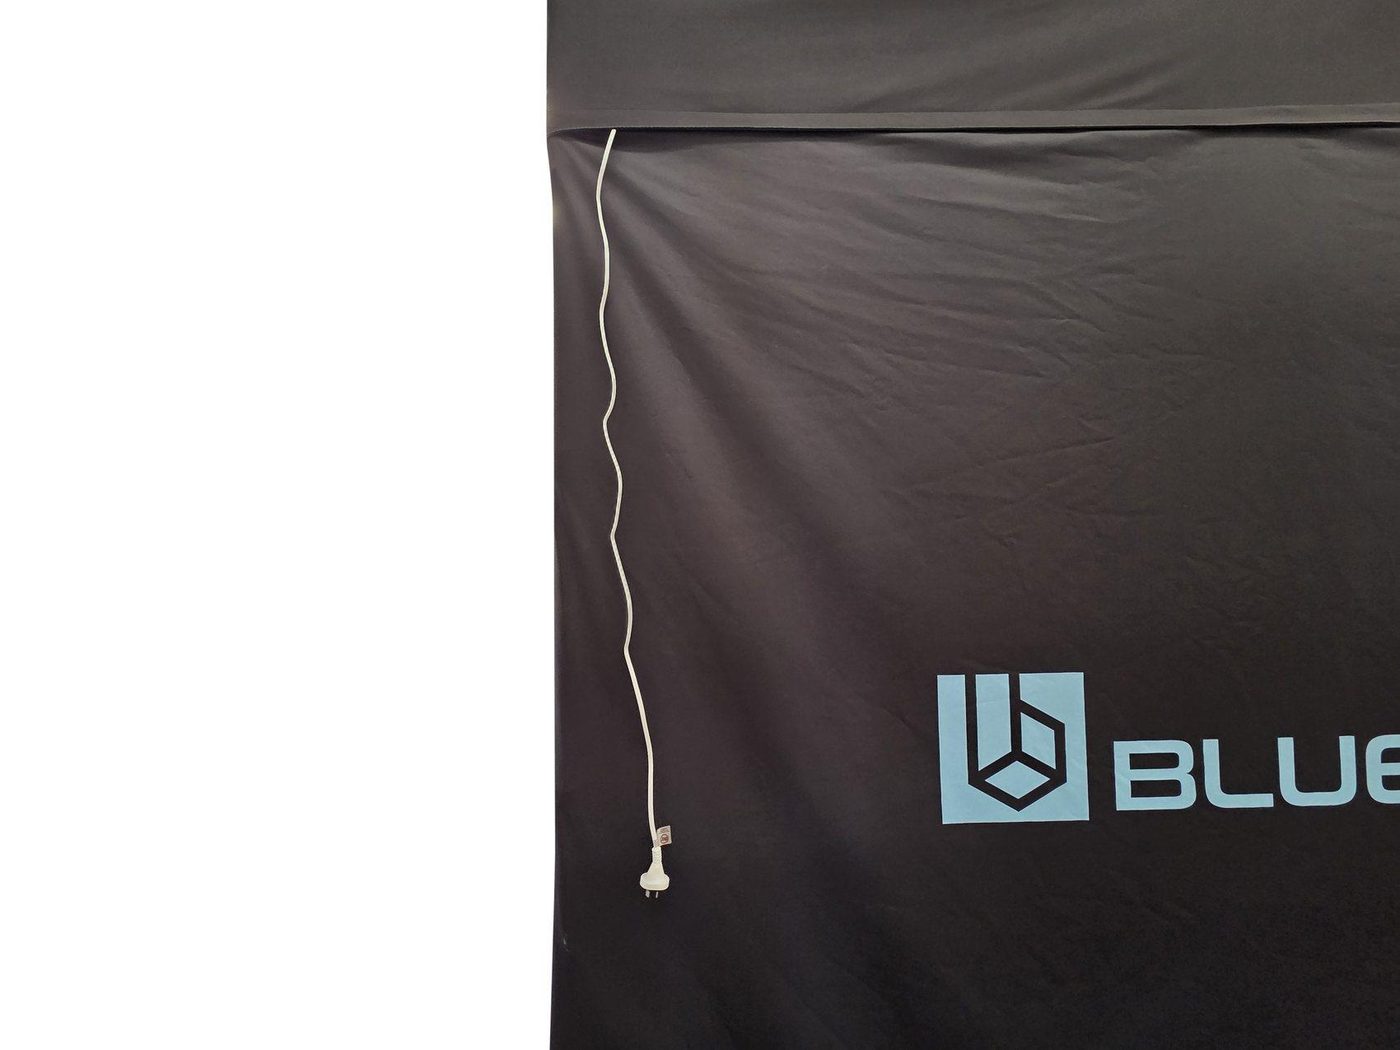
- Connect corner light to power cable.
- Feed plug through the rear Velcro slit so all power exits at the rear.
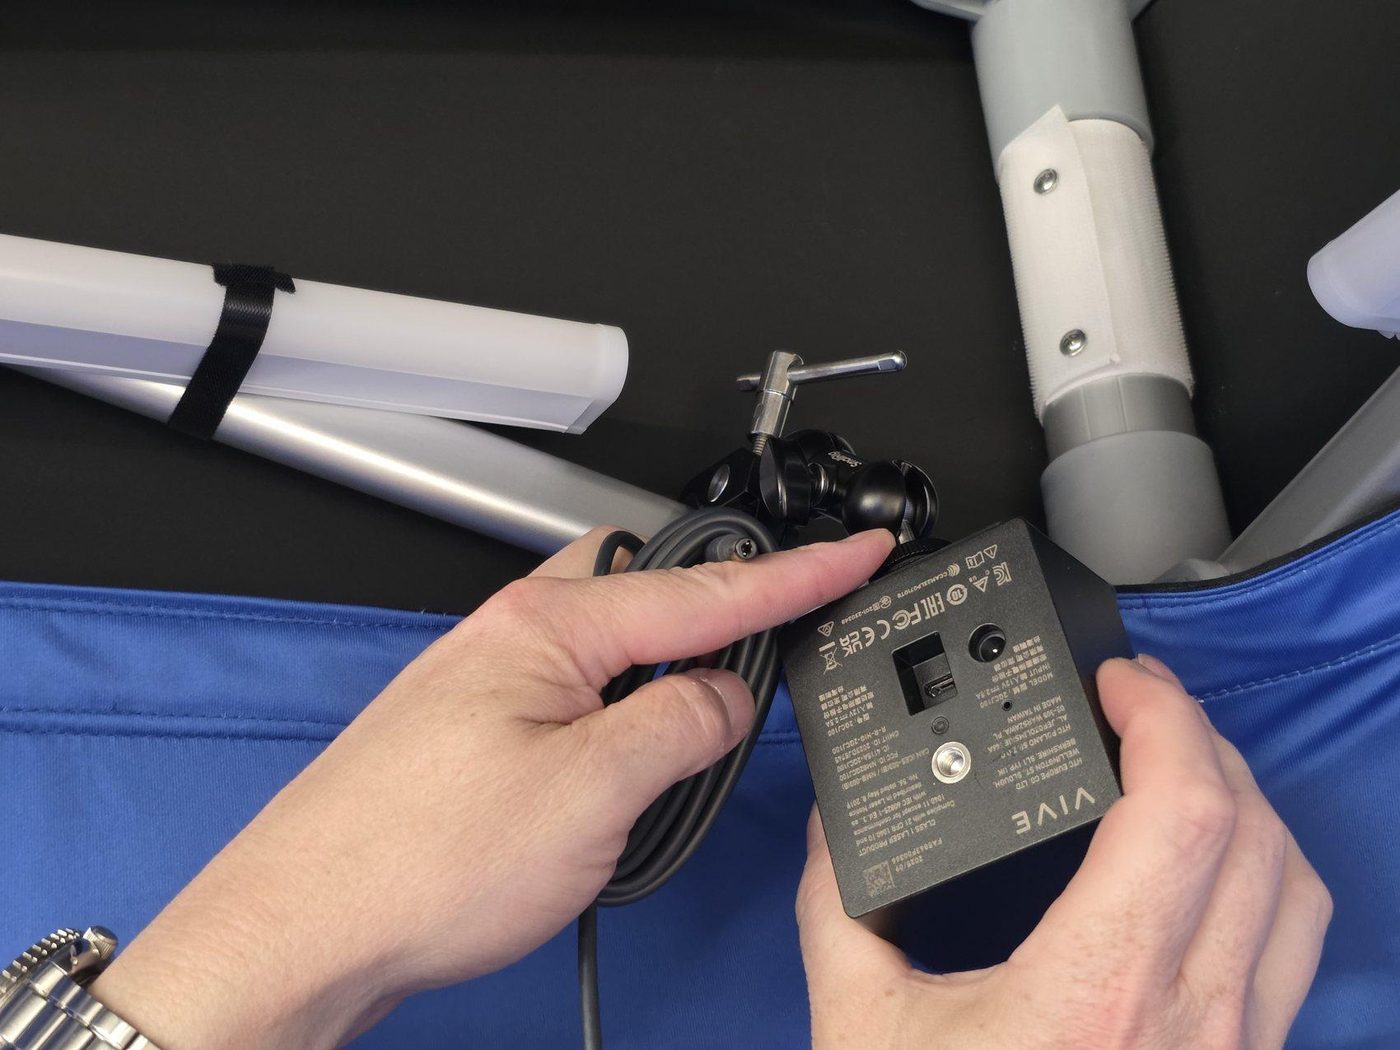
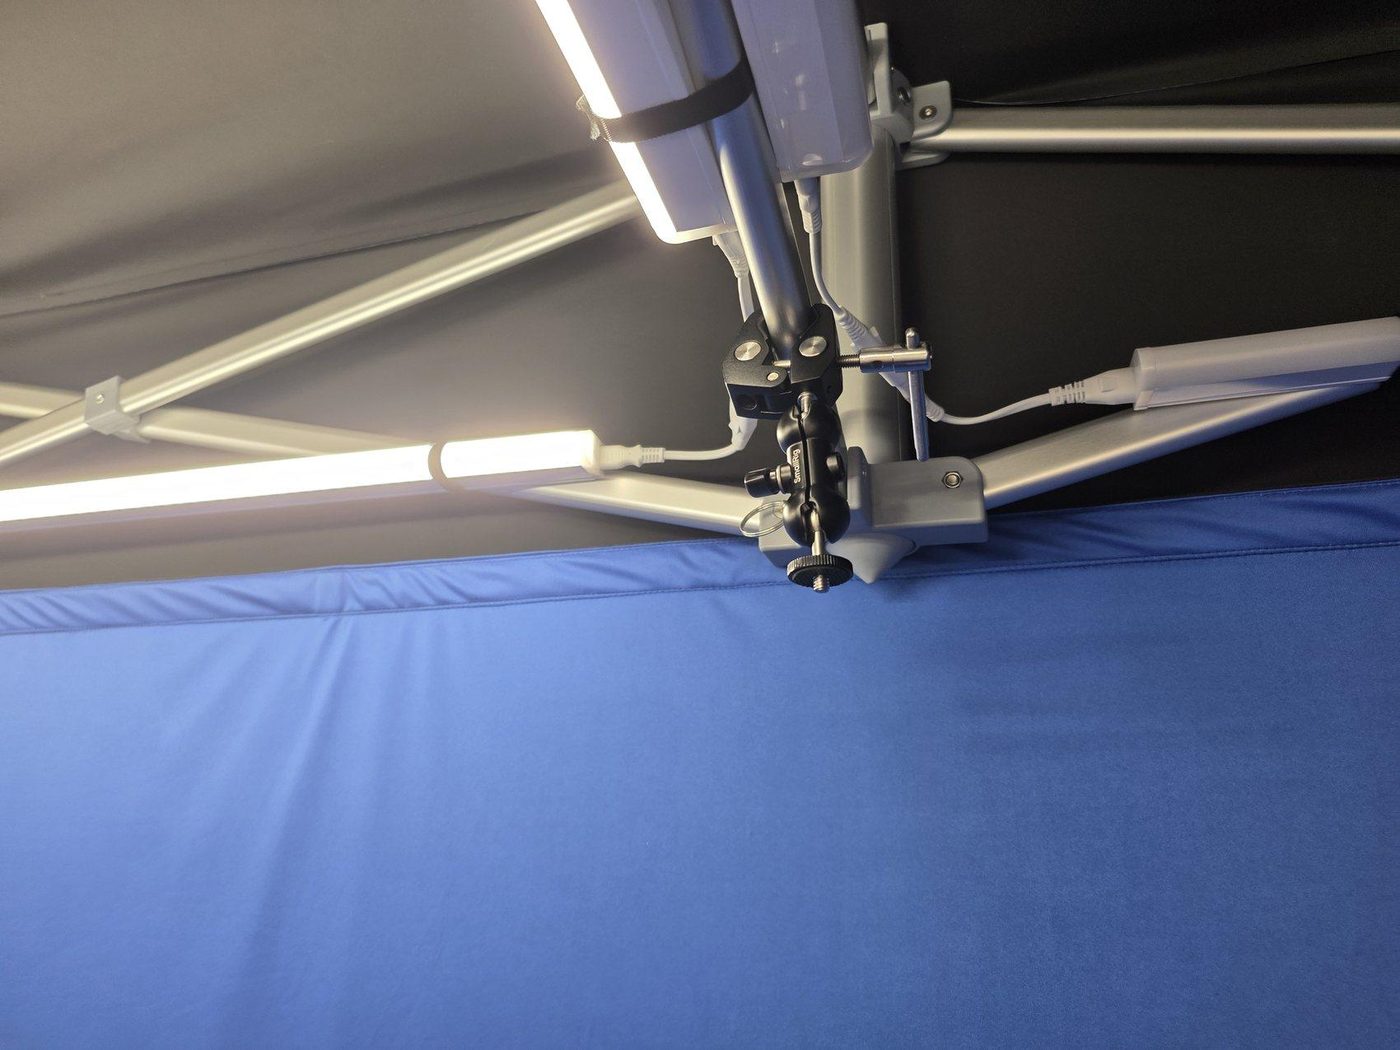
F. Camera + Audio
Goal: Secure the camera centrally and route USB/audio cleanly along ceiling bars (no hanging loops).
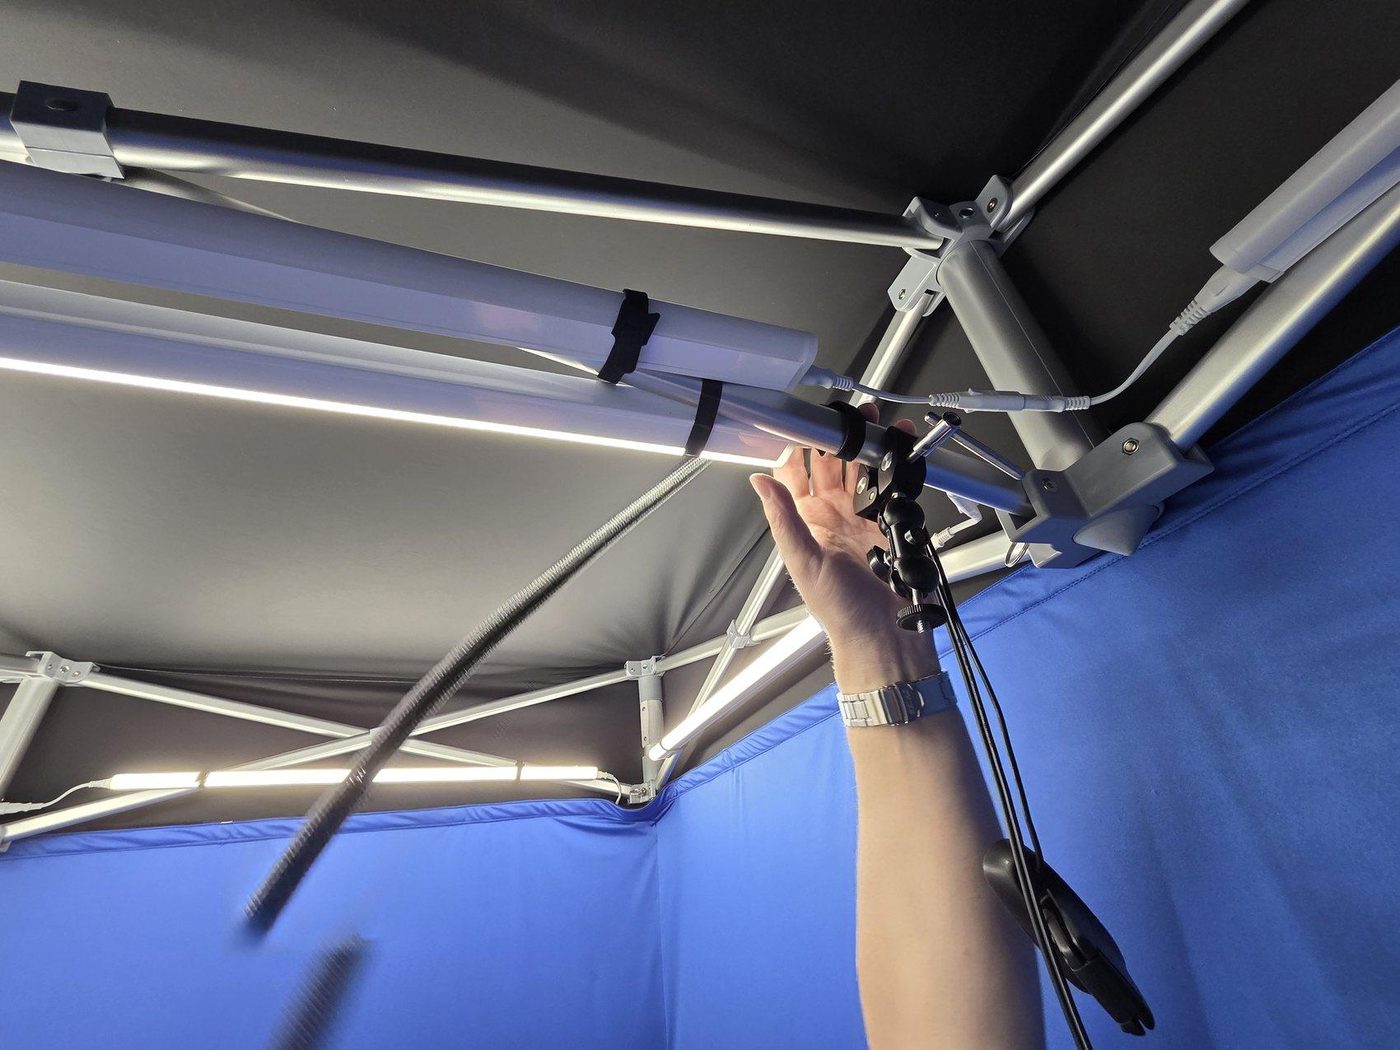
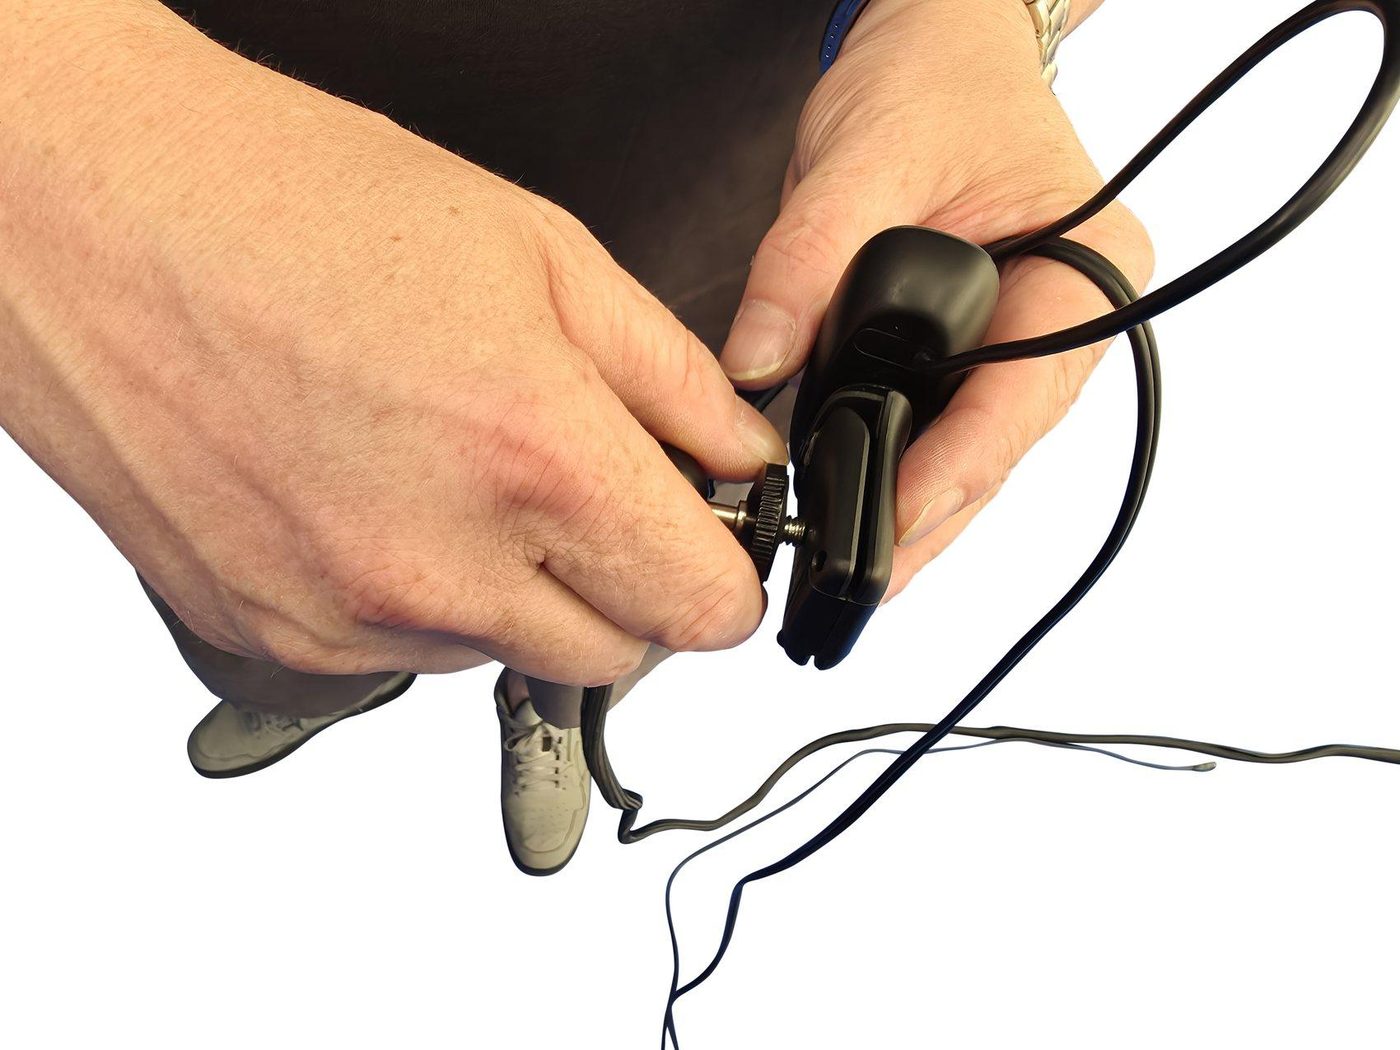
- Attach the webcam/camera to the SmallRig ceiling clamp.
- Clamp the assembly to the frame bar.
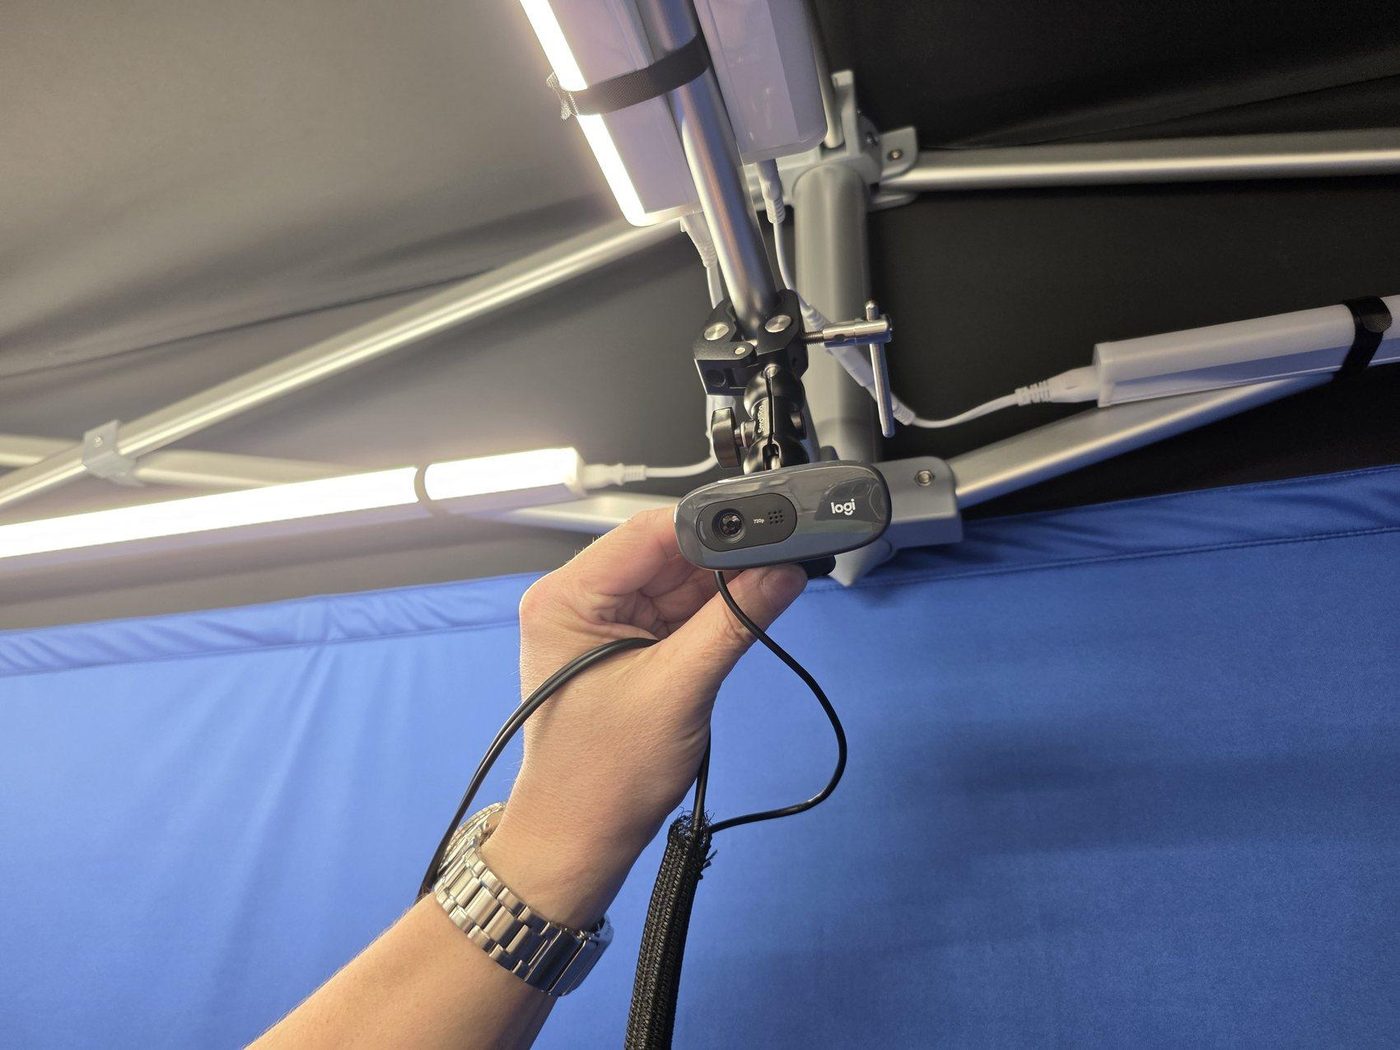
- Run webcam USB and audio cables along a ceiling bar and secure with Velcro ties.
- Route USB to front; route audio to rear.
G. XR Base Stations (Tracking)
Diagonal placement maximises tracking volume and reduces occlusion.
- Attach SmallRig clamps at the front and back, diagonal to each other.
- Mount base stations securely and connect power to the rear of each unit.
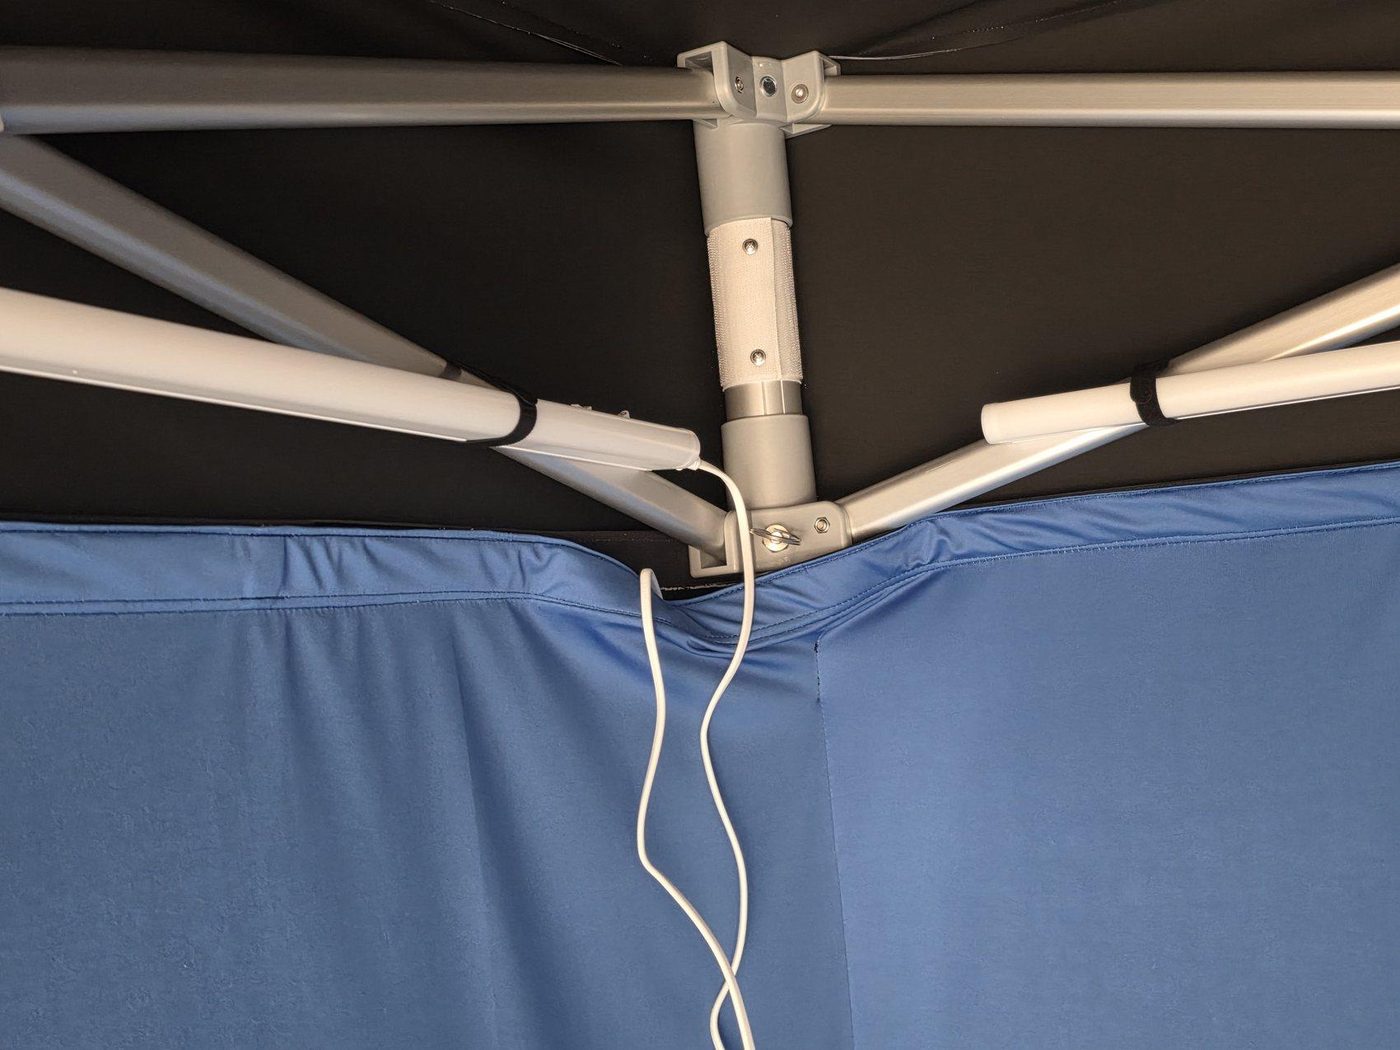
H. Cable Management + Floor
Goal: Keep cables off the floor, avoid occlusions, and maintain a single rear exit path.
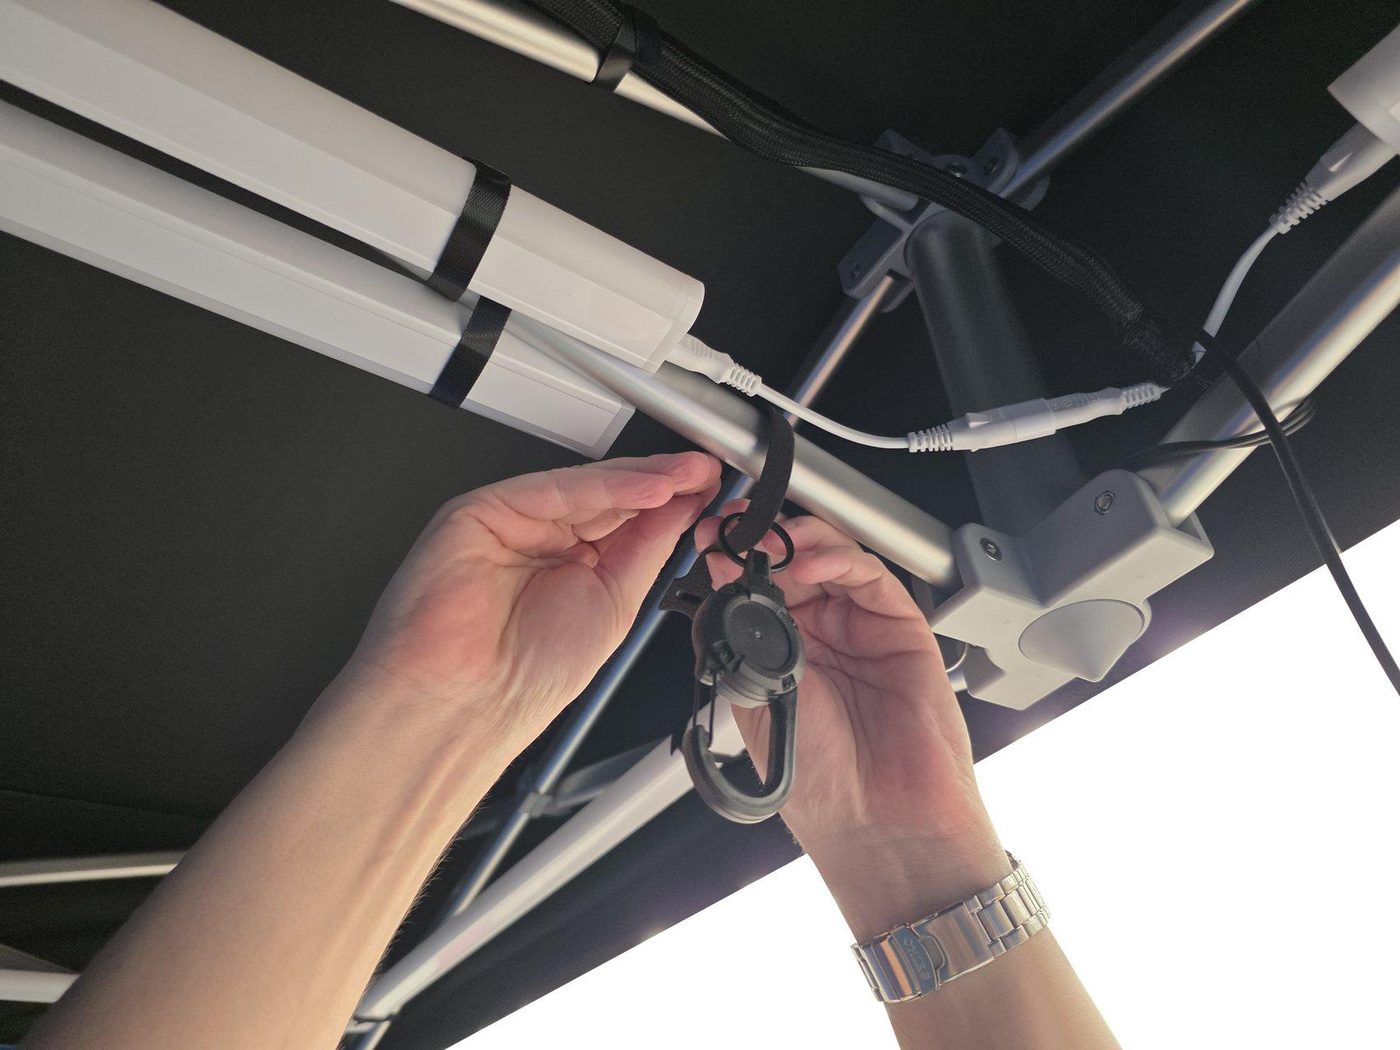
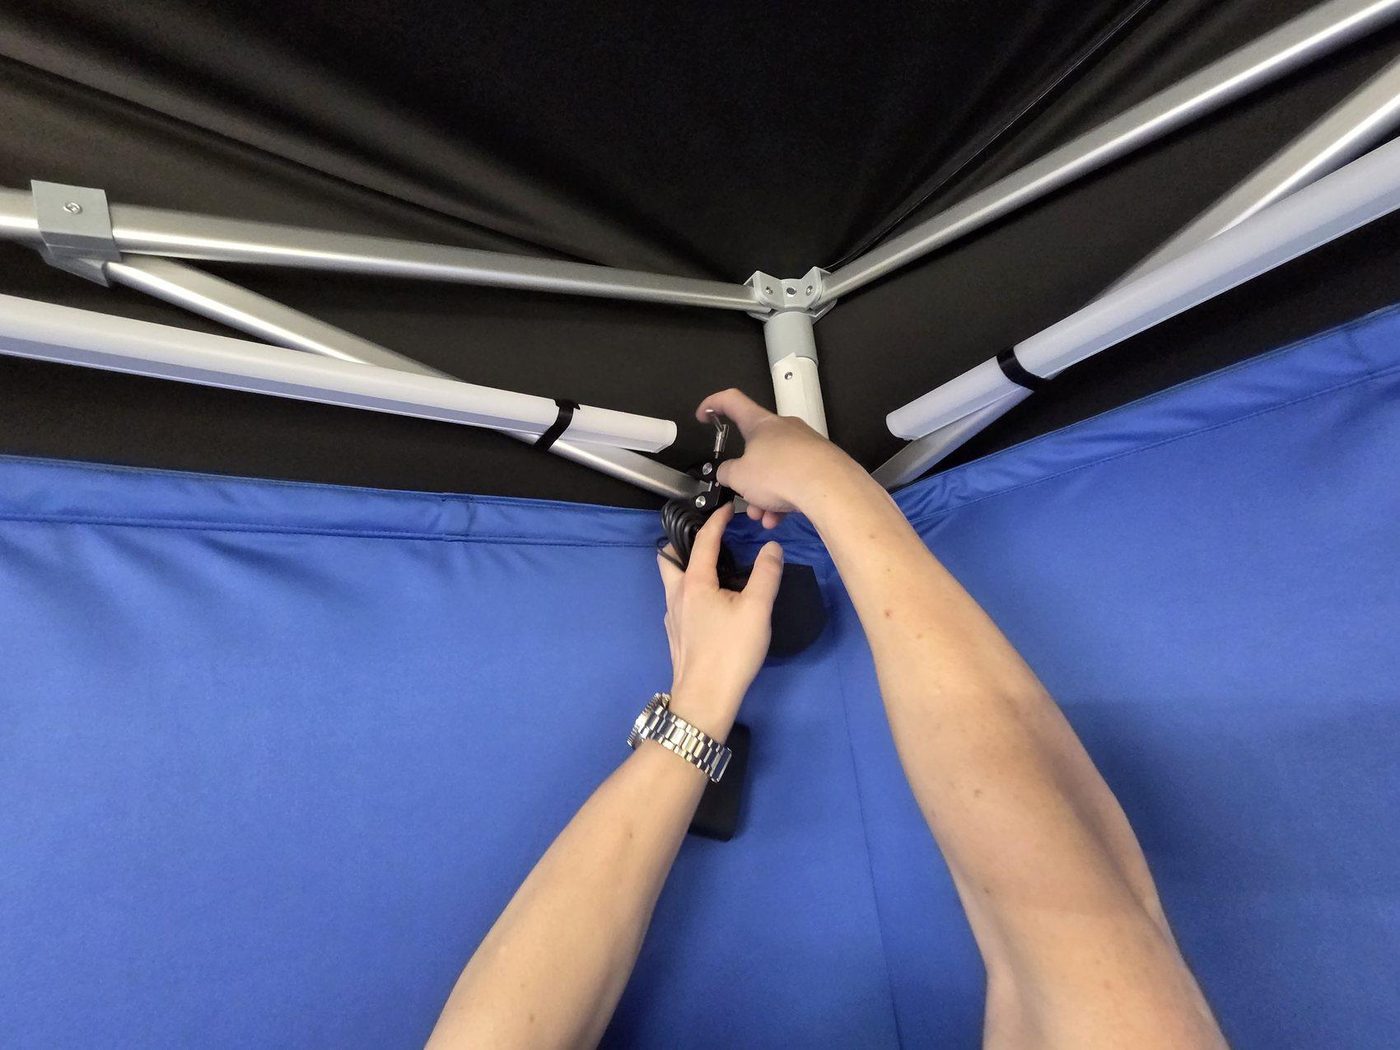
- Attach the headset cable clip to the front ceiling bar before installing the floor.
- Velcro the bottom of the body fabric to the floor fabric.
- Smooth out wrinkles. Installing last keeps the floor clean and improves chroma consistency.
I. Final Checks
- Lights: all on, consistent brightness, 4000K.
- Chroma: no wrinkles/folds; legs fully covered; no gaps at corners.
- Tracking: base stations powered and stable; clear line-of-sight across play space.
- Capture: camera feed verified; audio verified (if used).
- Cables: secured to ceiling bars; no hanging loops; single rear exit.
- Floor: clean, flat, secured with Velcro.
J. Pack Down (Reverse Order)
- Remove floor fabric first and store clean.
- Power down and remove XR hardware (base stations, camera, audio).
- Remove lights and cables; coil and secure with Velcro ties.
- Remove interior chroma fabric, then exterior blackout fabric.
- Remove lower crossbars and clips.
- Collapse frame evenly and store in carry bag.
K. Troubleshooting (Common Issues)
Wrinkles / poor chroma key → tension + coverage
Re-tension interior blue fabric. Ensure Velcro runs are fully engaged and legs are fully wrapped. Install floor last and smooth it flat.
Uneven lighting / hotspots → confirm 4000K
Confirm all lights are set to 4000K. Check connectors are fully seated and lights are mounted at the marked positions.
Tracking dropouts → diagonal + line-of-sight
Ensure base stations are diagonal, powered, and not occluded by hanging cables. Route cables along ceiling bars and keep play area clear.
Cables hanging into play space → re-route + secure
Re-run cables along the nearest ceiling bar with Velcro ties. Maintain a single rear exit path.
© BlueRoom Simulations Pty Ltd — Manual v1.6