The following instructions are for an exhibition BlueRoom, 3m wide x 2m deep x 2.4m high, with a 1m space at the front for spectators.

Ceiling and lighting
- The room should be created with a ceiling, for both lighting and also to stop other colored lighting from signage or other sources entering the space.
- Eight T5 LED 4000K LED lights should be installed in a figure eight.
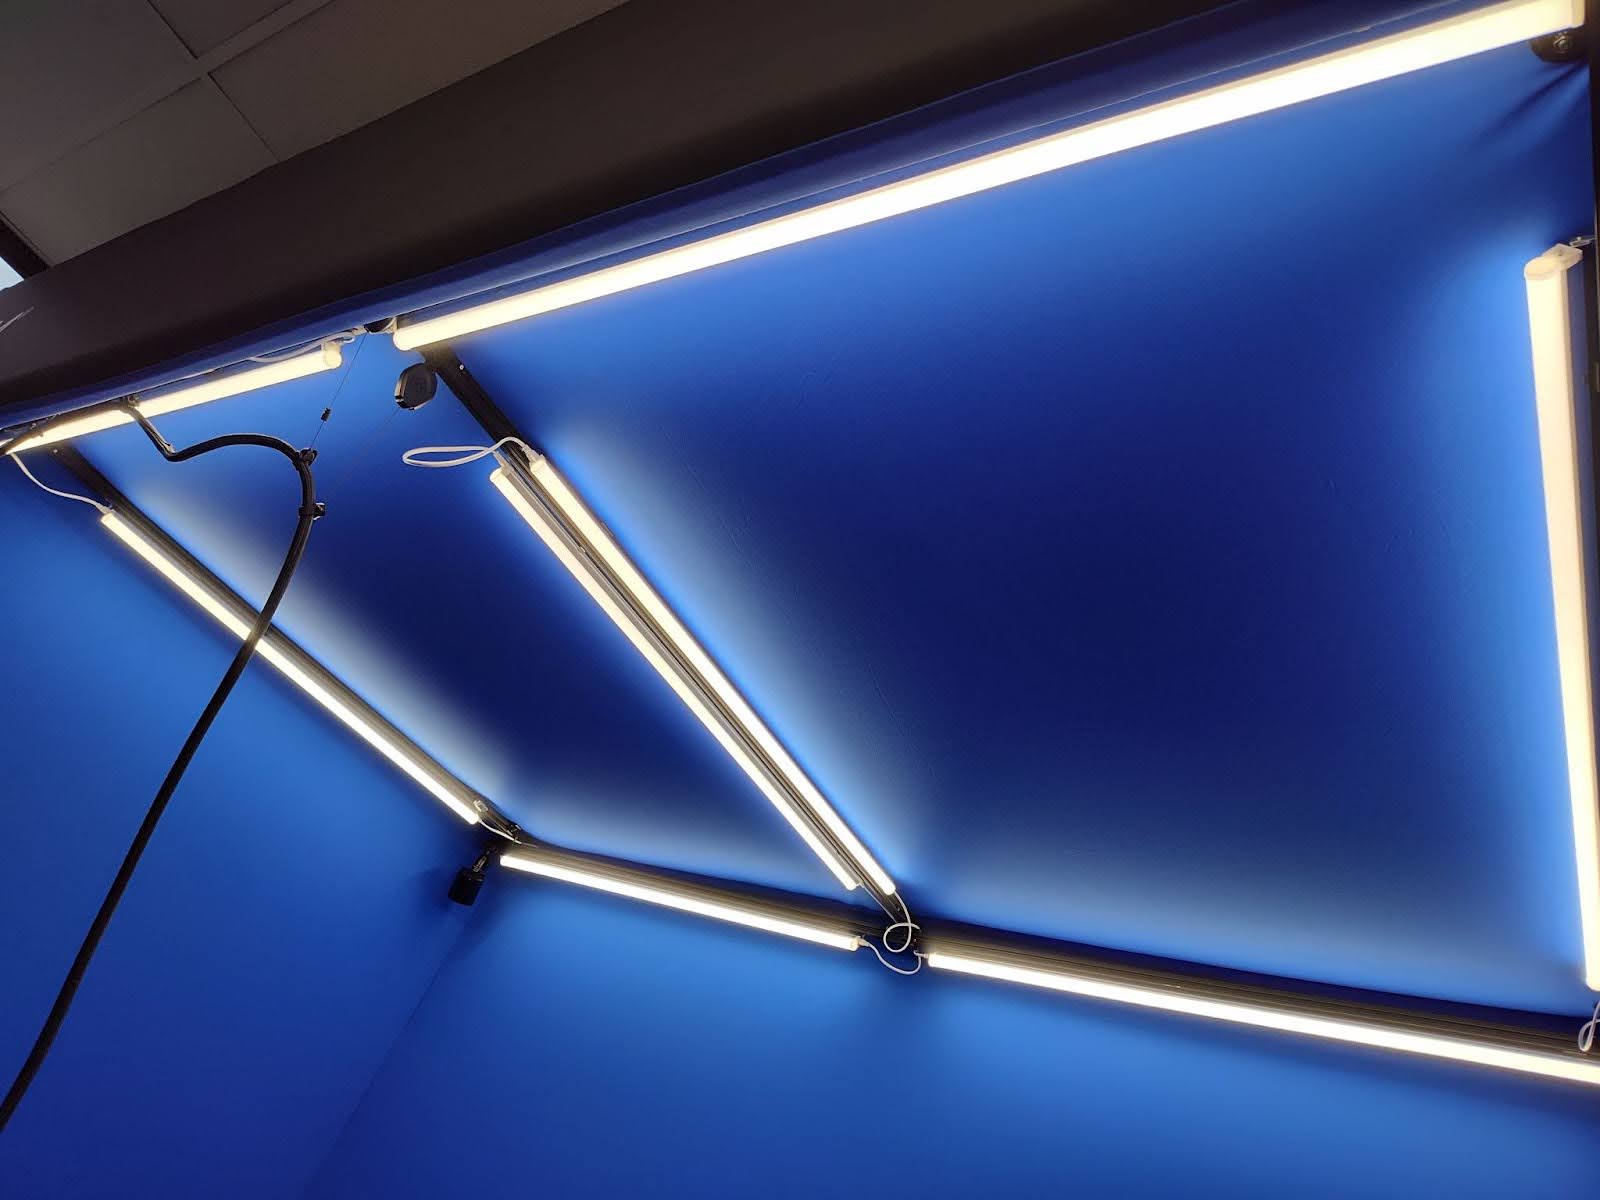
- All lights should be angled approximately 45 degrees inwards (this prevents bright patches at the tops of the walls.
Speakers
- Stereo active monitor speakers should be mounted in the rear corners of the structure as high as possible. They should be angled towards the centre of the room.
- Both speakers will be connected with a speaker wire.
- The left speaker will require power and will also be connected to the headset PC using a 10m RCA to 3.5mm audio lead.
Camera
- The webcam should be placed as high as possible in a position where it has full view of the manikin, ideally the rear centre of the structure, or the front centre of the structure.
- The webcam is connected to the Mission Control PC using a powered 5m usb extension lead.
Base stations
- Base stations should be placed as high as possible (without being blocked by anything else) in the rear left corner, rear right corner and front centre of the structure.
- Base stations require power.
- If new base stations are used there may be a channel conflict which will be detected during the Steam VR Room Setup process. The channel of a base station is easily changed by using a paper clip to depress the small hole in the back of the base station which is not being detected.
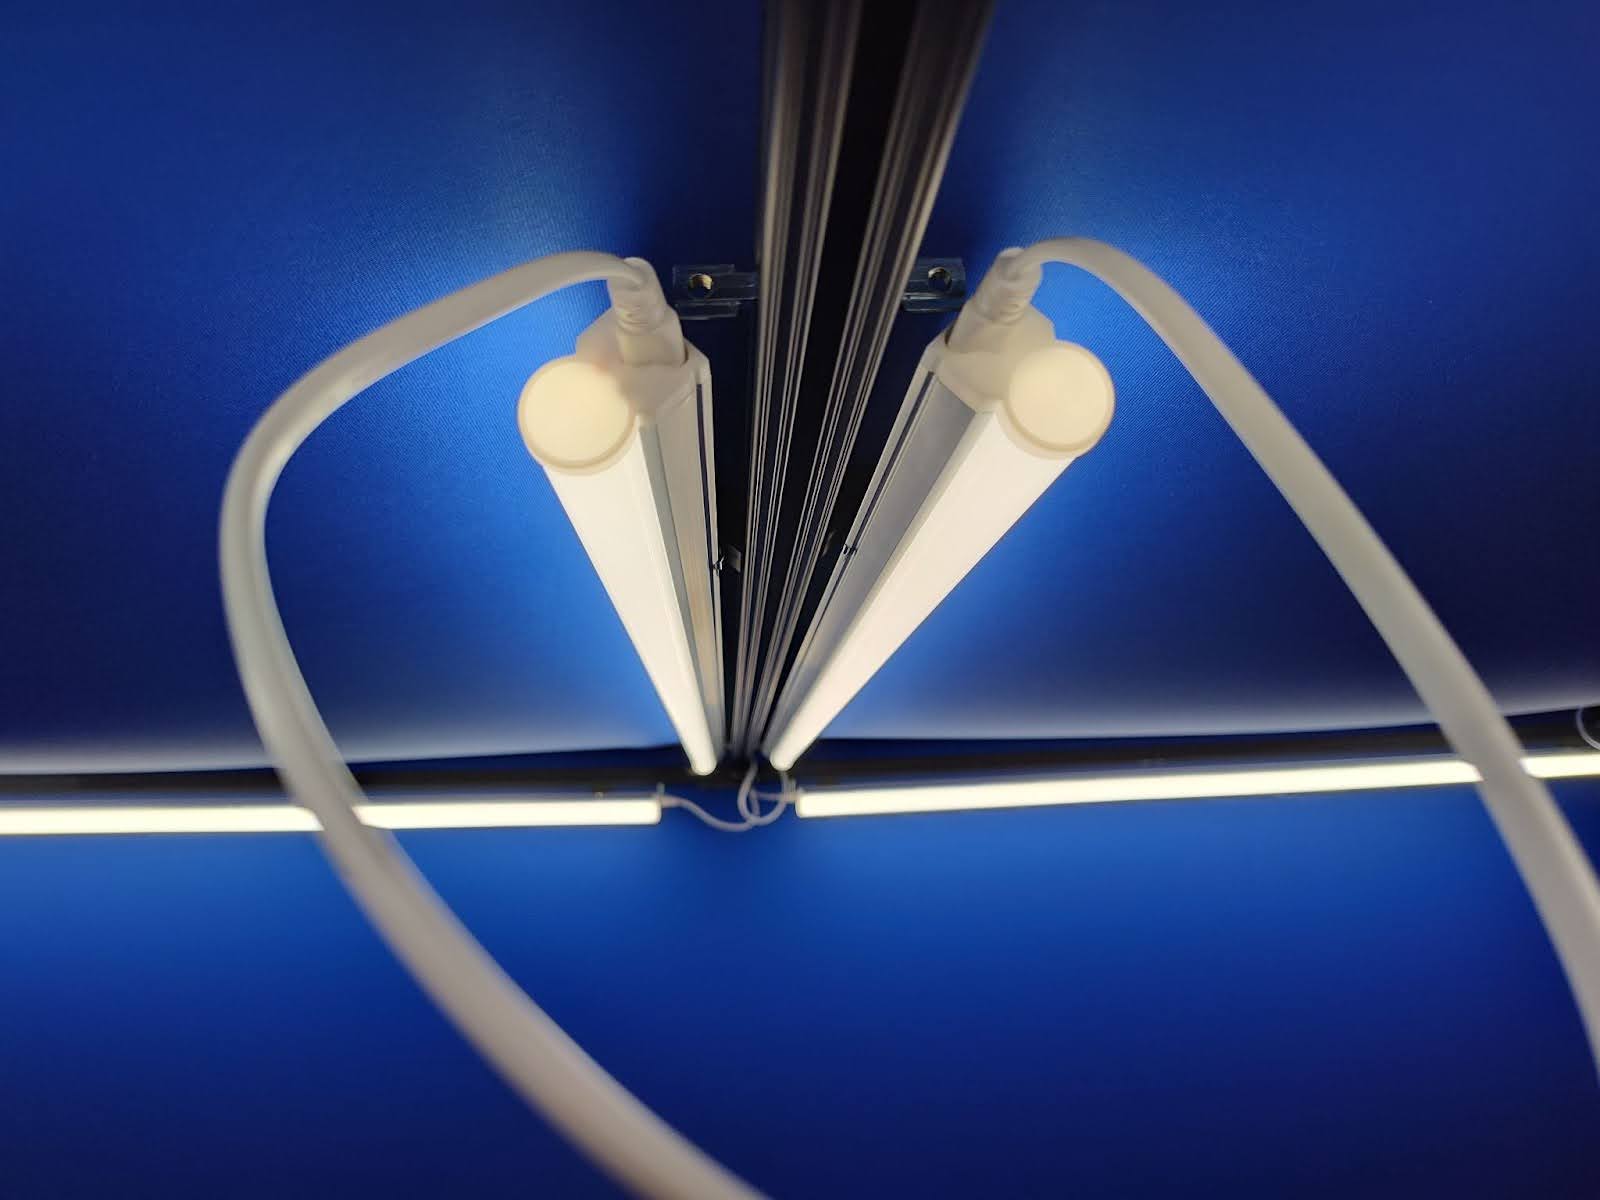
Headset cables
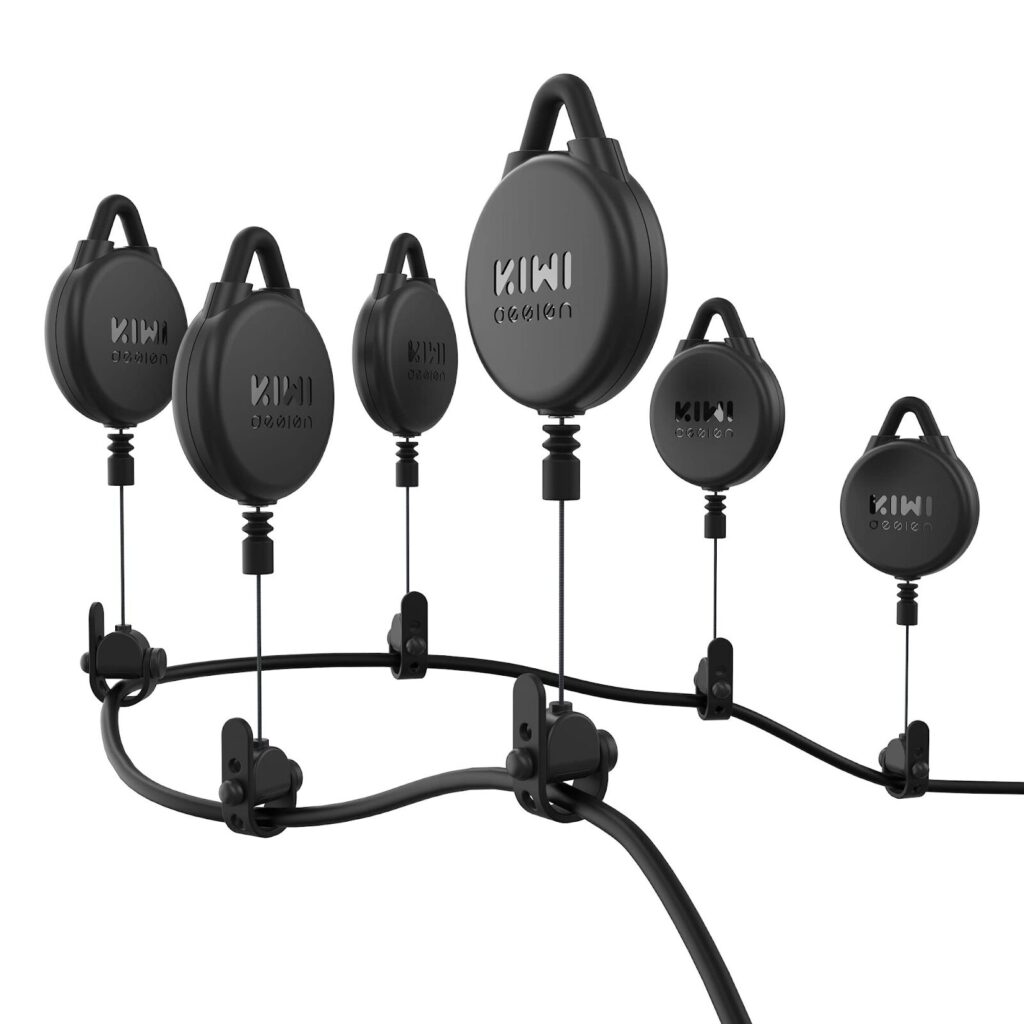
- The headset requires Kiwi VR cable management pulleys to be attached to the ceiling of the structure. These help support the headset cable and make it more comfortable to wear.
- Six pulleys should be installed on the ceiling, evenly spaced from where the headset cable enters the room, to where the learner will be standing.
- If there is too much tension and the headset is coming off when people bend down, then one or more of the pulleys can be disconnected from the cable.
- The headset should ‘just’ be able to sit between the manikins legs when not in use.
Touchscreen
- The touchscreen, used to show Mission Control, should be positioned at the front of the BlueRoom so that spectators can easily see the use of Mission Control in conjunction with the learner within the BlueRoom.
- The touchscreen is connected to the Facilitator(Mission Control) PC with both a USB cable (with extension if required) and a HDMI cable.
Manikin position
- The manikin should be positioned at the rear centre of the structure with the head on the right hand side. This maximises the effect of the chroma keying and matches the way the virtual environments have been designed.