Full instructions including mounting the base stations and changing base station channels can be found here – https://varjo.com/use-center/get-started/varjo-headsets/setting-up-tracking/steamvr-tracking/
- Ensure all Vive Base Stations and the Vive Controller are powered on.
- Power Headset PC on.
- Power the Varjo headset on and wait 60 seconds or until the ‘ahhh’ sound is heard.
- Load Varjo Base software.
- Click System Tab in Varjo Base software.
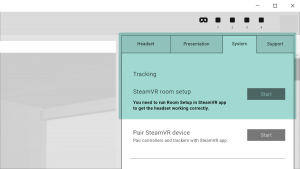
- From the SteamVR Room Setup window select Start.
- Ensure controllers, base stations and headset are detected. If they are not, check they are powered on and if required pair any controllers (Steam VR Hamburger Menu>Devices>Pair Controller).
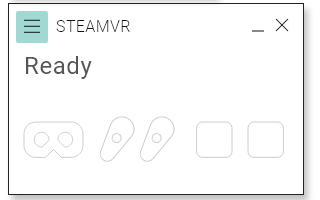
- In the SteamVR application select Menu>Room setup.
- Follow the onscreen instructions.
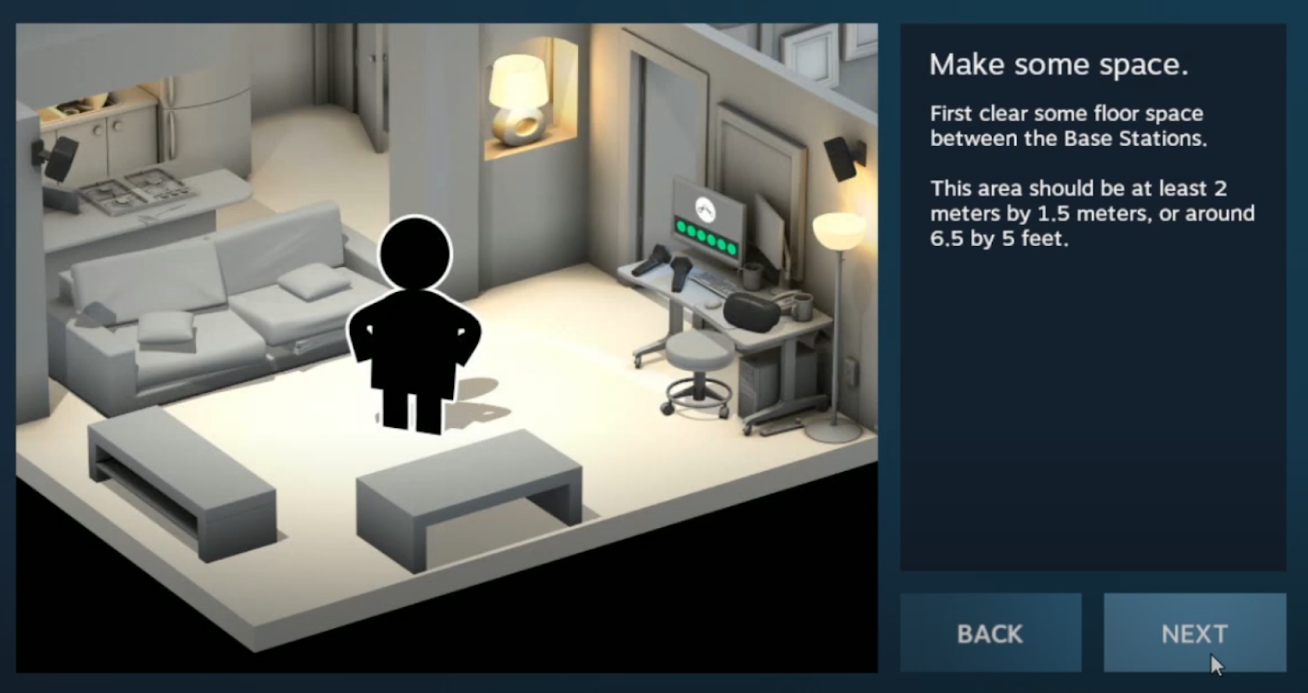
- Make space and click NEXT.
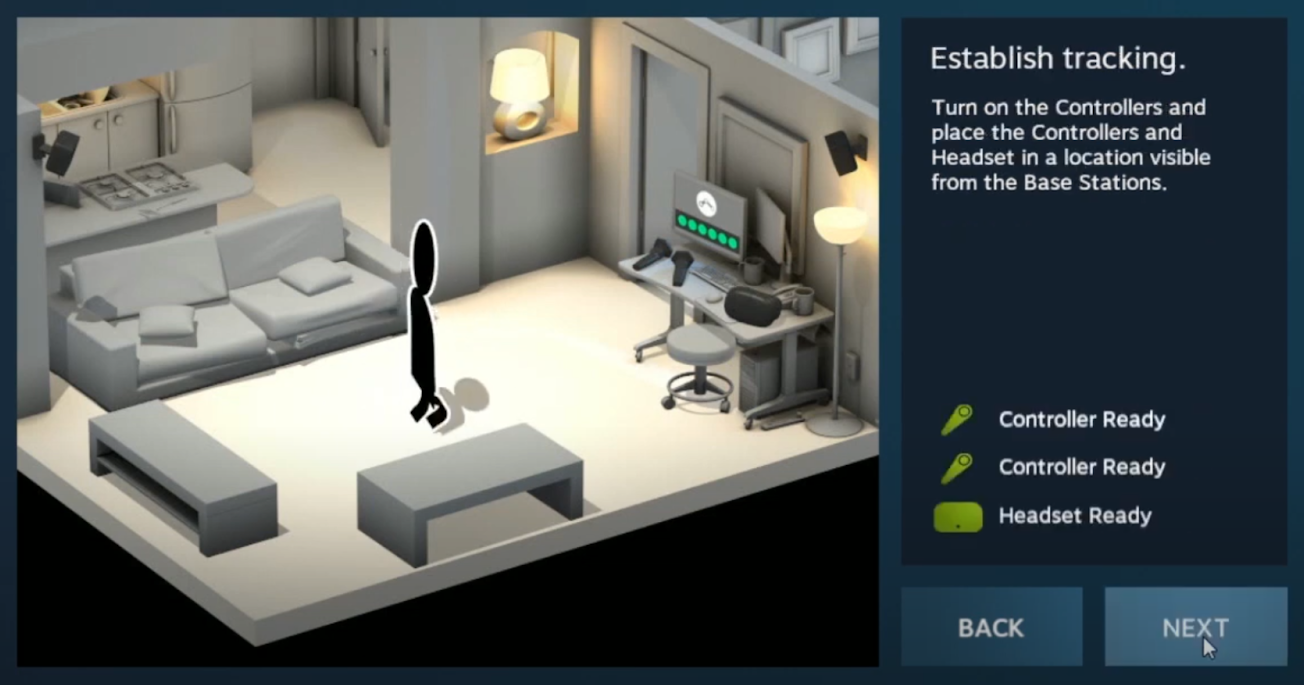
- Establish tracking: check the controller and all base stations are being tracked and click NEXT.
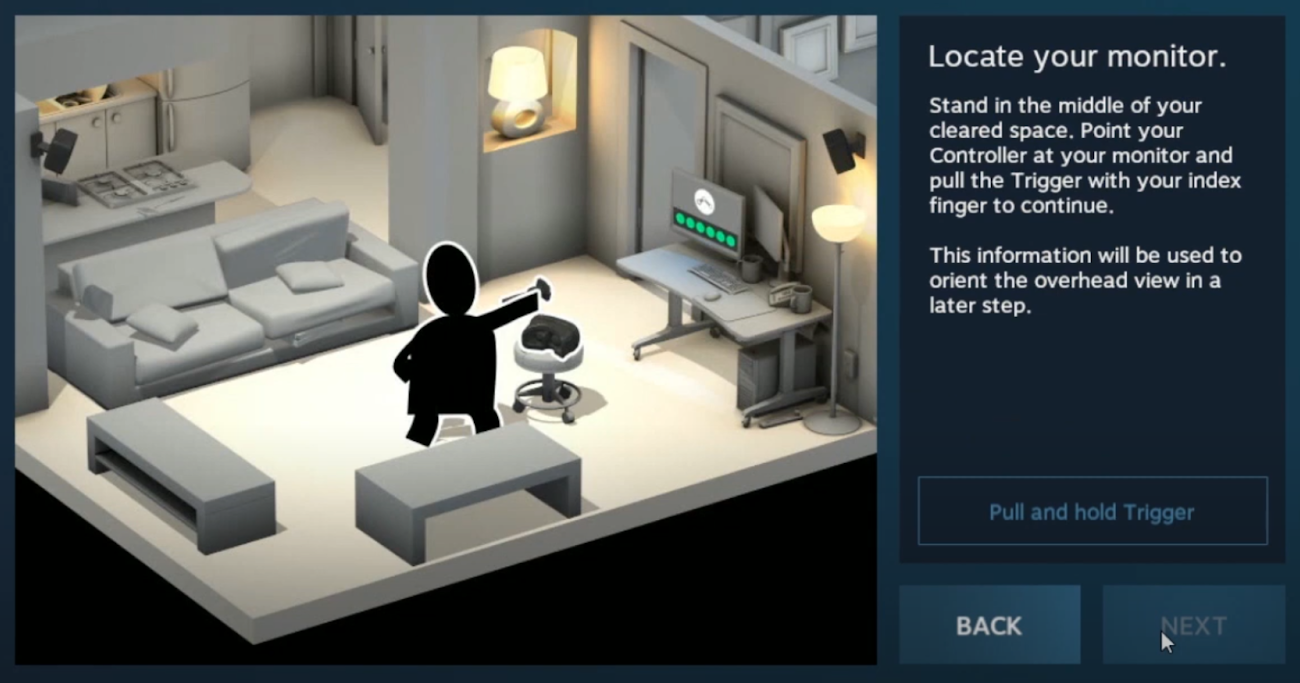
- Locate your monitor: when asked to point the controller at the monitor, point it at the back wall of the BlueRoom (away from the touchscreen) and pull the trigger.
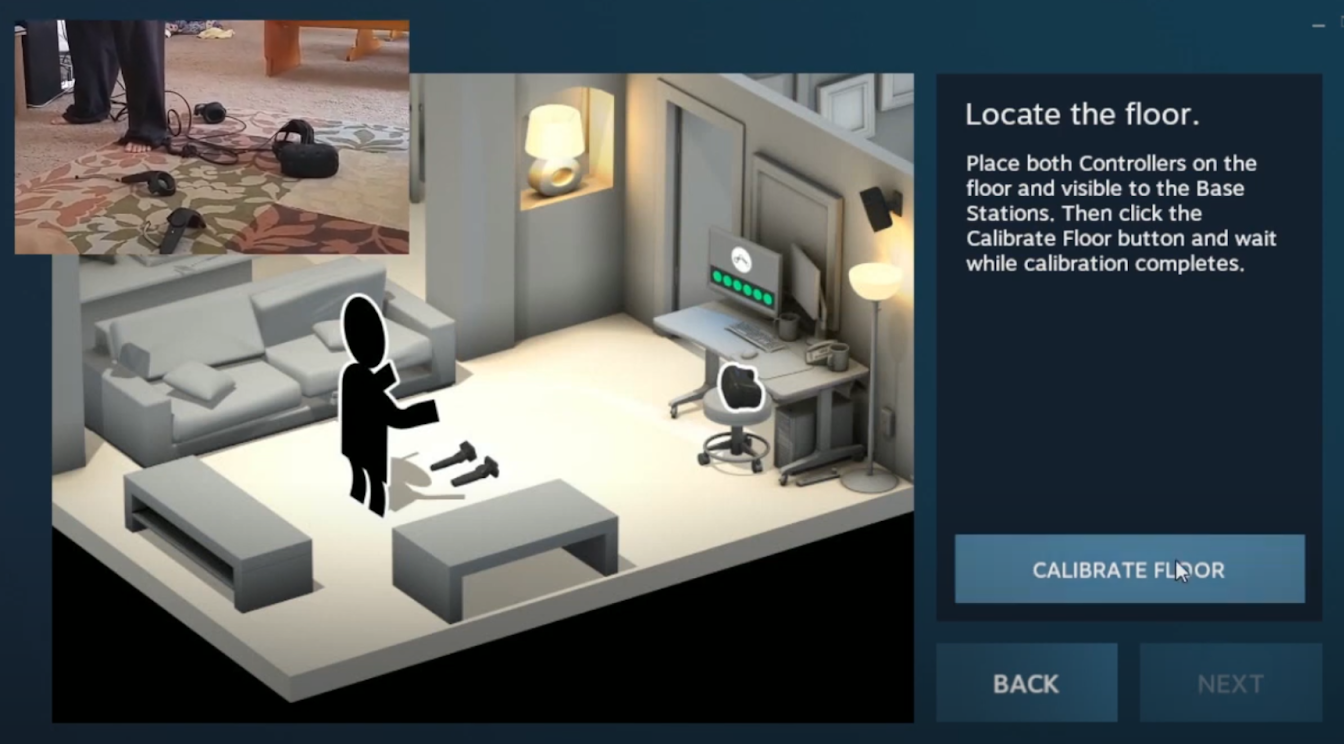
- Locate the floor: place the controller on the BlueRoom floor and click CALIBRATE FLOOR.
- Measure your space: click NEXT.
- Trace your space: select the Advanced Mode checkbox.
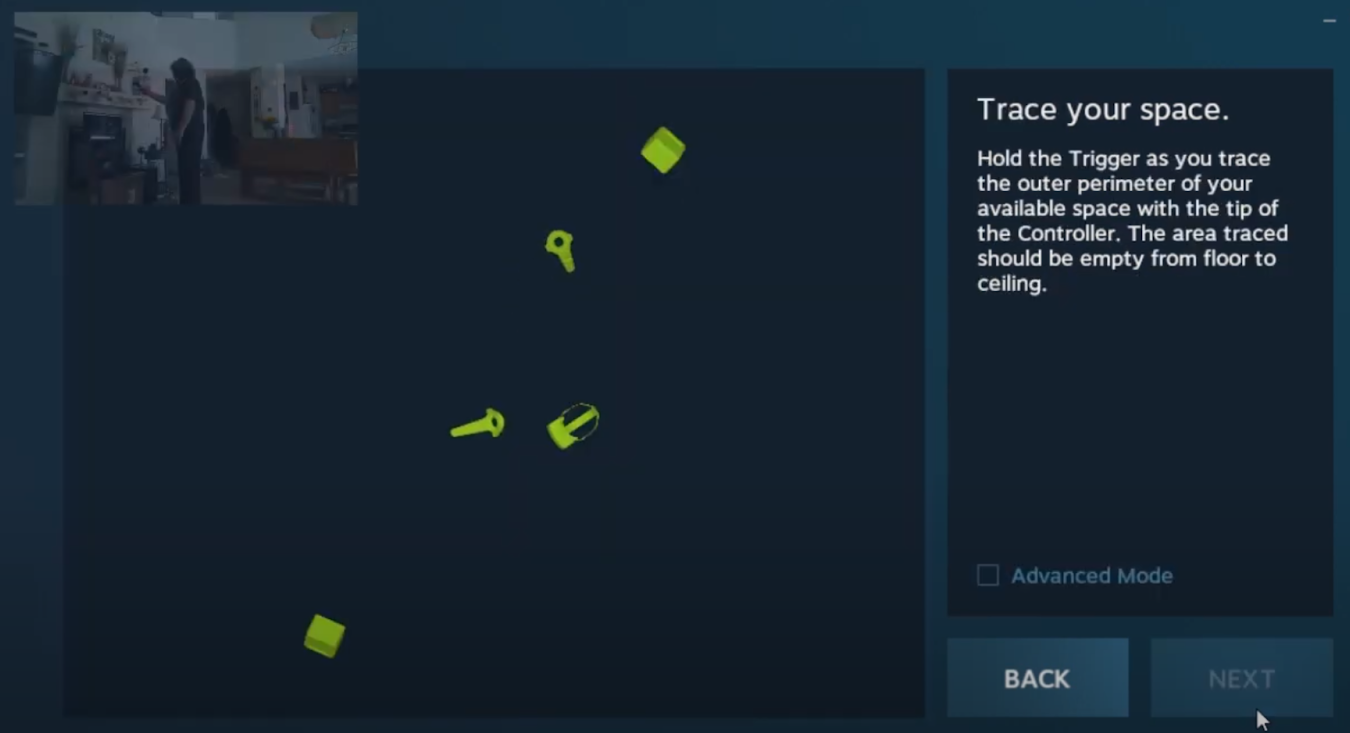
- Trace your space: Using the controller, walk to one corner of the BlueRoom and hold the controller in the corner of the room at waist height. Pull the trigger and release.
- Walk around the room repeating the process, pulling the trigger at waist height in the other three corners.
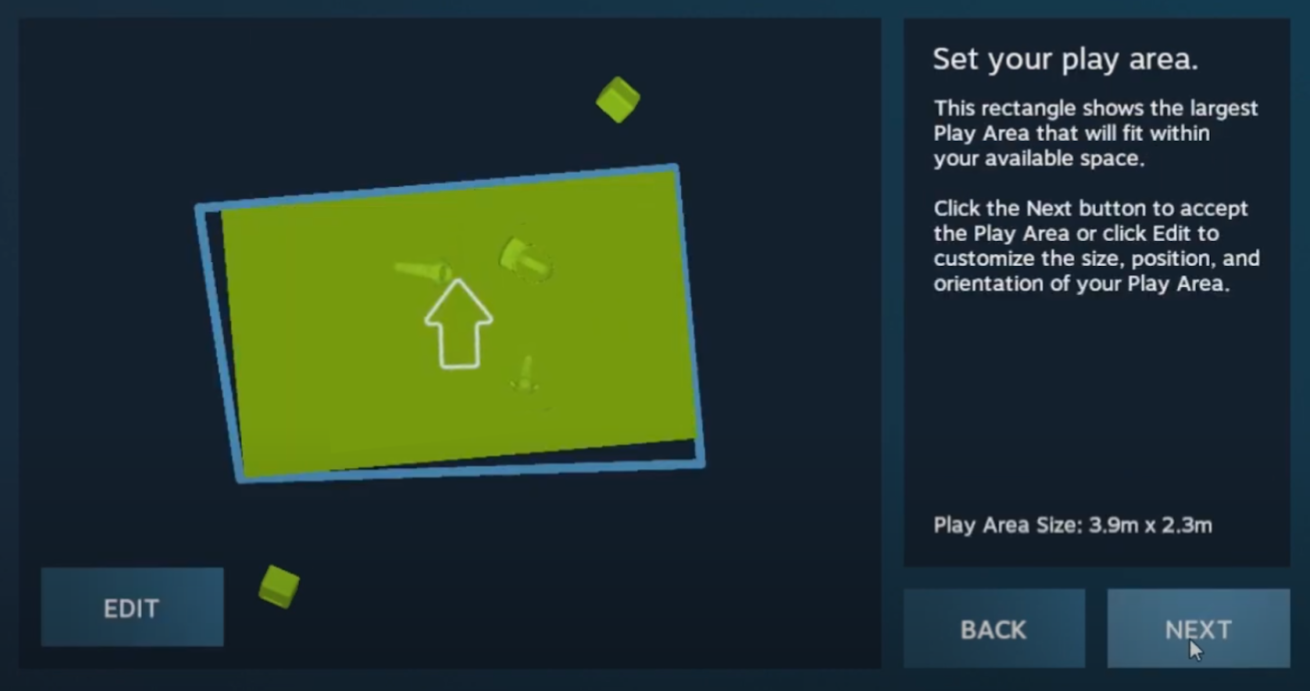
- Select your play area: click NEXT if the arrow is pointing at the front of the BlueRoom (the front blue wall). If not, click EDIT and flip the orientation of the rectangle.
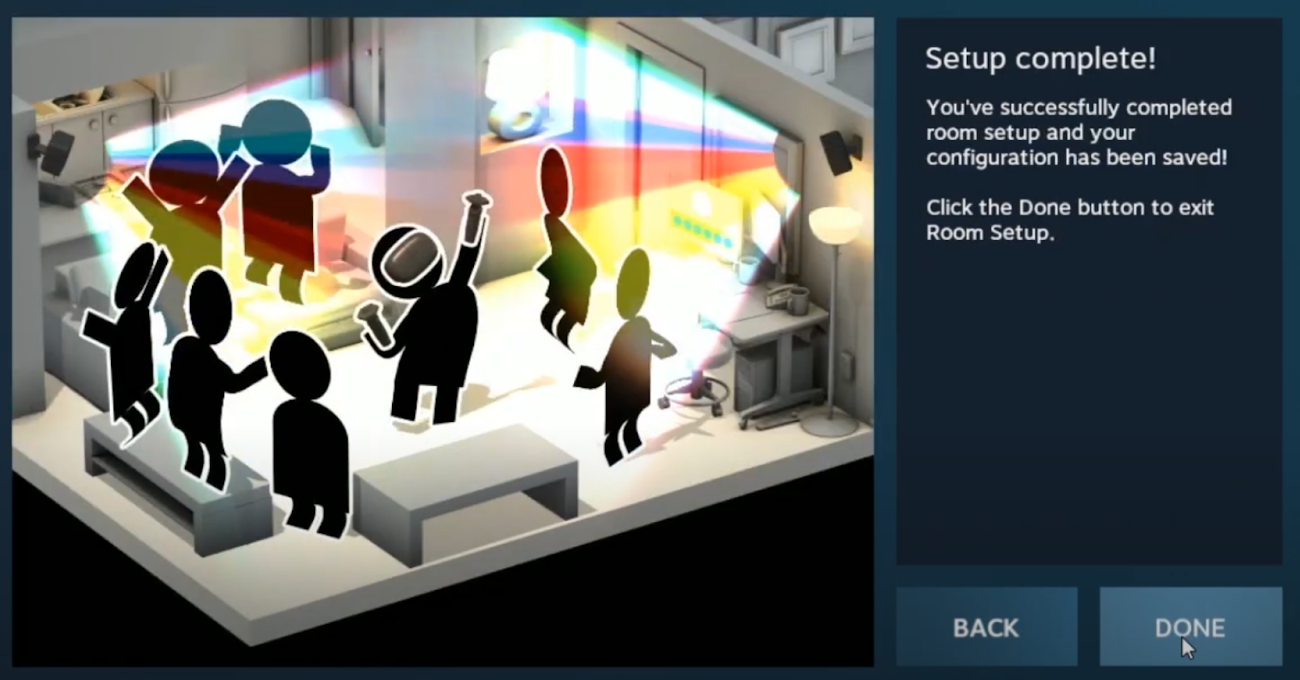
- Setup complete: do a little dance and click DONE.
- Reset the Headset PC.
- Make space and click NEXT.