Quick Navigation
Tap a section to jump. Follow in order.
Components
- Bottom frame
- Top frame
- Roof Frame
- Spreader bars
- Inner roof fabric
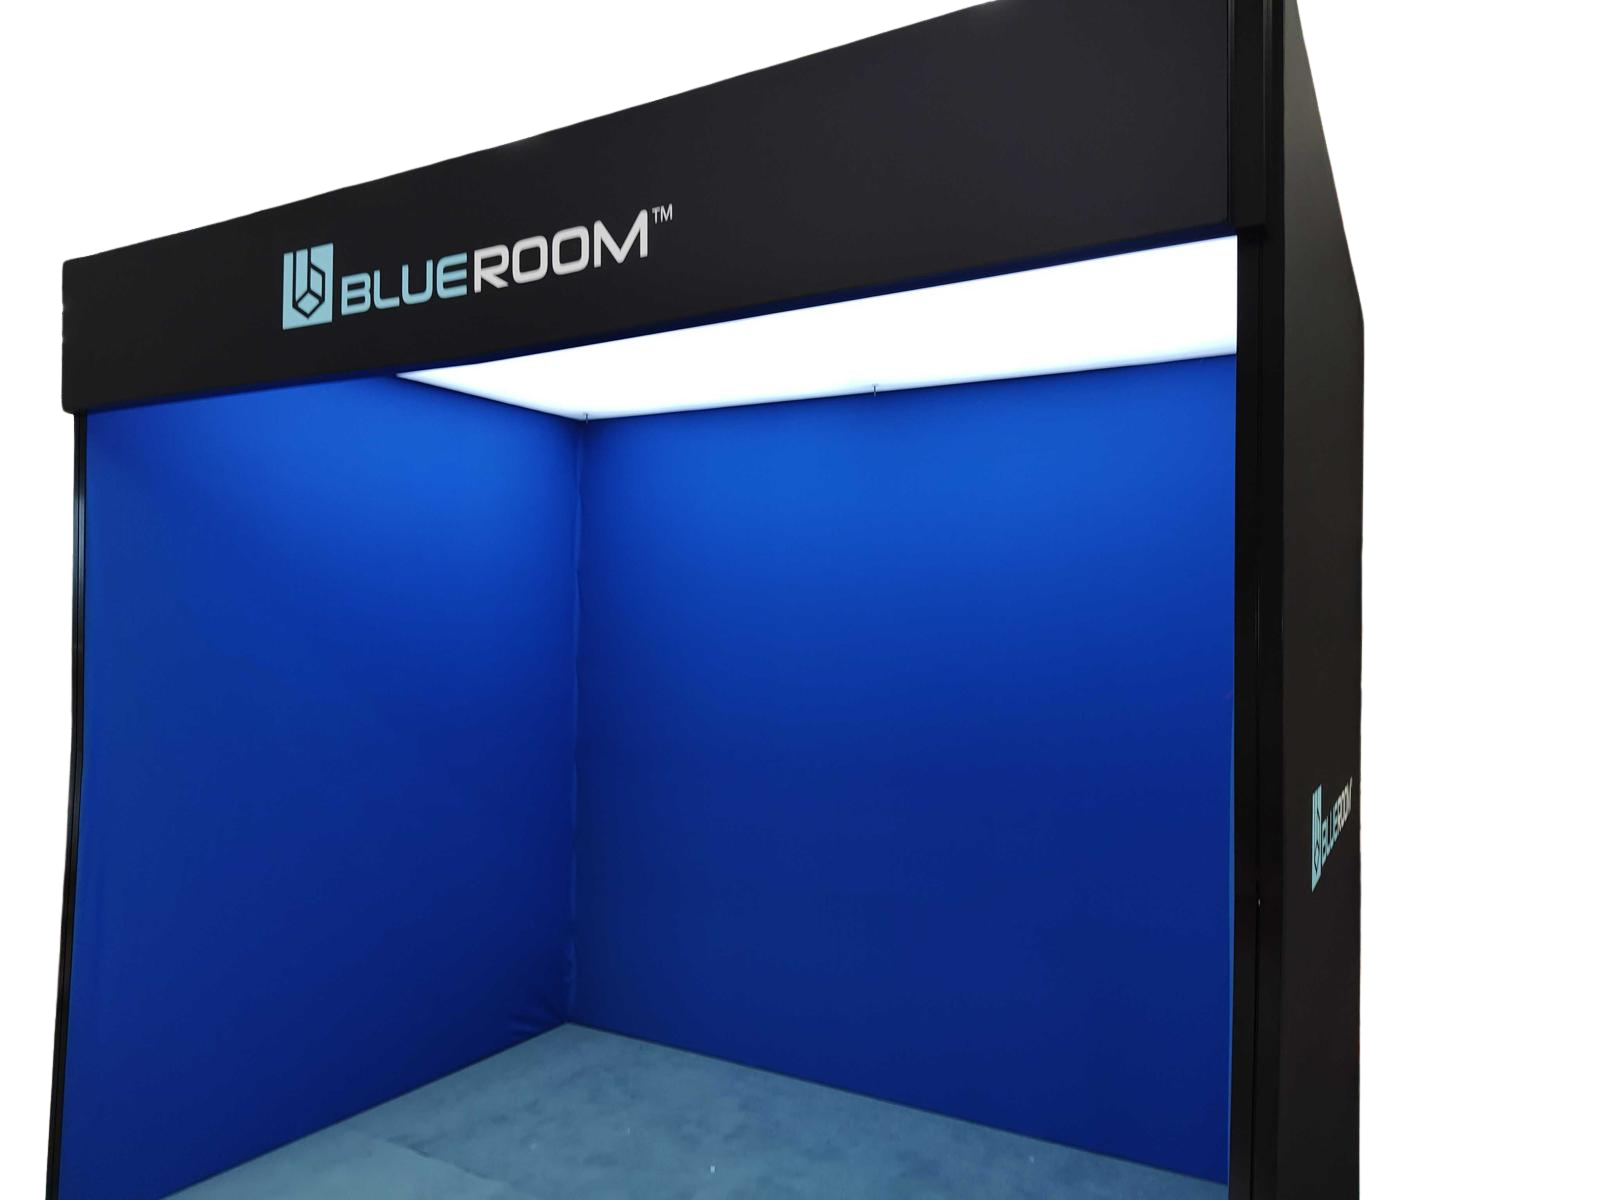
- Top roof fabric and integrated lighting
- Left wall fabric
- Right wall fabric
- Back wall fabric
- Inside fabric
- Floor fabric
- Power supply
- Tool kit
Tools required
- 3 × step ladders
- Small hammer
- Screw drivers
- Allen keys
- Tape measure
- Soldering iron and solder (as required)

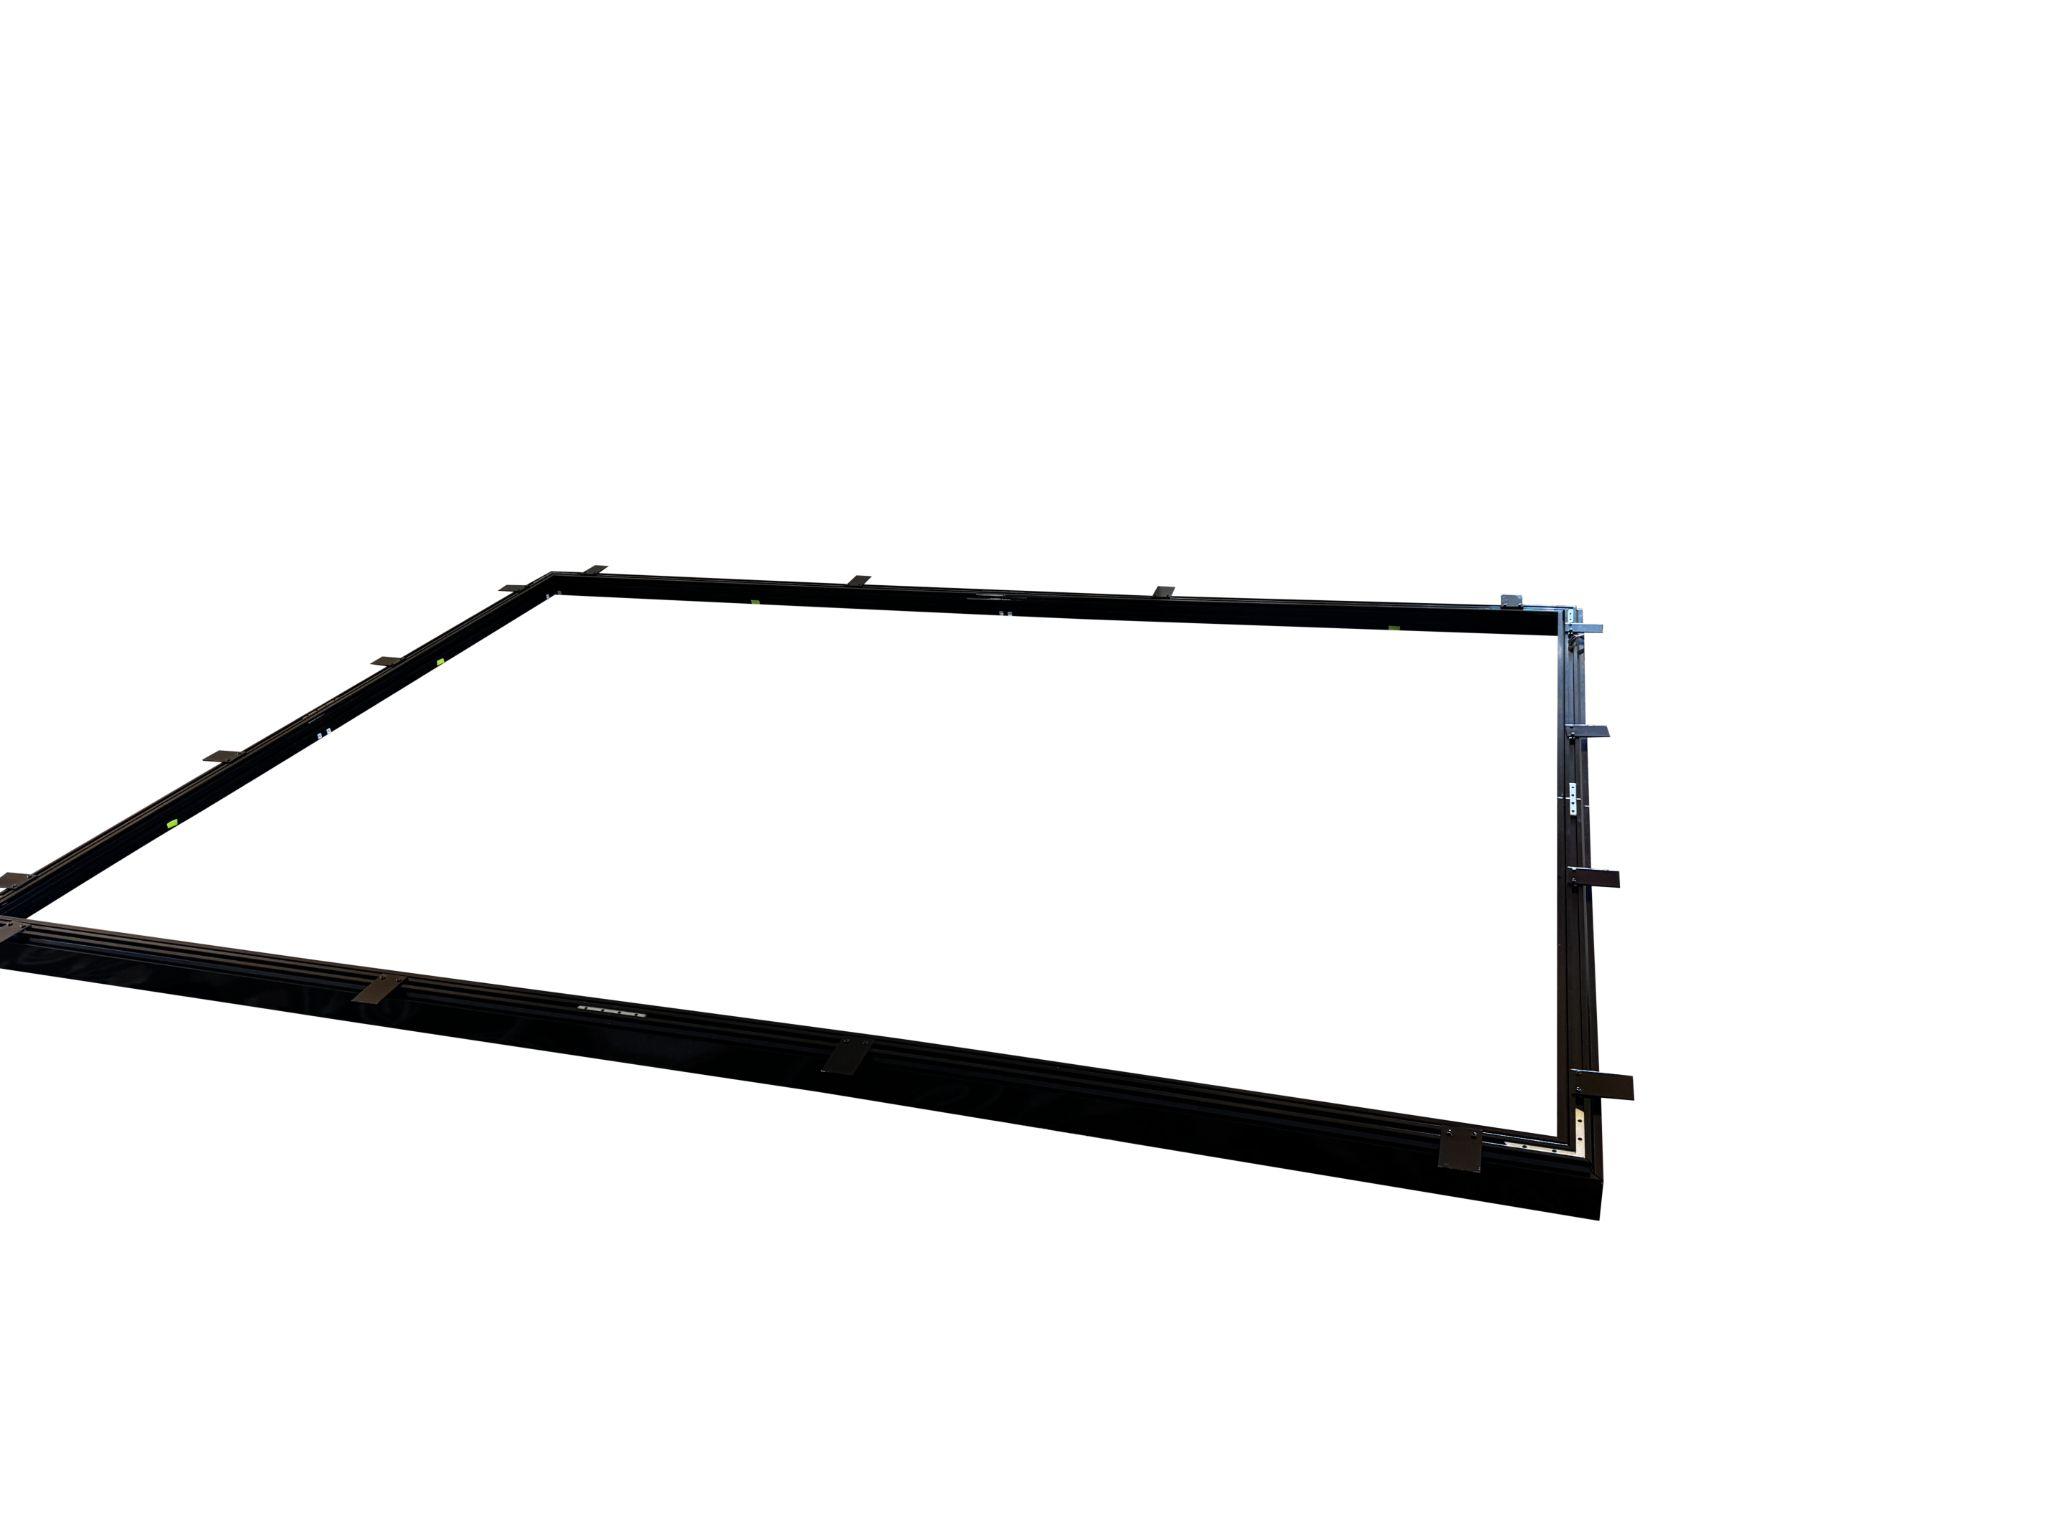
1. Assemble the bottom section
Assemble the bottom section
- Assemble the bottom frame on a level surface.
- Square the corners (measure diagonals if required).
- Confirm the base is stable before continuing.
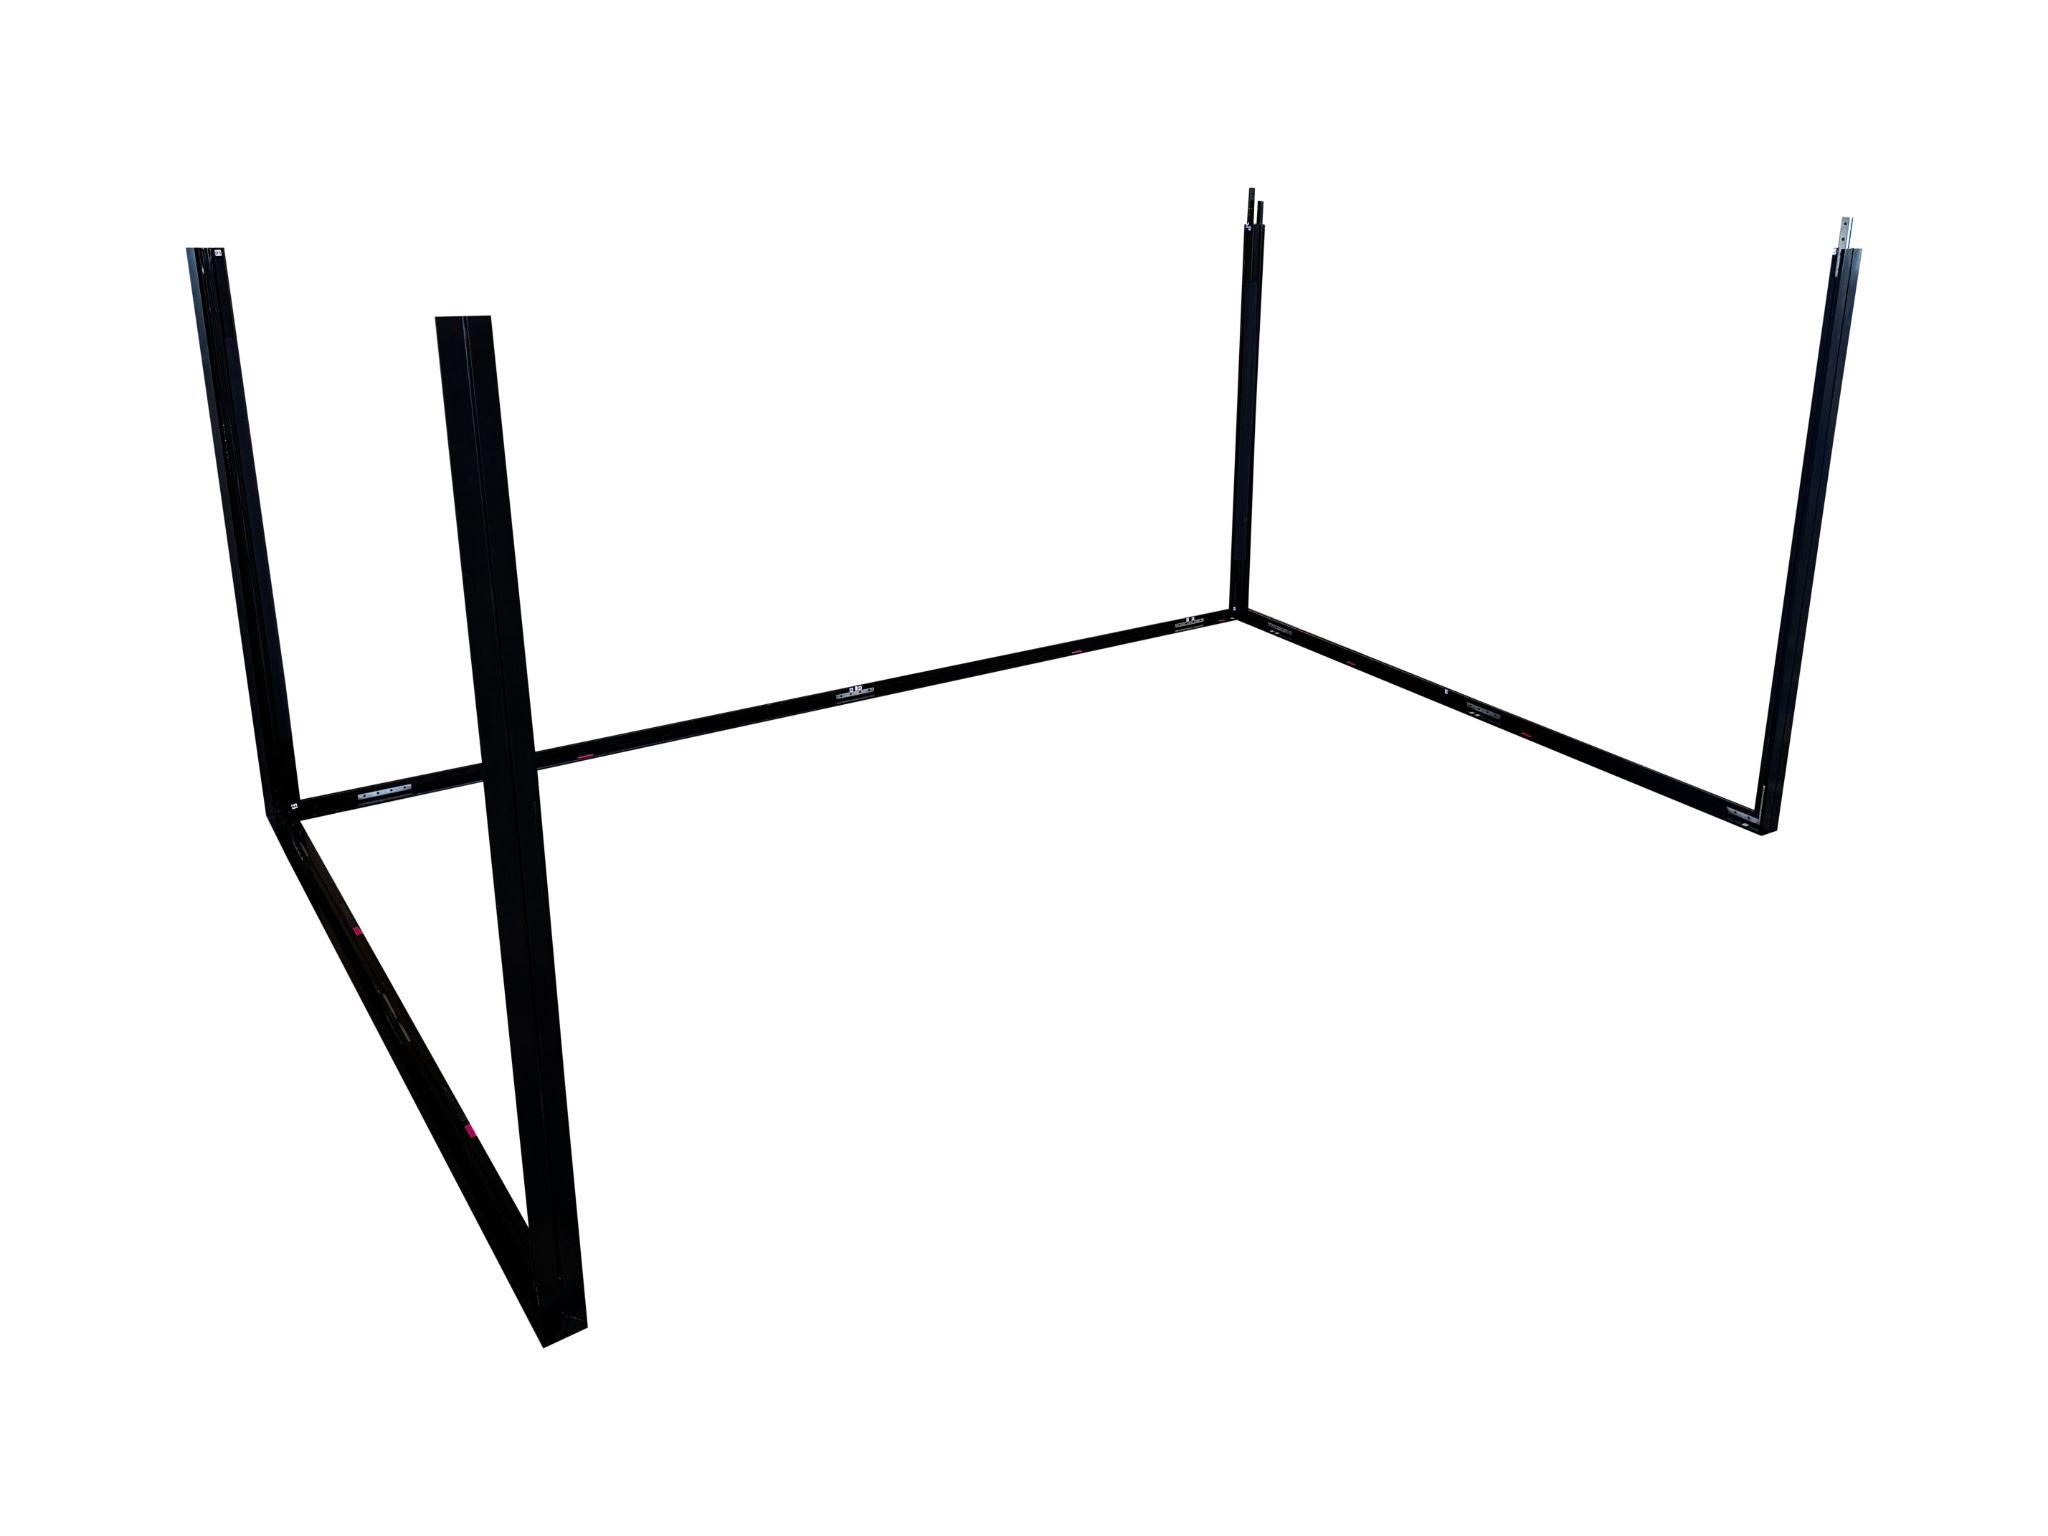
2. Assemble the roof
Assemble the roof
- Assemble the roof frame.
- Identify the roof corner intended for cable routing.
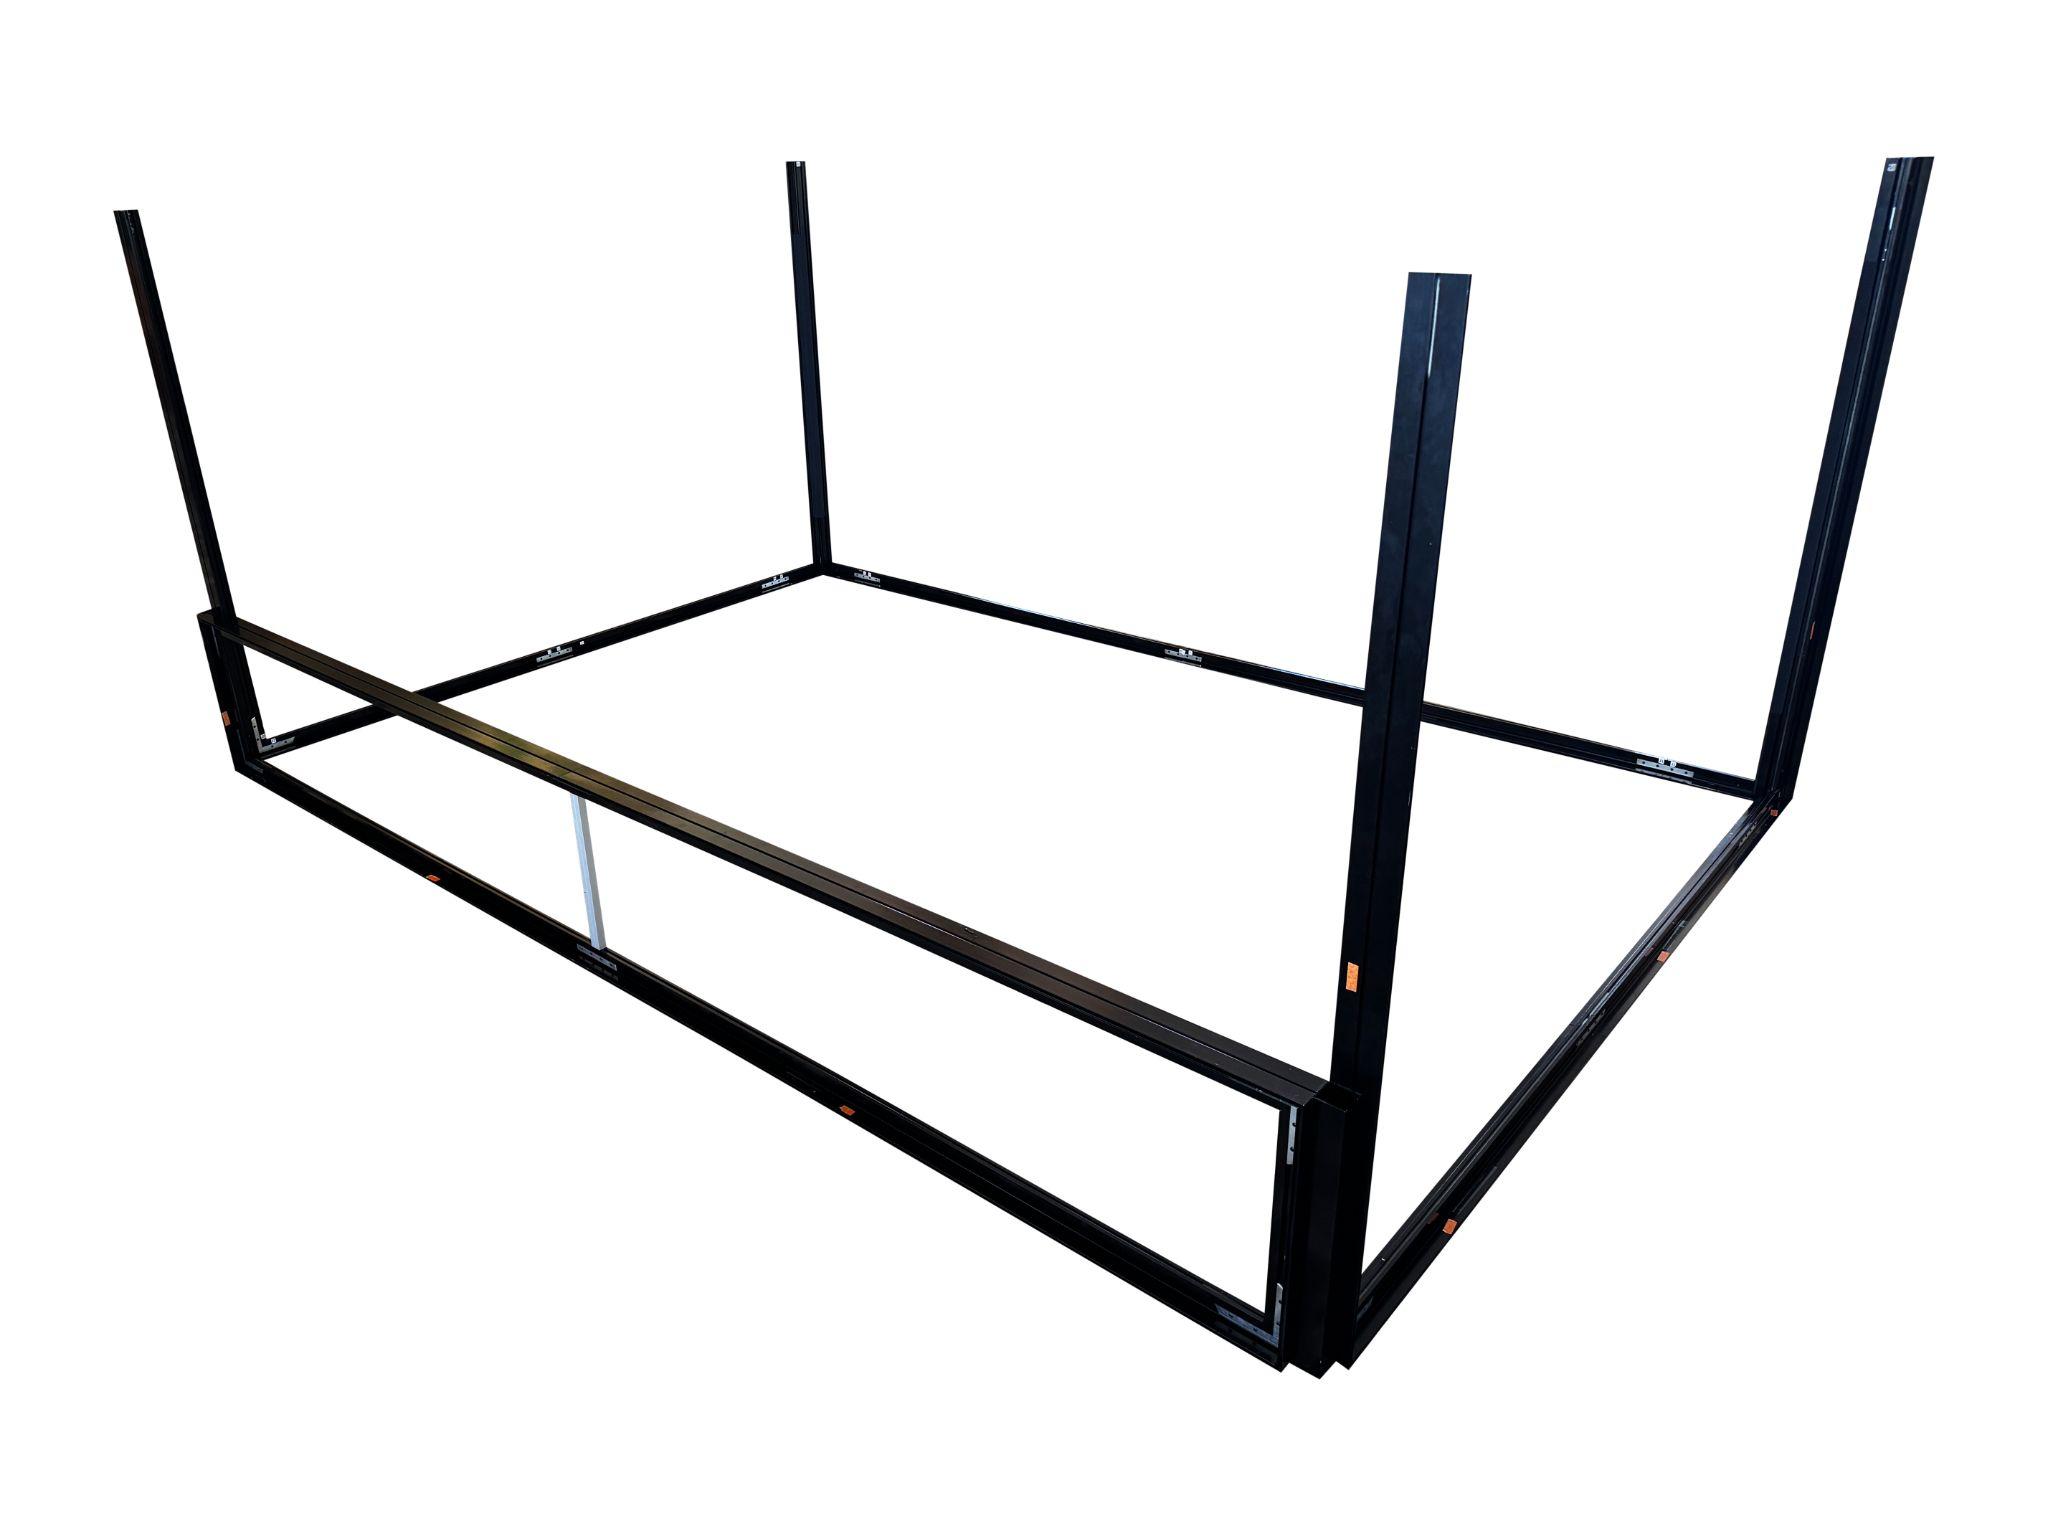
3. Assemble the top section and front bar
Assemble the top section and front bar
- Assemble the top section and front bar on the ground.
- Confirm all joins are seated before lifting.
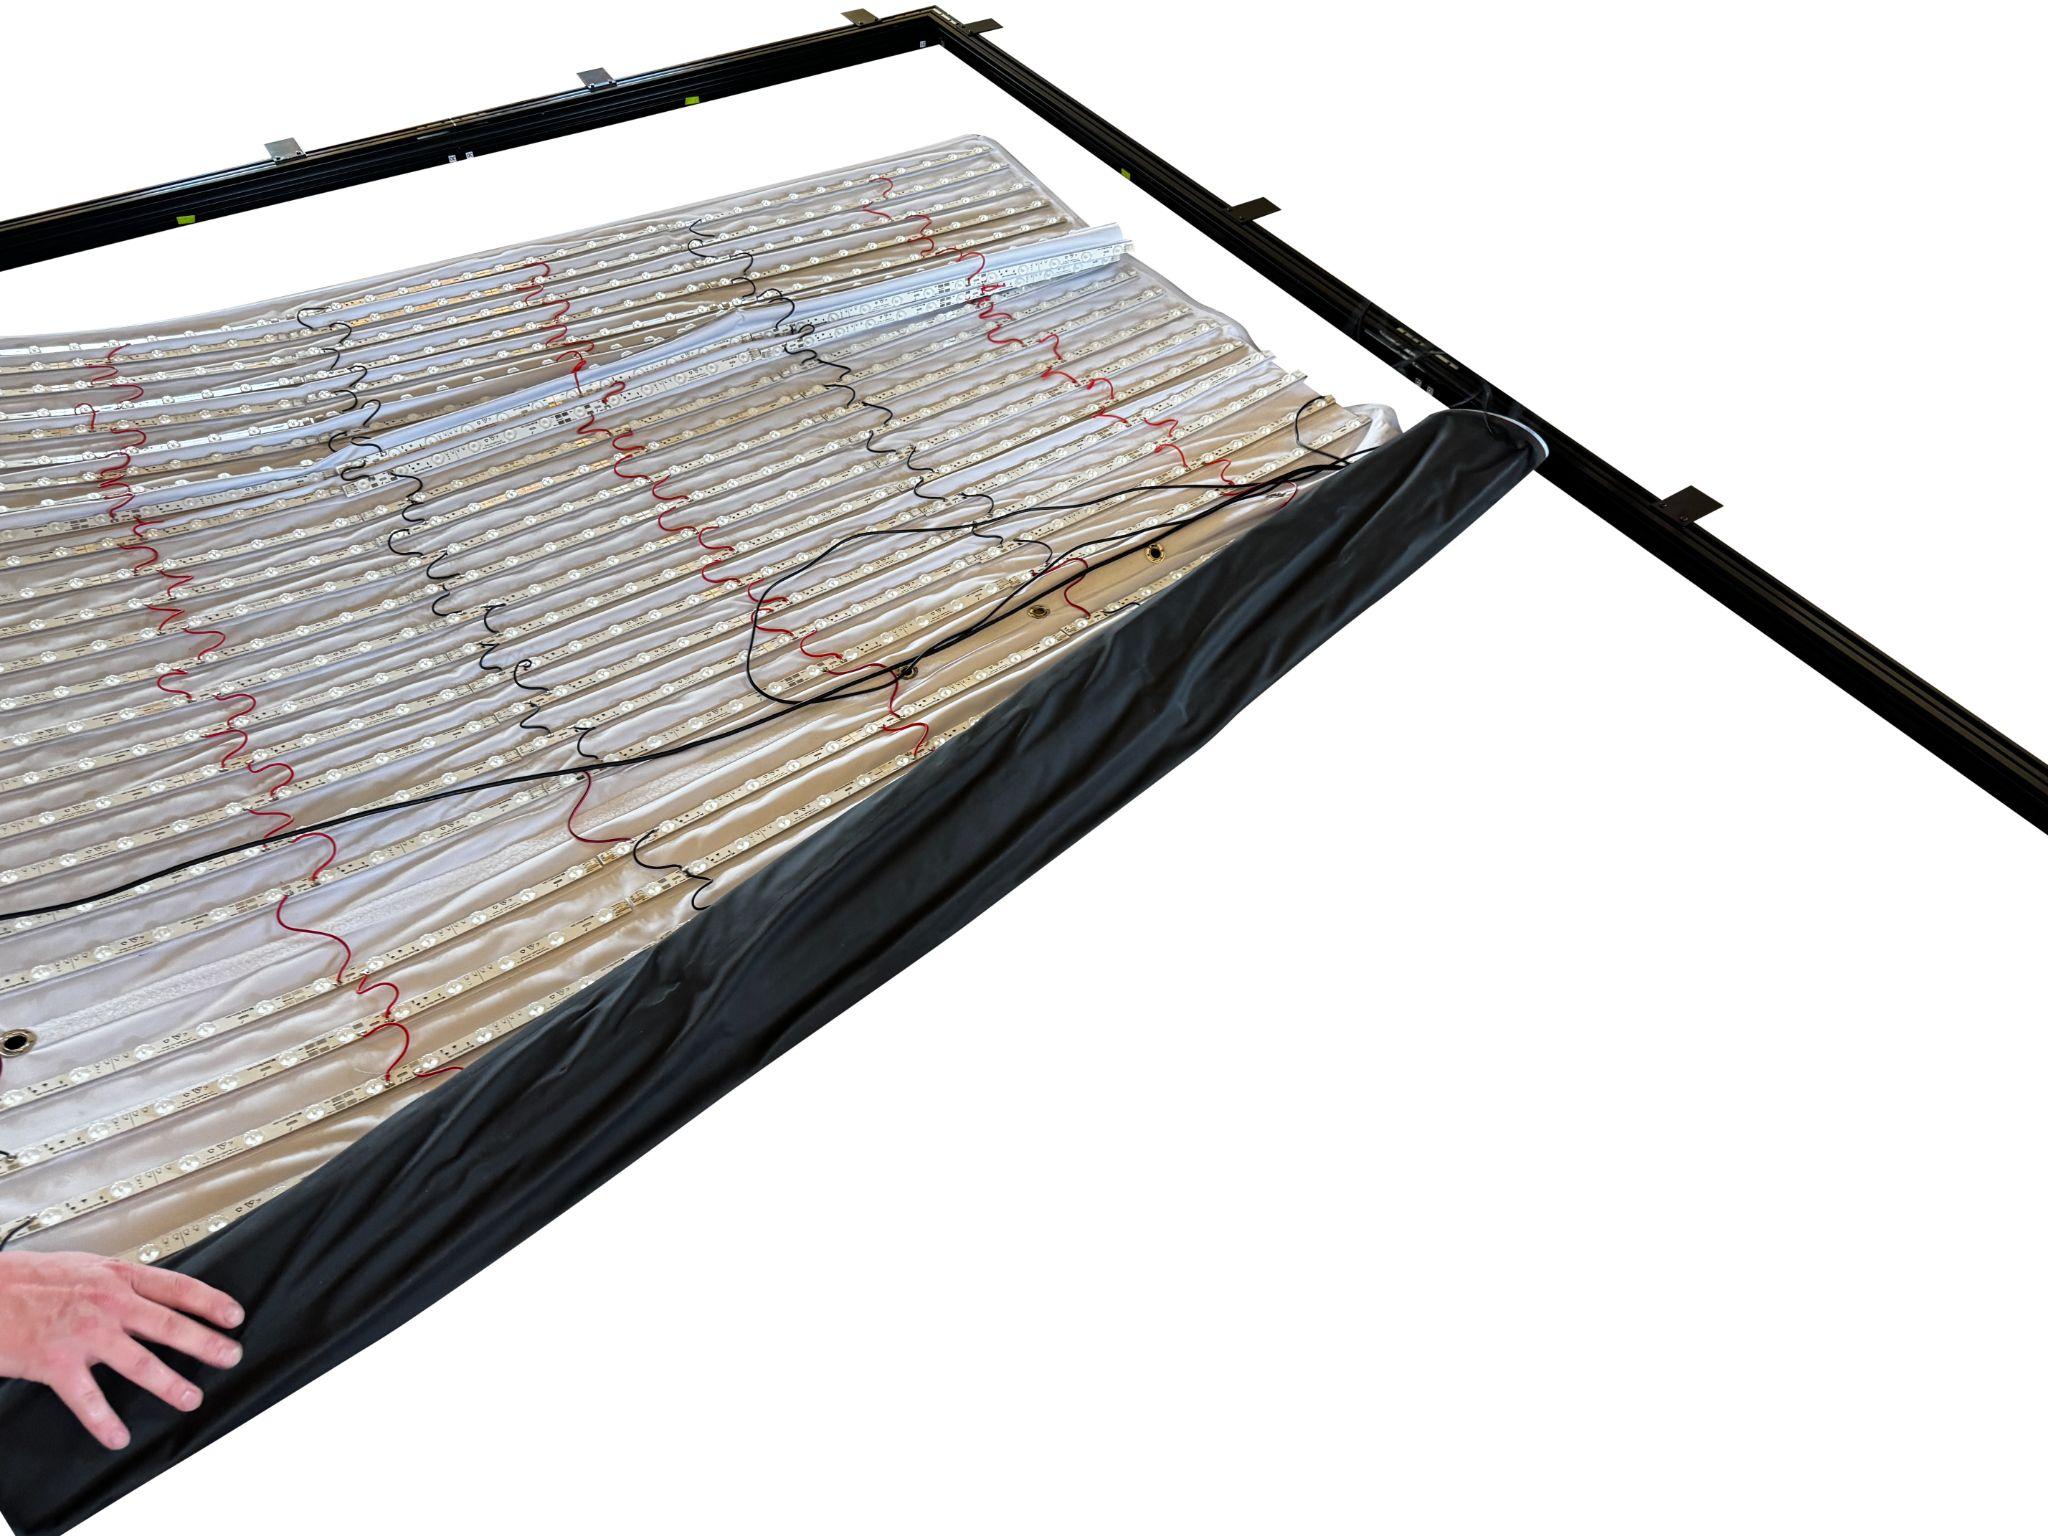
4. Roll the lighting bar out and ensure all the cables are in place
Roll the lighting bar out
- Roll the lighting bar out fully.
- Confirm all cables/connectors are present and undamaged.

5. Invert the lighting to face downwards and start installing it into the roof via the corners first
Invert lighting + install (corners first)
- Invert the lighting to face downwards.
- Start installing it into the roof via the corners first.

6. Ensure the corner with the cables match the corner of the bars with the cables
Match cable corner
- Ensure the corner with the cables matches the corner of the bars with the cables.

6b. Once complete, pull all the wires through the appropriate grommets
Pull wires through grommets
- Pull all the wires through the appropriate grommets.

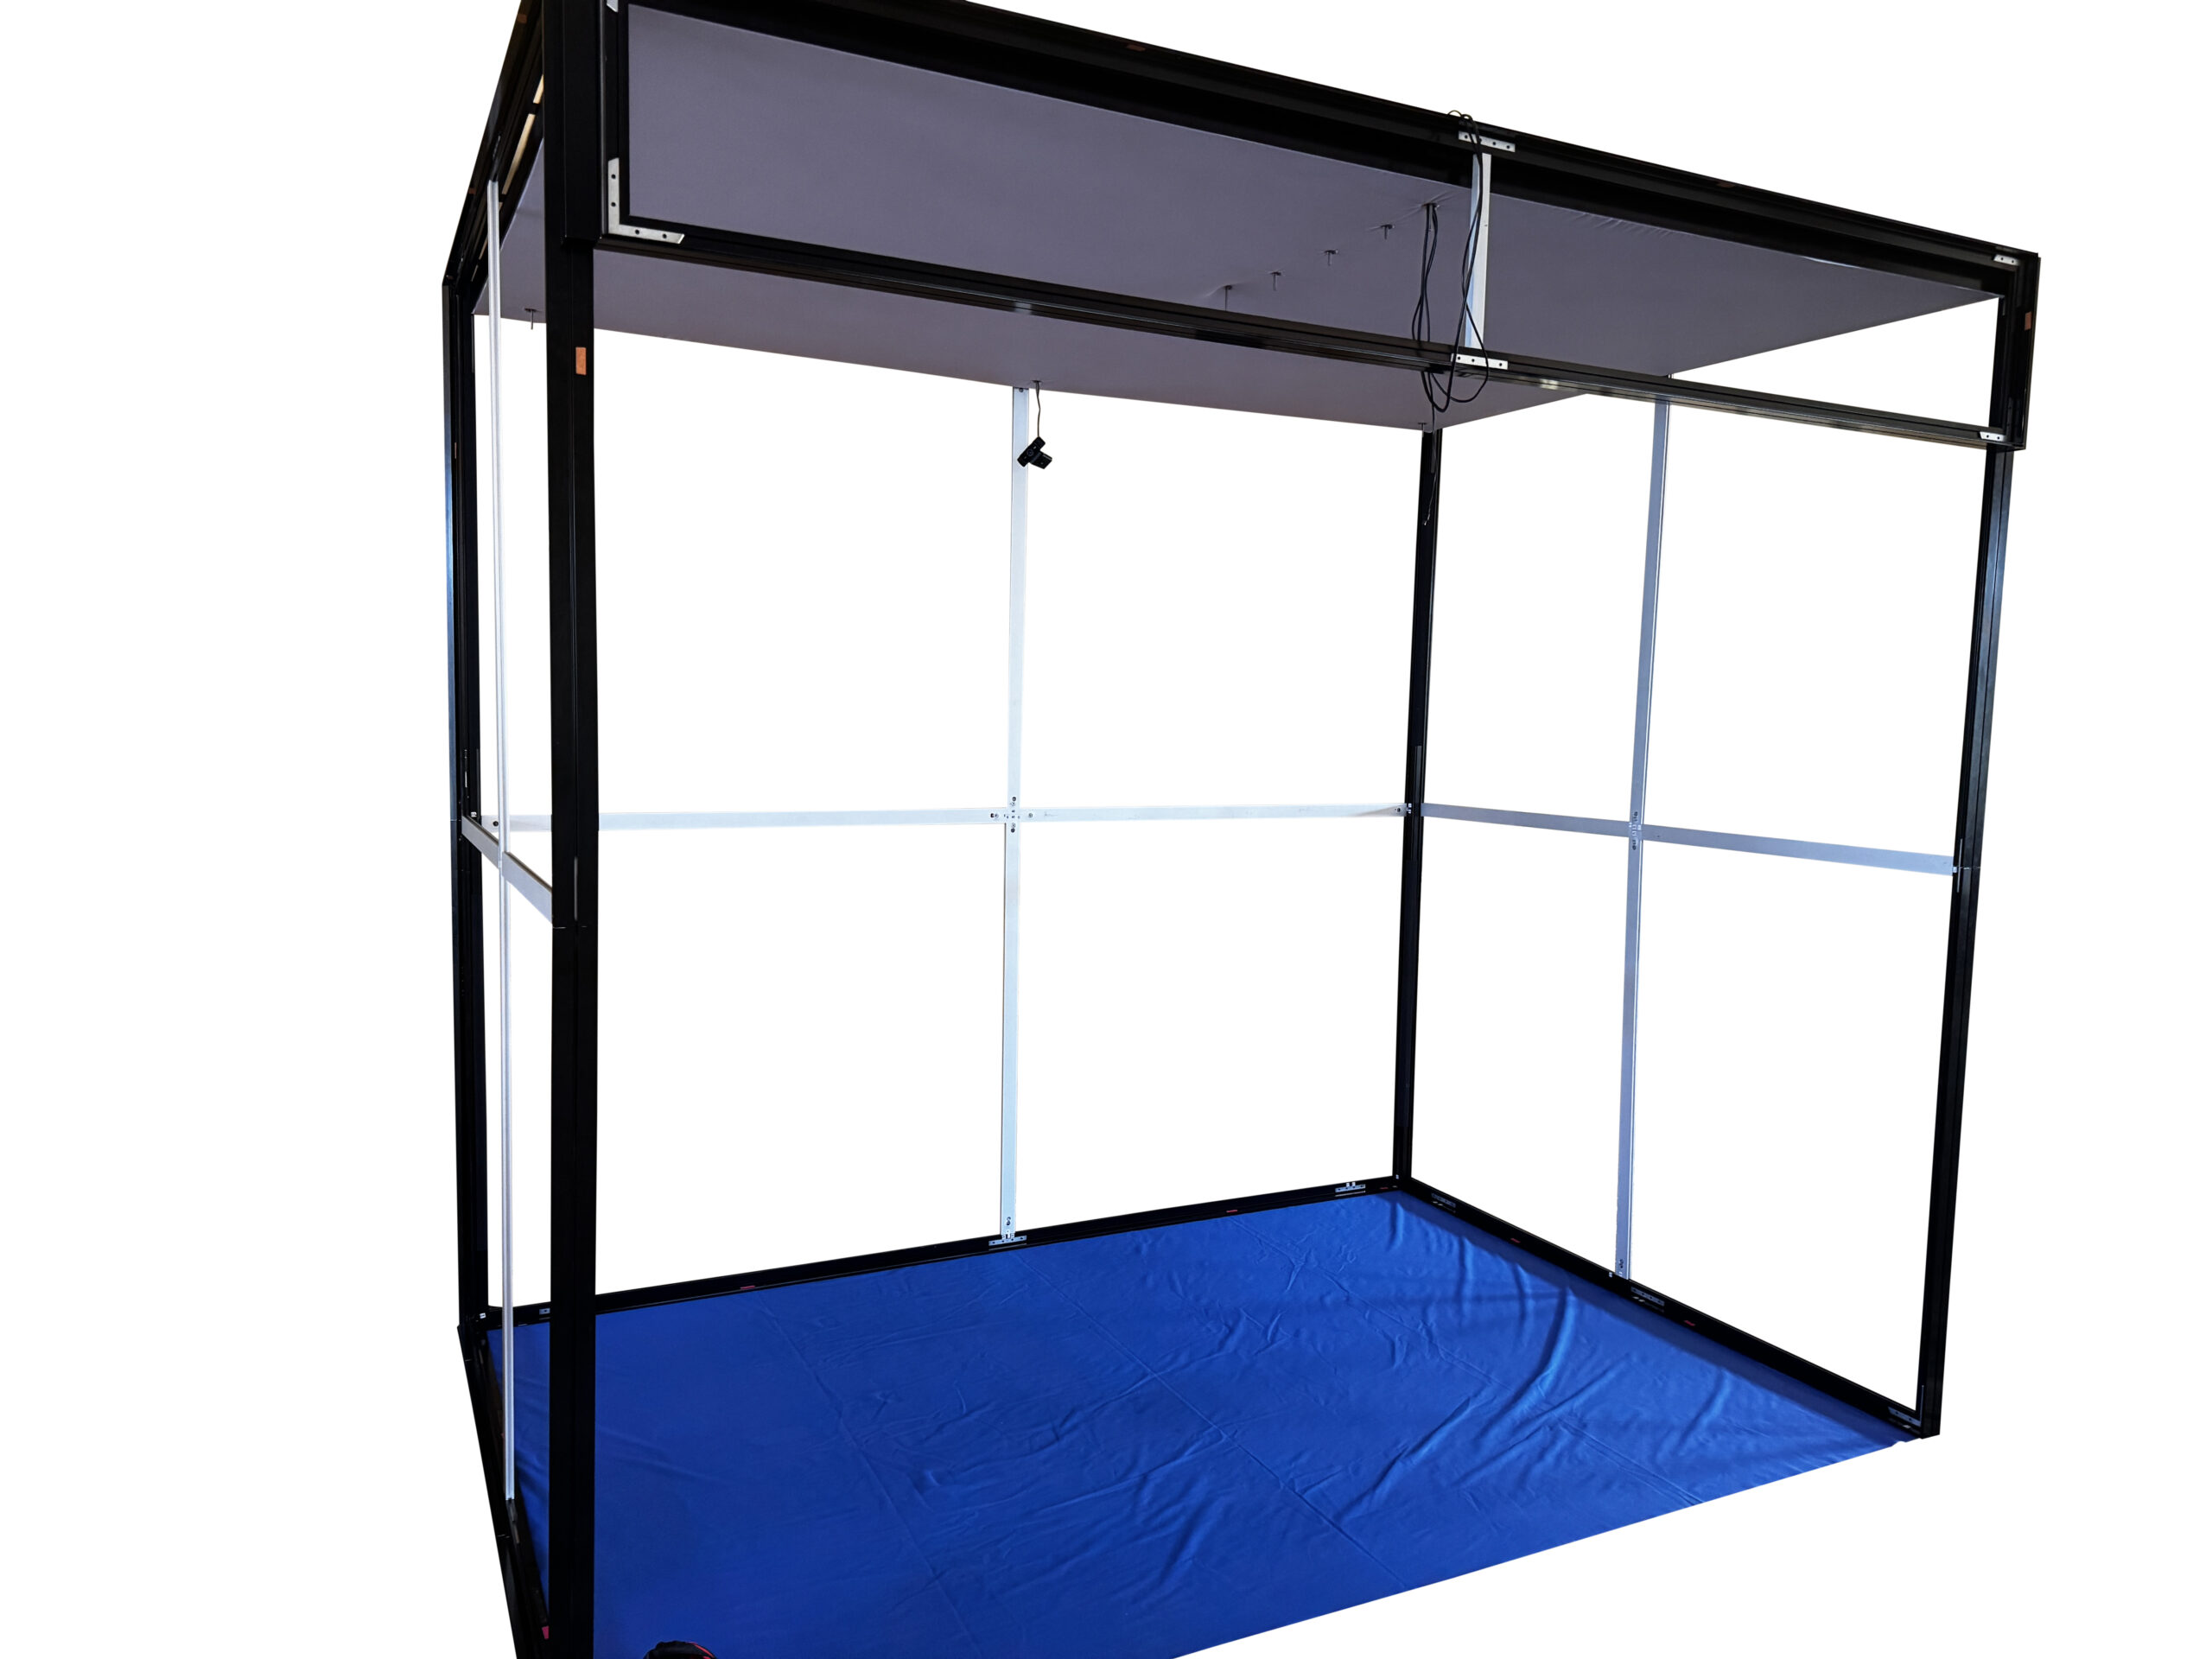
7. Hold the roof up and install the spreader bars
Hold roof up + install spreader bars
- Hold the roof up and install the spreader bars.

8. Connect power + install mounts + roof cover
Connect power
- Connect power from the lighting roll to the cables from the roof bars.

Install mounts
- Install mounts for the webcam, base stations and KIWI cable management.
Start installing white roof cover
- Start installing the white roof cover.
- Ensure webcam is passed through.
- Ensure base station extender, optical audio cable and USB extender from webcam is coming through to dangle down to computers.
- Ensure all power cables for base stations on each corner are through.
9. Pop roof into top section (while on ground)
Pop roof into top section
- Pop roof into top section while sitting on the ground.
10. Install all spreader bars
Install all spreader bars
- Install all spreader bars.
11. Once installed, raise roof slightly to allow you to install the wall fabric
Raise roof slightly
- Once installed, raise roof slightly to allow you to install the wall fabric.
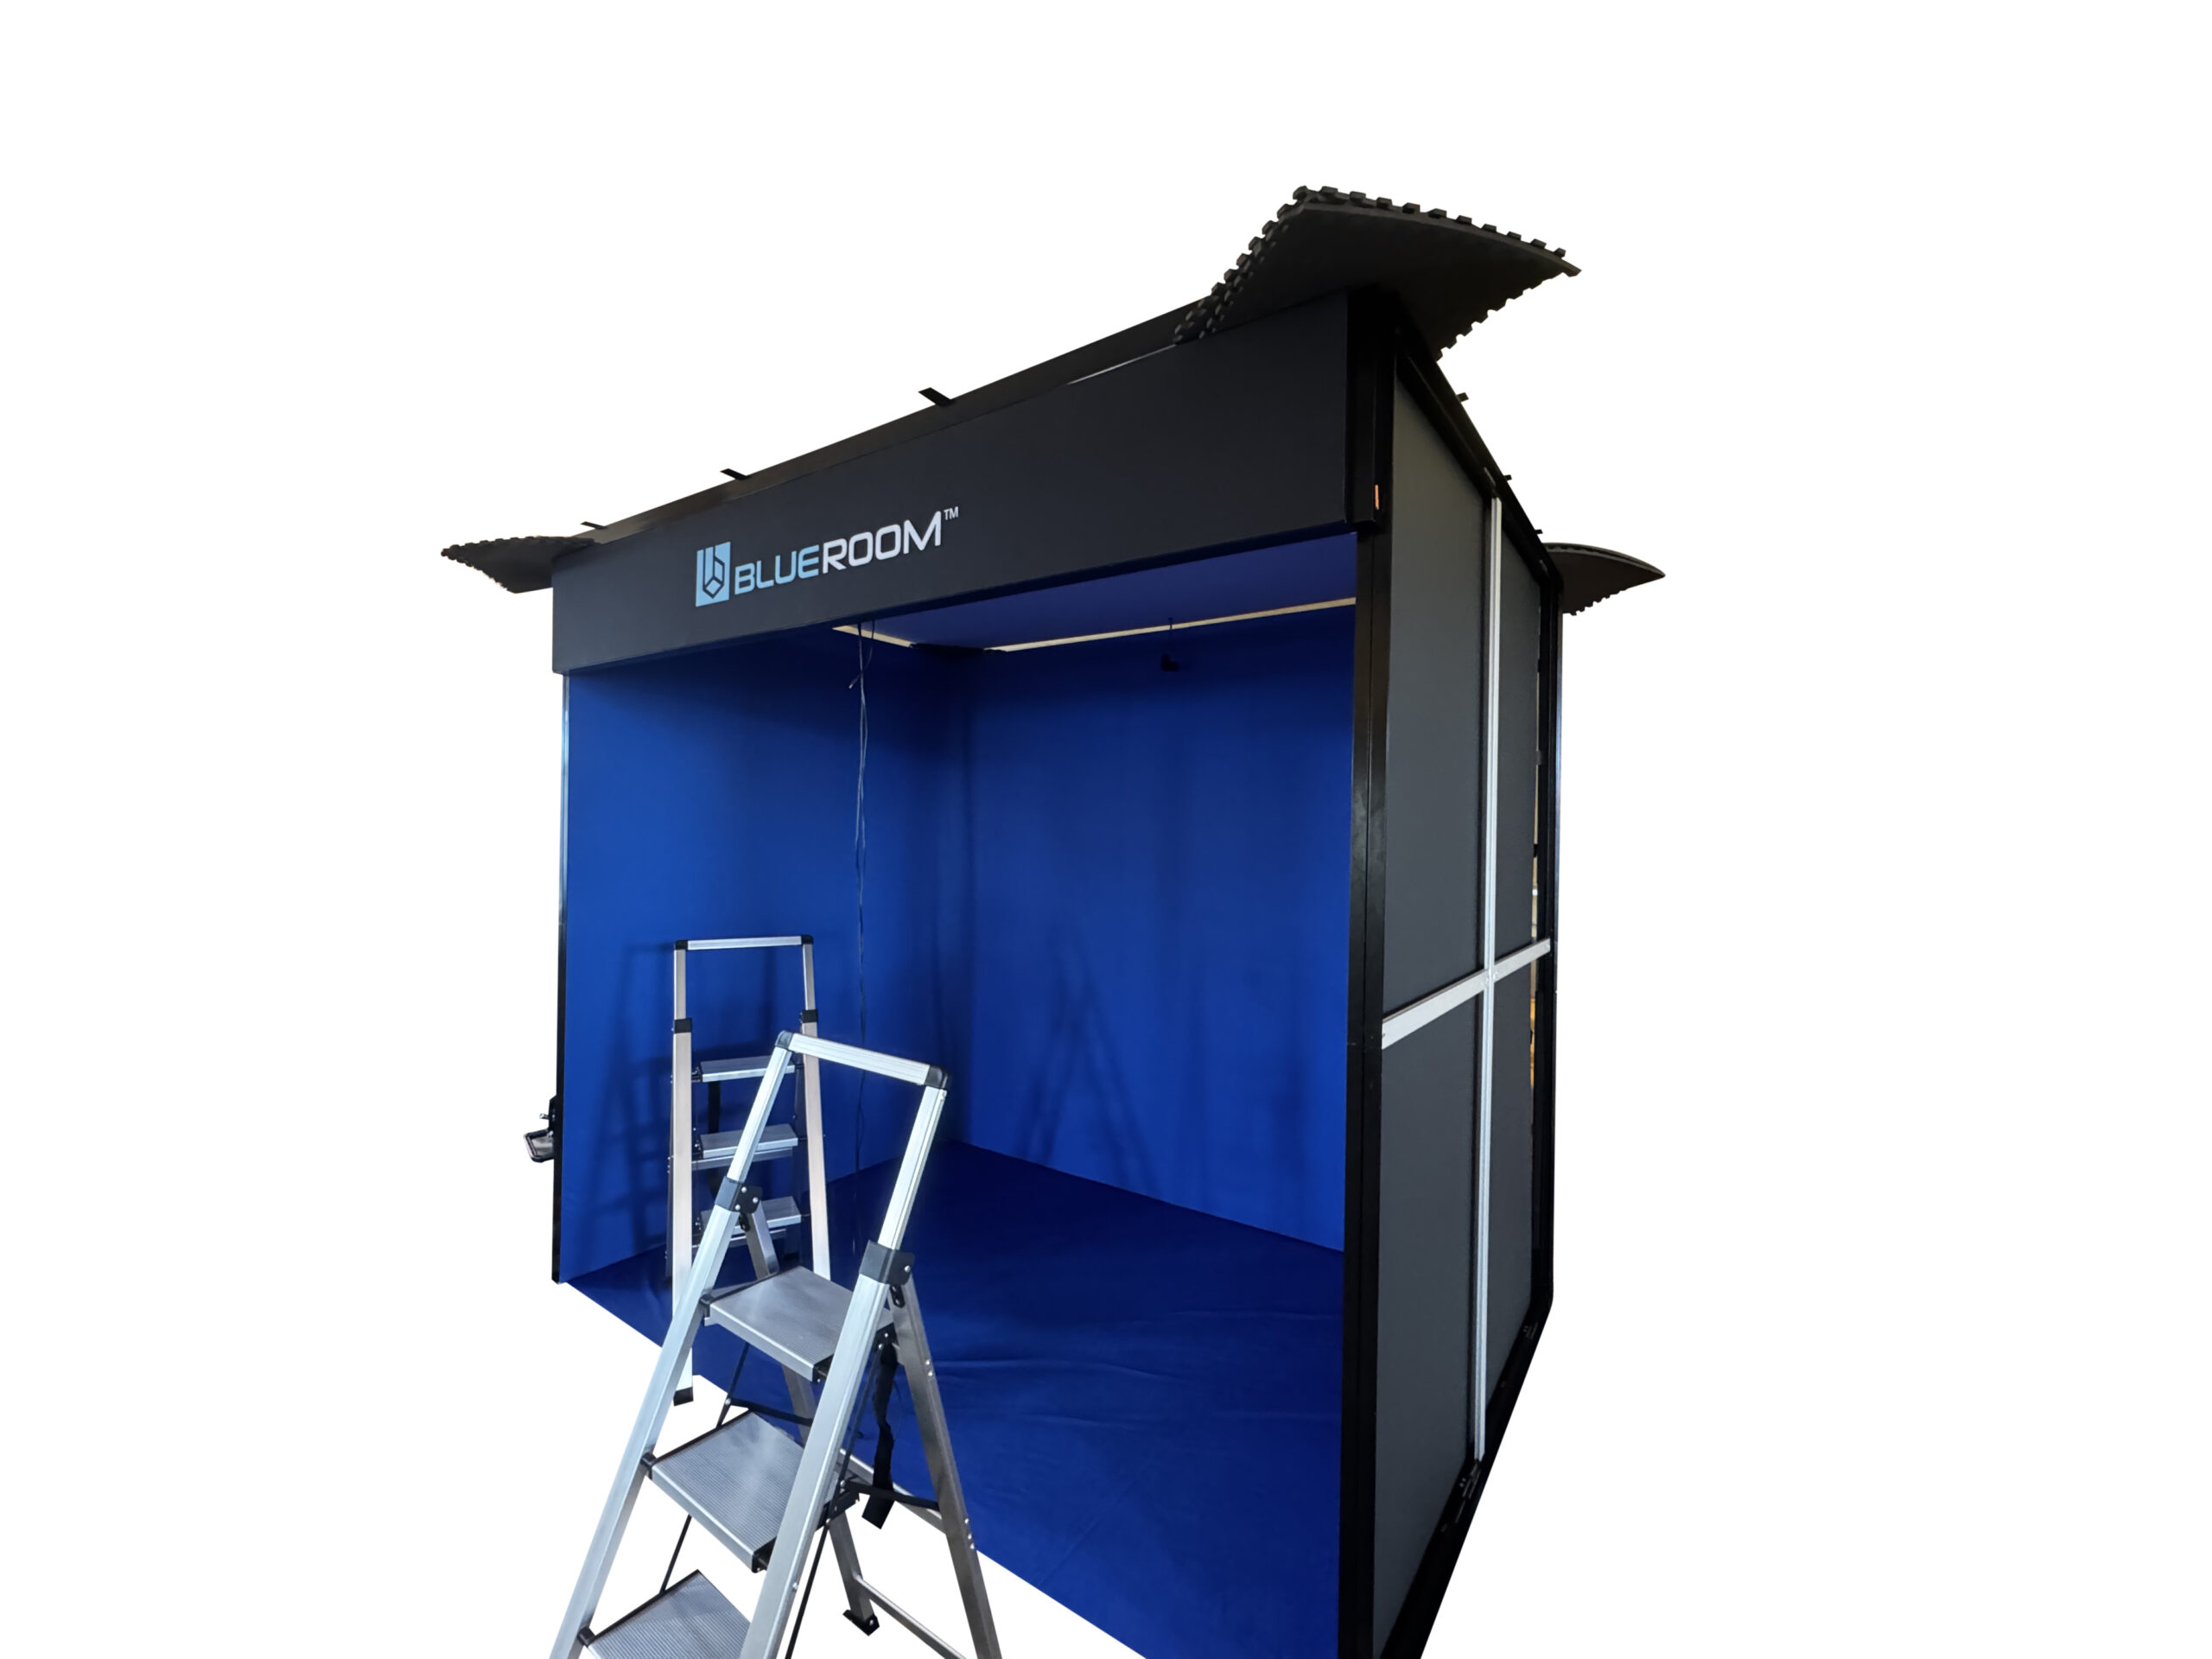
Final checks
- Structure: square and rigid; spreaders seated; no sway.
- Cables: correct roof corner alignment; routed through grommets; no pinched cables.
- Lighting: connectors seated; power connected; strain-relieved.
- Fabrics: walls aligned; seams closed; inside tension even; floor flat.
Best practice: Do a full walk-around and gently check each connection point before use.
Troubleshooting
Roof not rigid / sway → spreaders not seated
- Confirm all spreader bar ends are fully seated before tightening.
- Install in a balanced pattern to keep the roof square.
Walls misaligned / gaps → clearance + corner order
- Raise roof slightly to create clearance, then attach corners first.
- Install back wall first, then left/right, then close seams.
© BlueRoom Simulations Pty Ltd — Enclosure Setup Manual